There are rules, shade level charts, and guides such as the one in our article, but they should be more used as a guide and not as a strict set of rules to follow.
Your welding helmet’s lens shade depends on a variety of factors.
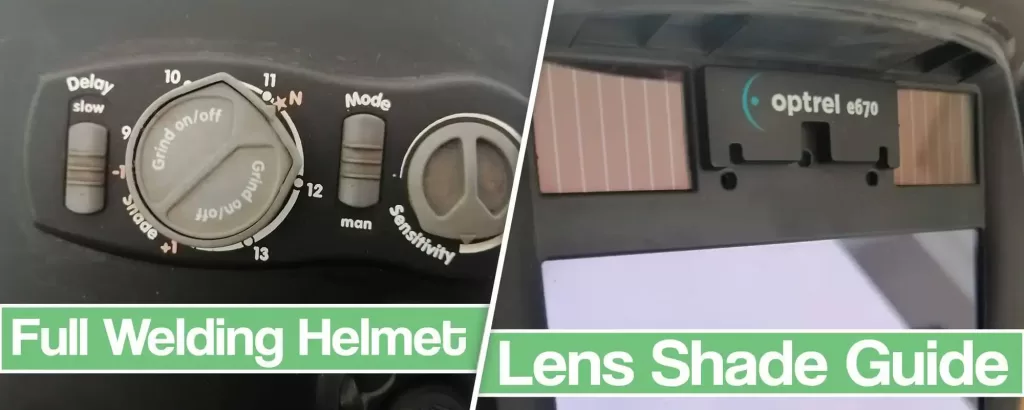
Some of which are your eyesight, welding processes, amount of natural light in the welding environment, applications, ability to eliminate sunlight interference if outside, etc.
That said, you should not spend hours testing and tweaking your helmet to find the right shade level and earning your self eye fatigue in the process. First, start from a recommended shade level for that particular amperage, material, and welding process, and tweak your hood’s shade level from there.
This article will try to be the best of both worlds, to cross that divide. Divide between charts and personal comfort, to help you make a better and more informed judgment for safe and productive work in the future.
How to Choose the Right Lens Shade?
According to bmj.com, 25% of all injuries welders suffer are eye-related, that is whopping 10,000 eye-related injuries per year, according to the consumer product safety commission. Looking at the welding arc with improper and low shading can cause severe eye fatigue and “arc eye.”
On the other side, if the shade numbers are too high for the amperage used, you won’t be able to see the weld pool and the arc path, making you prone to mistakes (and ridicule by other welders), So proper shade is essential.
Welding helmet shade chart
Basic shade chart for MIG welding on mild steel
| Welding process | Amperage | Lens Shade Setting |
| GMAW | 75 – 100 A | Shade #10 |
| GMAW | 100 – 180 A | Shade #11 |
| GMAW | 180 – 300 A | Shade #12 |
| GMAW | 300 – 500 A | Shade #13 |
* I have never used more then 300 amps in my welding career on the job site, but from my personal experience, during day time and on good visibility I would use shade no.12 for any MIG welding above 150 amps and shade 13 during a night time.
Basic shade chart for Flux Core welding on mild steel
| Welding process | Amperage | Lens Shade Setting |
| FCAW | 125 – 175 A | Shade #10 |
| FCAW | 175 – 225 A | Shade #11 |
| FCAW | 225 – 275 A | Shade #12 |
| FCAW | 275 – 350 A | Shade #13 |
* There are many different types and combinations of Flux Core welding. The one I was working the most is with Lincoln’s “Inershild” wire, no protective gas, all mild steel, outside on the field, on the oil tanks. Material thickens around 4.5 to 6 inch. We had to use a passive welding helmet with shade #13 for all welding done there. The arc was to bright and hot, melting arc sensors on our welding hoods.
Basic shade cart for MIG welding on aluminum
| Welding process | Amperage | Lens Shade Setting |
| GMAW – Aluminium | 80 – 100 A | Shade #10 |
| GMAW – Aluminium | 100 – 180 A | Shade #11 |
| GMAW – Aluminium | 180 – 250 A | Shade #12 |
| GMAW – Aluminium | 250 – 350 A | Shade #13 |
Basic shade cart for stick welding
| Electrode | Electrode Diameter | Amperage Range | Lens Shade Setting |
| 6010/6011 | 1/8″ | 75-125 | Shade #10 – 11 |
| 6010/6011 | 5/32″ | 110-165 | Shade #11 -12 |
| 6010/6011 | 3/16″ | 140-210 | Shade #12 |
| 6010/6011 | 7/32″ | 160-250 | Shade #13 |
* Different electrode types vary with amperage and a type of arc they produce but the shade range is approximately the same on all of them.
Basic shade cart for TIG welding
| Welding process | Amperage | Lens Shade Setting |
| GTAW | 05 – 20 A | Shade #9 |
| GTAW | 20 – 40 A | Shade #10 |
| GTAW | 40- 100A | Shade #11 |
| GTAW | 100- 150A | Shade #12 |
| GTAW | 150 – A | Shade #13 |
* Good arc sensors and new technologies like true color filter relay come in to play on shade 9 for low amp TIG welding on stainless steel or aluminum. Those helmets are expensive and are reserved for professionals.
Bad Eyesite and magnifying or corrective lenses:
Before you consider any of this information from the charts, make sure your vision is not impeded somehow and that you can see well.
Many helmets do not fit well with glasses, and wearing contact lenses is not an option for a welder cause of all the dust and metal particles.
In comes the welding helmet’s corrective lenses for every diopters.
Most manufacturers make them for their welding helmets, and there are some standard sizes for cheaper hoods. They are not cumbersome and will fit well inside the helmet.
Considering that for a successful weld, a welder must have a steady arm and good eyesight. Most welders over 40 years old should consider using them.
The Dangers of Ultraviolet and Infrared Light
These days, finally, everyone knows how harmful UV radiation is for both eyes and skin. But it’s always good to mention the severe burns and formations of skin cancers that can occur from UV light exposure. Yet more significant problems are to the naked eyes and the permanent damage from viewing arc light unprotected or through a faulty helmet’s lens.
That said, keep in mind that every passive or variable shade helmet has 100% protection against full spectrum UVR wavelengths (UVA, UVB, and UVC.
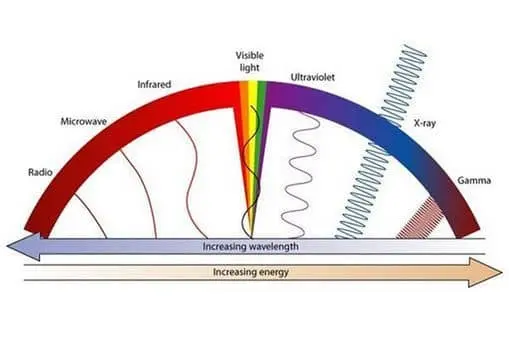
Of which UVB is most harmful) in the “light state,” which is under lens shade number of 2 to 5 depending on the quality of your welding hood. Shade level does not correspond with the amount of protection that the wearer gets from the ADF lens. It’s a myth that you can damage your eyes using a low shade level.
As I have said above, the shade level corresponds to the amperage used and differs depending on the application. In Low Amp TIG welding, the shading level will be extremely low (din number #8), and corresponding to the amperage, the light that the welding arc emits will lower, causing less strain on your eyes and letting you use an above sad lower shade number.
IR rays are basically heat emitted from the welding arc. That is the wavelength that most welding helmet sensors are picking up. It can also be extremely harmful at higher amperages, where you use a lot more heat to bind metal pieces together. For example, you can melt your sensors off and the front of your helmet when using the Flux Core welding process with inner shield wire at high amperage settings. Welders that performed these tasks use passive welding helmets with a fixed shade lens above 13.
After all this sad and before you start your work, make sure that the helmet and ADF filters are not damaged and are working properly. There are safety standards set in place from ANSI for all welding helmets. Any helmet that you put on your head should meet the ANSI Z87.1 standard.
Fixed shade helmet vs. Auto-darkening welding helmets lens
“What is the right welding helmet” is a debate in which every welder’s got something to say. The truth is that both exhibit many merits and flaws and are suitable for one work or another. Fieldwork, pipelining, and high amperages are places where helmets with fixed shade rule. Low amp TIG welding, manufacturing, and production are places that you will have the most use from a variable shade lens.
Setting shade on Auto Darkening Welding helmets
ADF lenses (Auto-darkening filter lenses) are a product of revolutionary technology in the welding helmet world. However, in their infancy, the first auto-darkening helmets were of poor quality with horrible reaction time, two sensors of low quality, and were short-lived batteries.
From the stone age of auto-darkening welding helmets to the present day, the modern variable shade lenses and technology that powers them have drastically improved. Meager reaction time, multiple sensors with better switch time, side windows, constant UV and IR protection, true color filters, and durable solar power batteries.
For the sake of the numbers, I should just mention that, for example, shade #9 allows through just 0.037% of the light, and shade 13, which is considered as the highest shade on most welding helmets, passes only 0.00072% of the light through its filter and all welding helmet shades of course block UV light.
All these features and improvements are not the end of the road for ADF helmet. The technology is still advancing, and we can expect even better protection and comfort from new helmets.
1. The Lens Reaction Time
Just for the sake of comparison, try to find a welding helmet catalog from the 90s, you can read their specifications for reaction time: 1/2000 of a second.
Compare that with today’s Miler Elite welding helmet that has 1/20 000 of a second or Optrel’s Crystal that goes from light to dark in 0.100 ms.
These days minimum standard is 1/10 000 ms and you should not go below that threshold when checking spec for a new helmet.
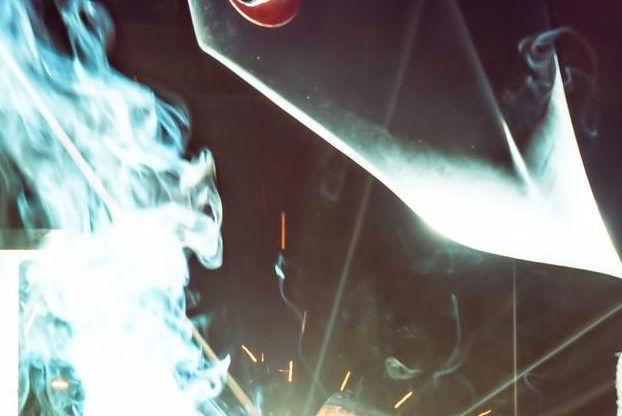
Keep in mind that the price for welding helmets varies greatly, from 500 USD to 30 USD, and cheap welding helmets also claim extreme reaction time speeds but most of them do no deliver. Something that you will notice only once your eyes start to itch and “arc eye” or “itchy eye” call it whatever you want, stops you from sleeping that night.
2. Arc Sensors
“The more the better” saying can go when a number of sensors are in question. Some ADF helmets still have two sensors on each side, mostly beneath or above ADF. But this should not discourage you.
If these hoods are under the ANSI Z87.1 standard, then they are tested and safe to use.
But I would always go with four sensors on each side. The more sensors there are, the better the coverage of a welding space and the lesser chance of some obstruction interfering with the auto-darkening process.
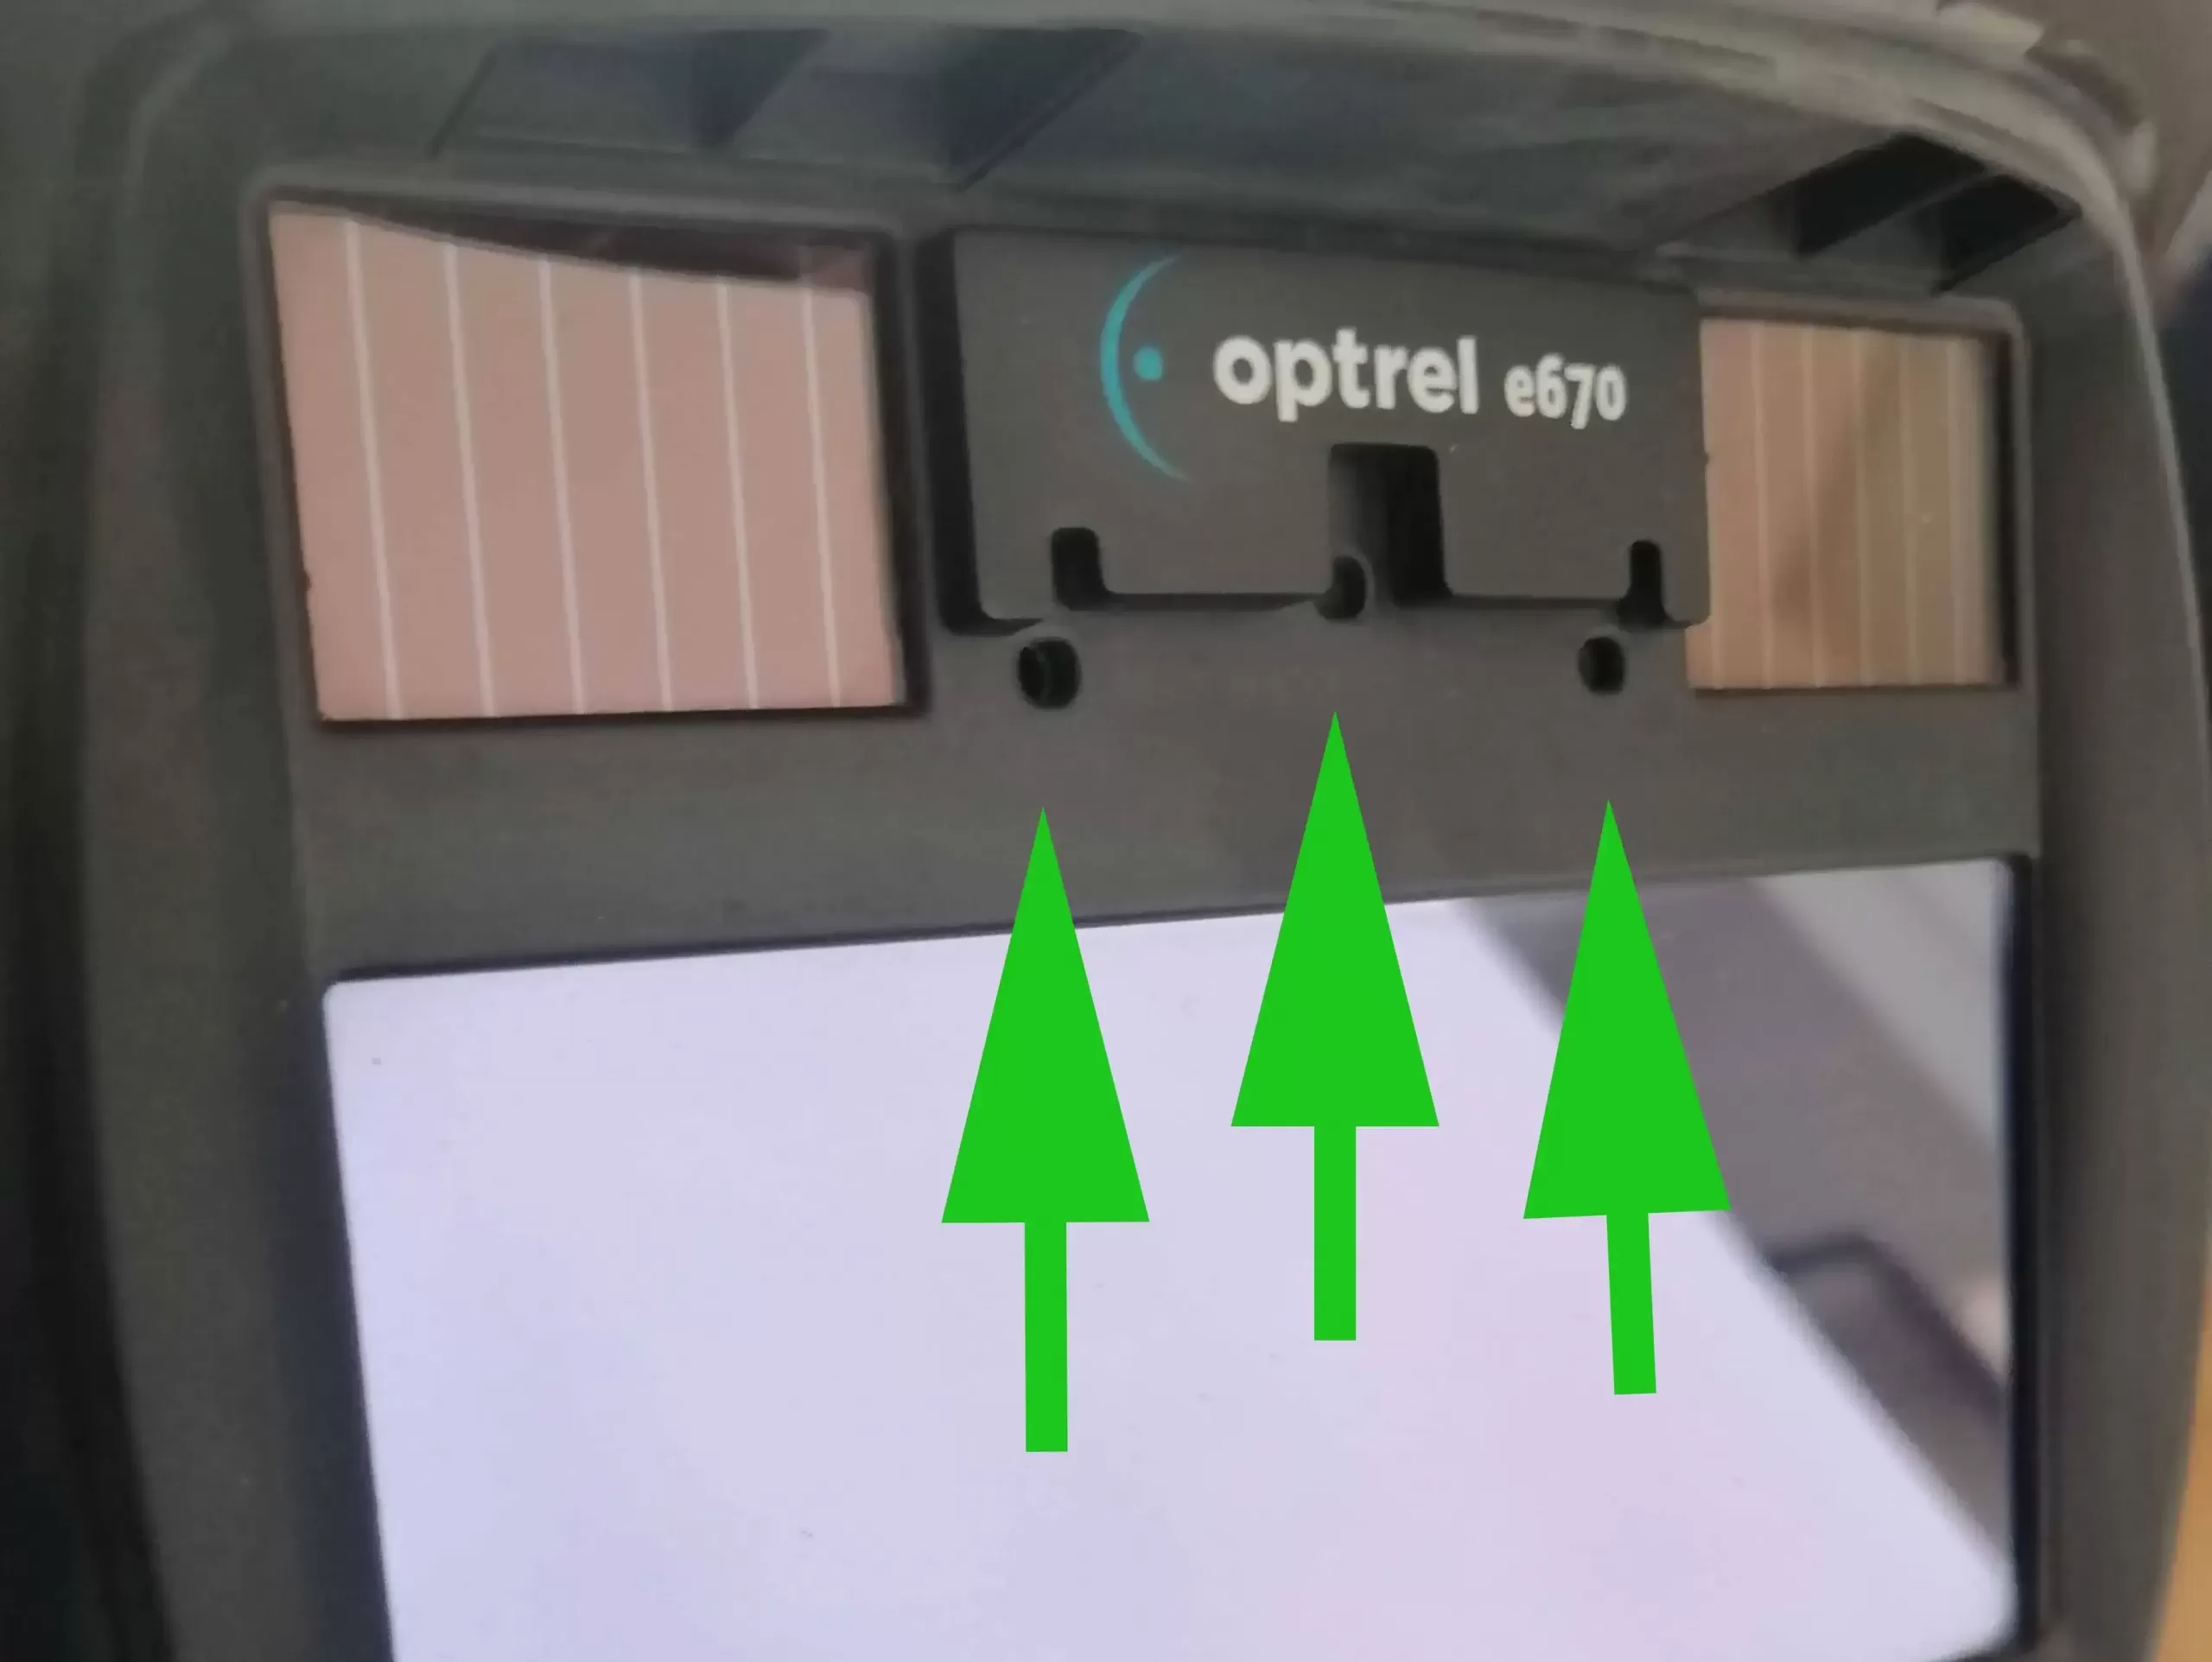
Also, for the ADF helmets with an automatic auto-darkening feature, more sensors will help the onboard computer to pick an adequate lens shade level.
3. The Level of Amperage
Amperage or the strength and brightness of the welding arc have the most effect on the shade number.
The higher the amperage the more radiation will be emitted from the welding arc; ergo, the shade lens needs to darken more and more.
The amperage guides most shade level charts and in combination with material welded and the welding process used, will give you a good indication of how much you should set your shade knob on your welding helmet.
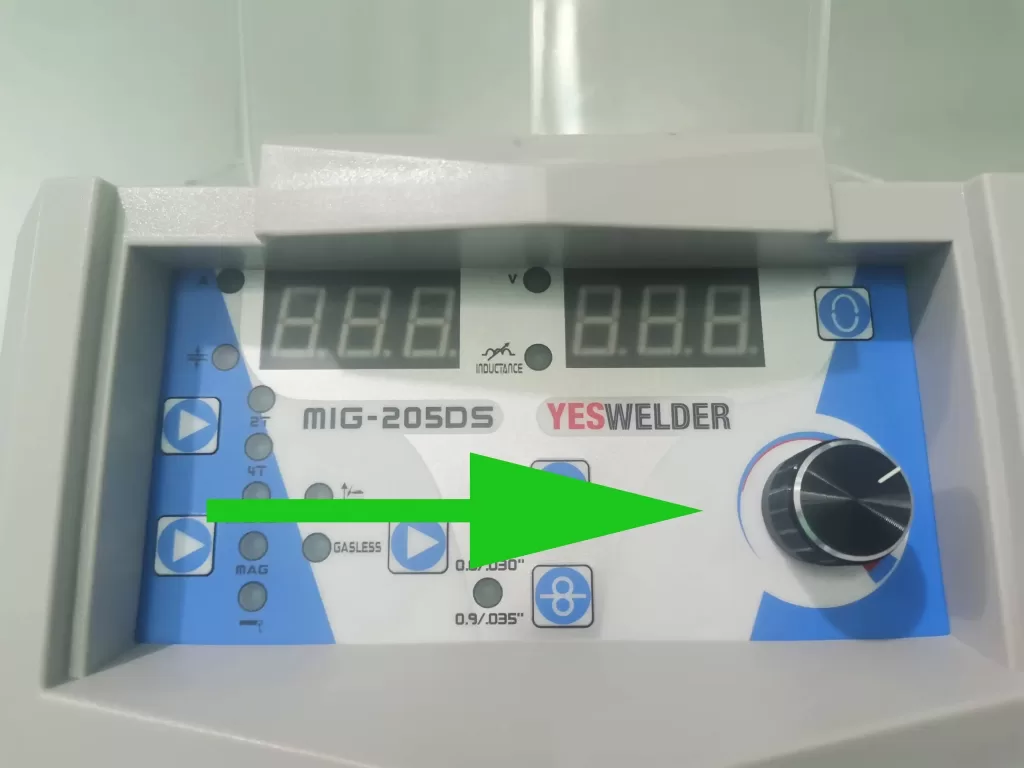
For example, 4-inch mild steel plate in the upright position is welded with 80 to 120 amps with the stick welding so you will set shade range on your hood somewhere around 10 to 12. the root pas is done with 65 to 80 amps (depending on the electrode diameter and the gap size). You will then set shade level from 10 to max 11 so you can see well every little detail.
4. True Color filter and welding lens colors
The true color is, as I believe, the most significant update in ADF technology. Its quality and the number of colors that can be seen besides green vary from manufacturer to manufacturer.
Still, it’s a great plus that variable shade helmets have compared to passive hoods. It gives you the ability to see the weld, arc, and material around it much better, even on the highest shade setting.
5. Light state shade number
If true color is the biggest, this one is the most novel. On many auto-darkening welding helmets, light state is actually a shade number 4. So the welder can use the helmet for welding preparation in the light state and still be protected from the harmful ration.
The problem is that shade number 4 is still too high and the hood can be utilized only in a well-lit room or good lighting.
So these last years Optrel has made helmets that go as low as shade number 2, Which is an extreme improvement in using a welding hood “light state” shade setting and overall safety.
6. Auto-Sense and Automatic shade level mode
Another improvement and a point for an auto-darkening helmet is the auto shade setting feature. or variable shade lens.
Basically, you can let some helmets choose the shade number for you based on what the sensors’ readings are picking up from the arc. This was a clumsily feature at best in the beginning and useless for people with bad eyesight.
But the technology improved, and some other settings are added so you can fine-tune the variable shade lens for better performance.
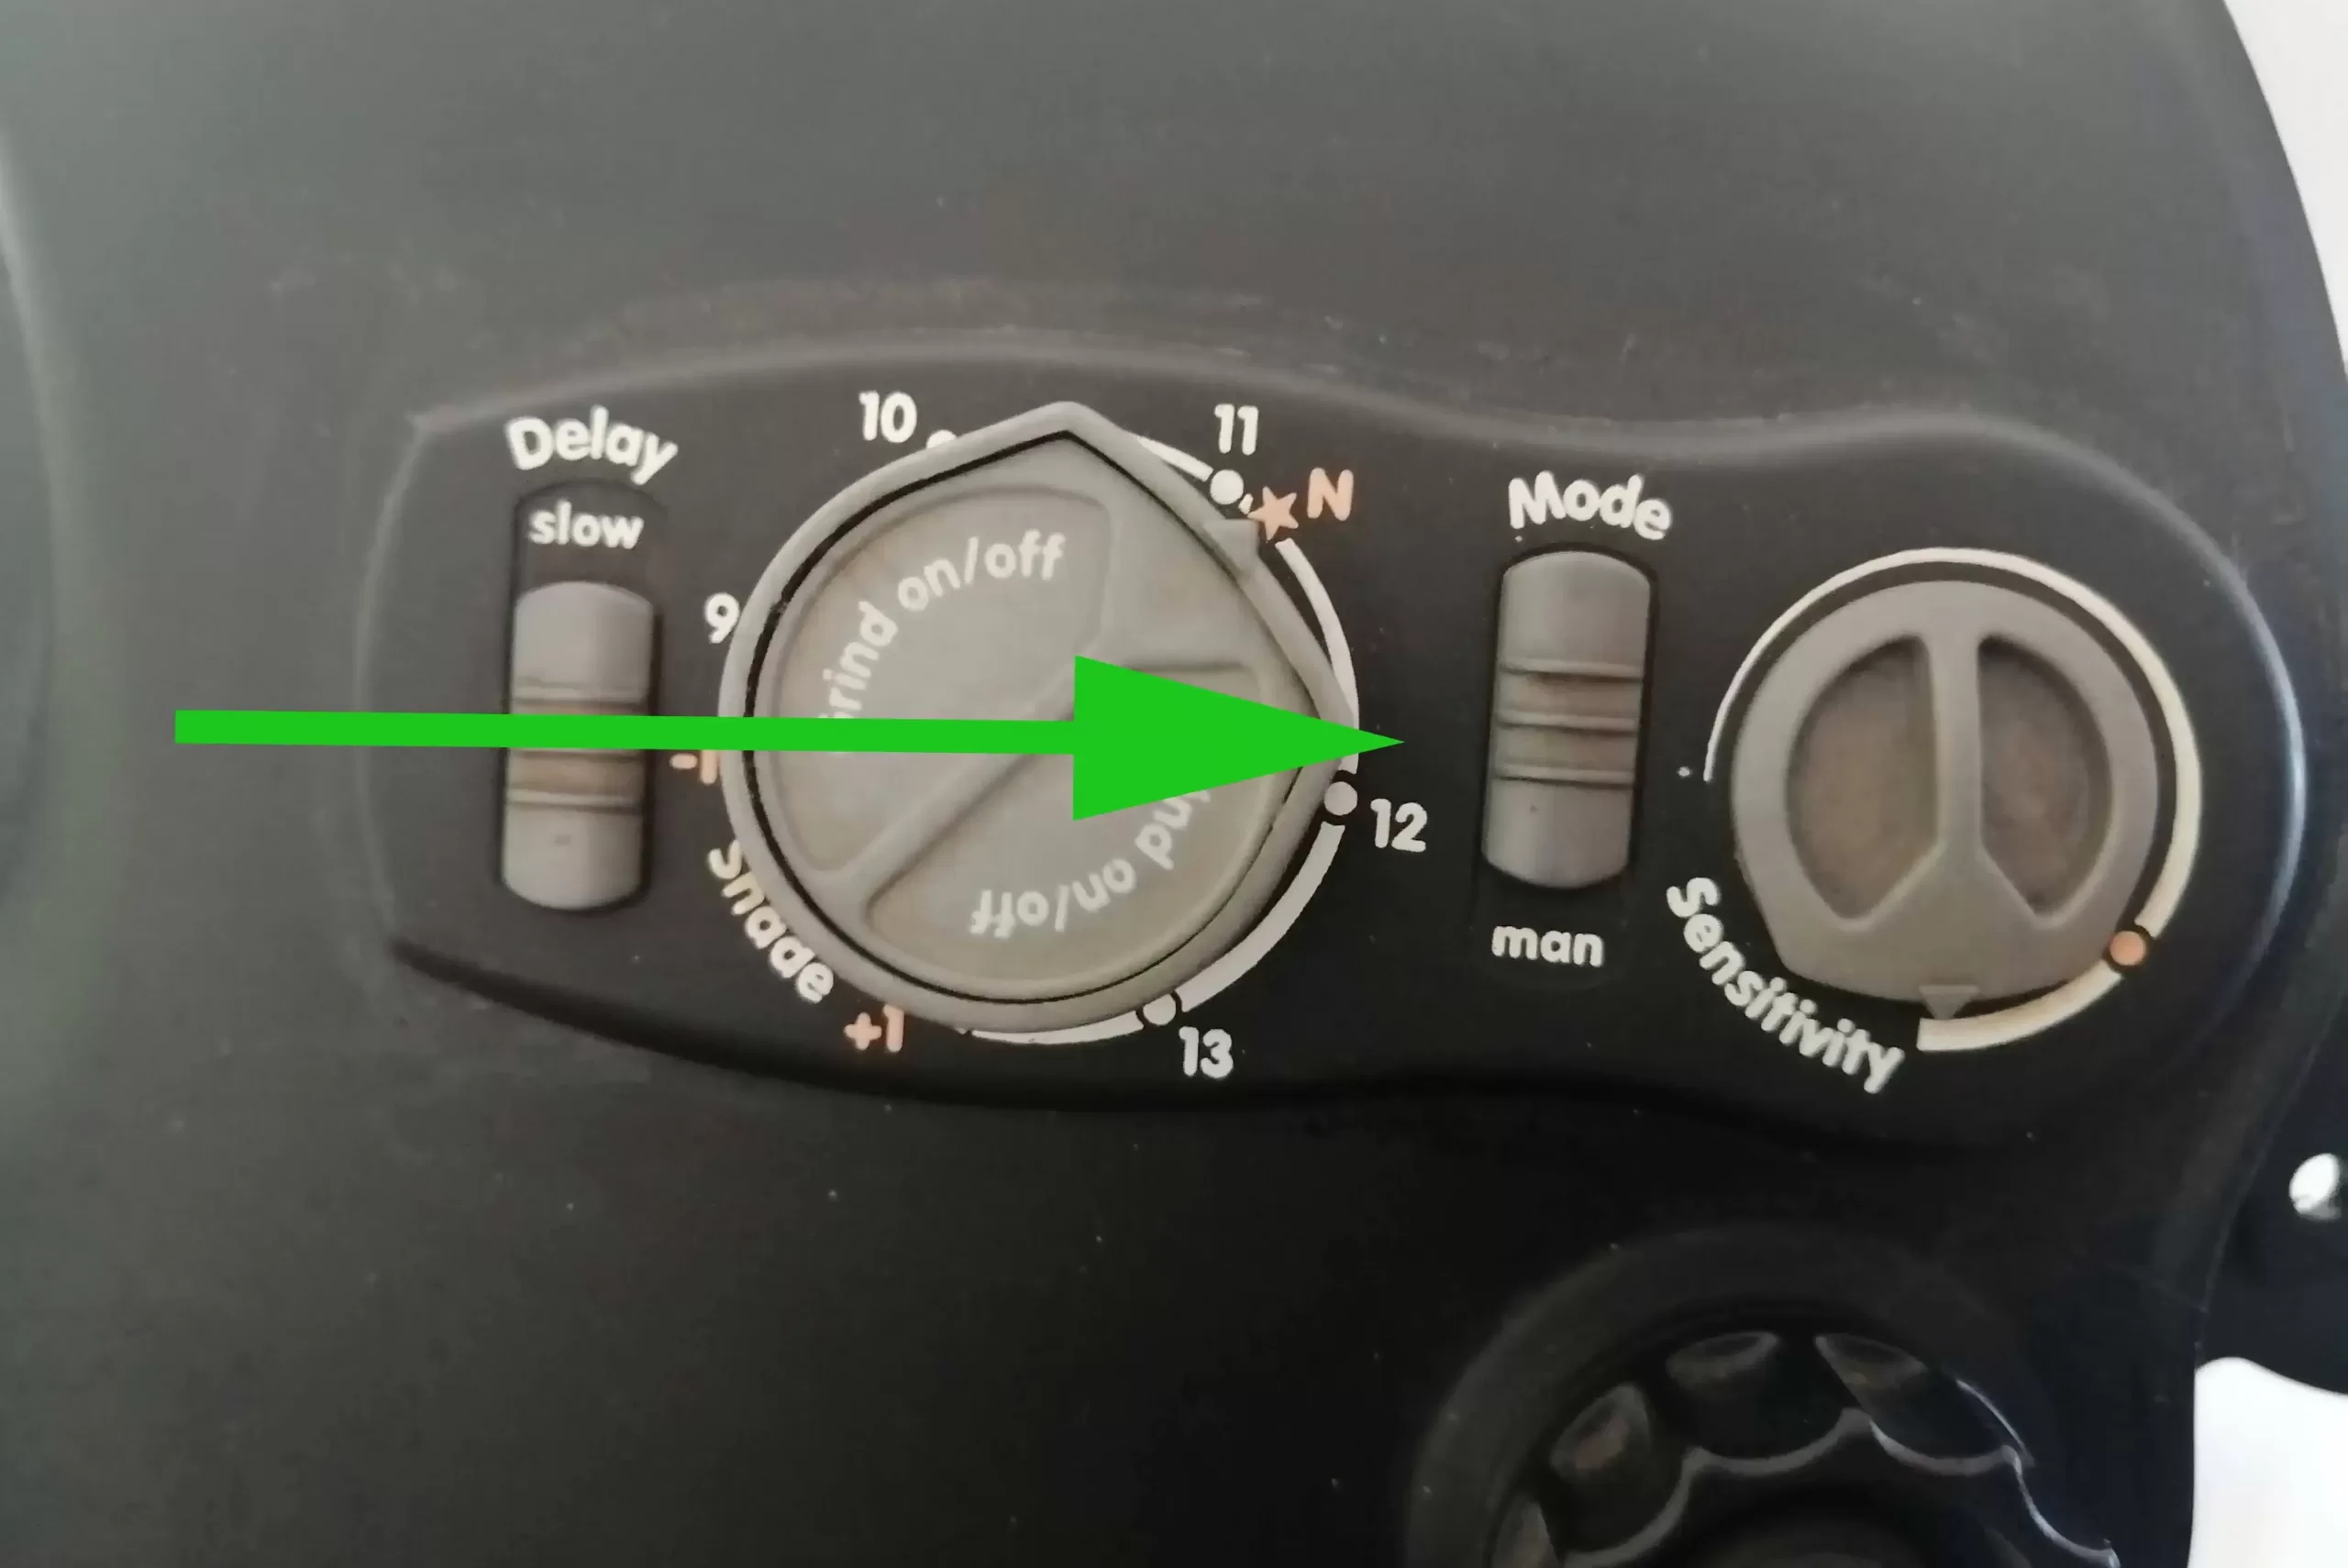
This can be very useful when you are welding a 6 g pipe with a stick electrode in one hand and a remote amperage control knob in the other.
Fixed Shade Lenses
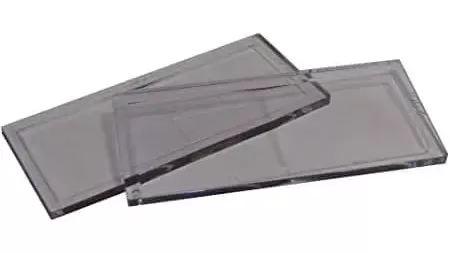
Passive helmets are a different beast. Favored by pipeliners and old-school welders for its simplicity and durability. They are not battery power, have no arc sensors or any other technology in them. They use a simple tinted piece of glass of a single shade (most of the time, DIN number default is #10) instead of the ADF filter.
This passive filter lens of a single shade is easily replaceable in case it gets damaged and you can find replacement everywhere. The disadvantage is that you will need to manually change the welding lens shade by removing the helmet and replacing this tinted glass piece with another. Most welding helmets of this kind come in the classic shape, but you have also probably seen pancake helmets.
They are also passive helmets, and all of these helmets, despite the price and lack of advanced protect your eyes from all harmful radiations ionization of shielding gas and are under the ANSI standards.
Advantage of fixed shade lance on passive welding helmets
Passive welding helmet has a different set of advantages compared against the helmets with variable shade lens.
First is the price: They are incredibly cheap and you don’t need to take care of them as much aside from cleaning the front visor. There is no technology in them so there is nothing to go off when you wet the helmet or when you drop it. They are great when you only weld a single material and don’t need to adjust shades furder.

You don’t need to spend money on batteries or hold your helmet in a dark place to protect the solar cells from fast degrading. There are a lot fewer things that can go wrong with the passive helmet if you are using it right and you can always throw it and pick a new one, something you can’t do with a new Optrel helmet that costs above $300.


