Pipe welding is one of the most challenging occupations that involve working in harsh conditions and environments while staying in uncomfortable positions. However, with great risks come great rewards, as seasoned pipe welders find jobs easily and earn quite a few bucks for it.
While most pipe welding is carried out by Stick/Arc welding and TIG welding processes, specific applications might require MIG welding.
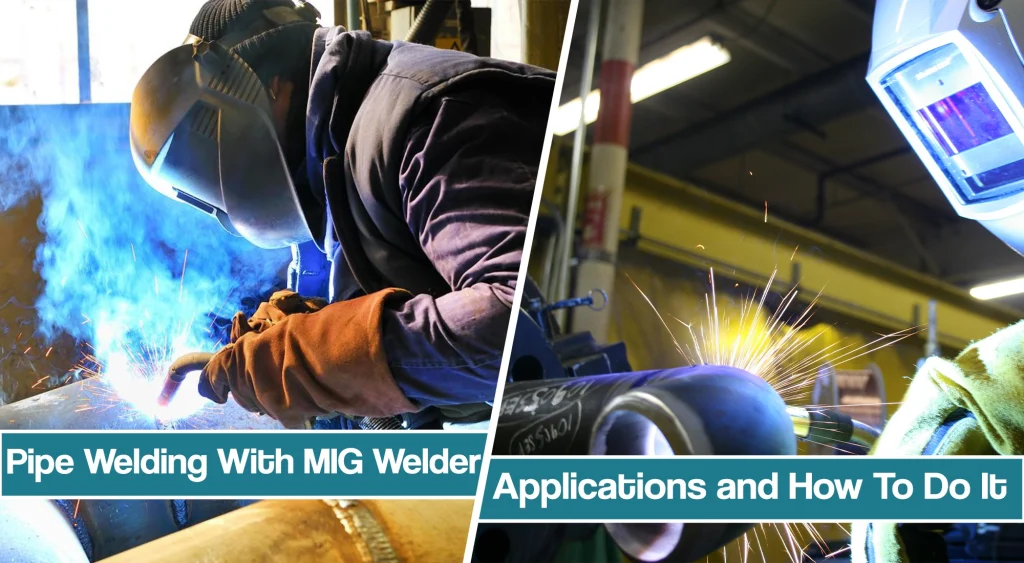
Since it is not a common procedure, we will explain how to pipe welding with a MIG welder is carried out.
Key Takeaways:
Can you weld pipe with a MIG welder?
Yes, you can successfully join pipes with GMAW welding, but it requires clean joints and proper shielding, which is challenging on field jobs.
Can you MIG weld the steel pipe?
MIG works great with common mild steel, aluminum, or stainless steel, so you can use it for steel pipe welding.
Is MIG weld as strong as Stick weld in a pipe?
MIG wires have the same tensile strength as same-grade Stick electrodes. However, SMAW offers higher penetration which is suitable for thicker pipes, while MIG works better with thin-walled pipes.
MIG Welding Pipe
MIG welding is one of the most straightforward welding processes, which makes it a common choice among many hobbyists. However, it still finds its way into many industries that include precise welding of thinner materials.
On the other hand, MIG welding is not so typical for pipe fabrication, even though it has its pros in specific procedures. The main advantage is the welding speed, which is significantly higher than TIG welding. With advanced features and metal transfers, such as STT Root pass, found in Lincoln MIG welder, GMAW can deposit a significant amount of metal fast.
The biggest drawback of MIG pipe welding is the shielding gas requirements. Since a lot of pipe welding is carried out in the field or in harsh conditions, extreme winds and drafts can easily blow the shielding gas, leading to porosity and cracking. In addition, the solid wire doesn’t tolerate dirt and rust like stick electrodes or flux-cored wires.
That’s why MIG welding pipe is reserved for indoor pipe fabrication. Let’s see how it is usually done.
MIG Welding Root Pass
The root pass is the first and maybe the most important pass in the pipe welding process. Solid root pass with good penetration and no defects make a foundation for all the remaining passes. The number of required passes will depend on pipe thickness, and in extremely thick pipes with walls over 2″, the MIG welding process can be a suitable choice.
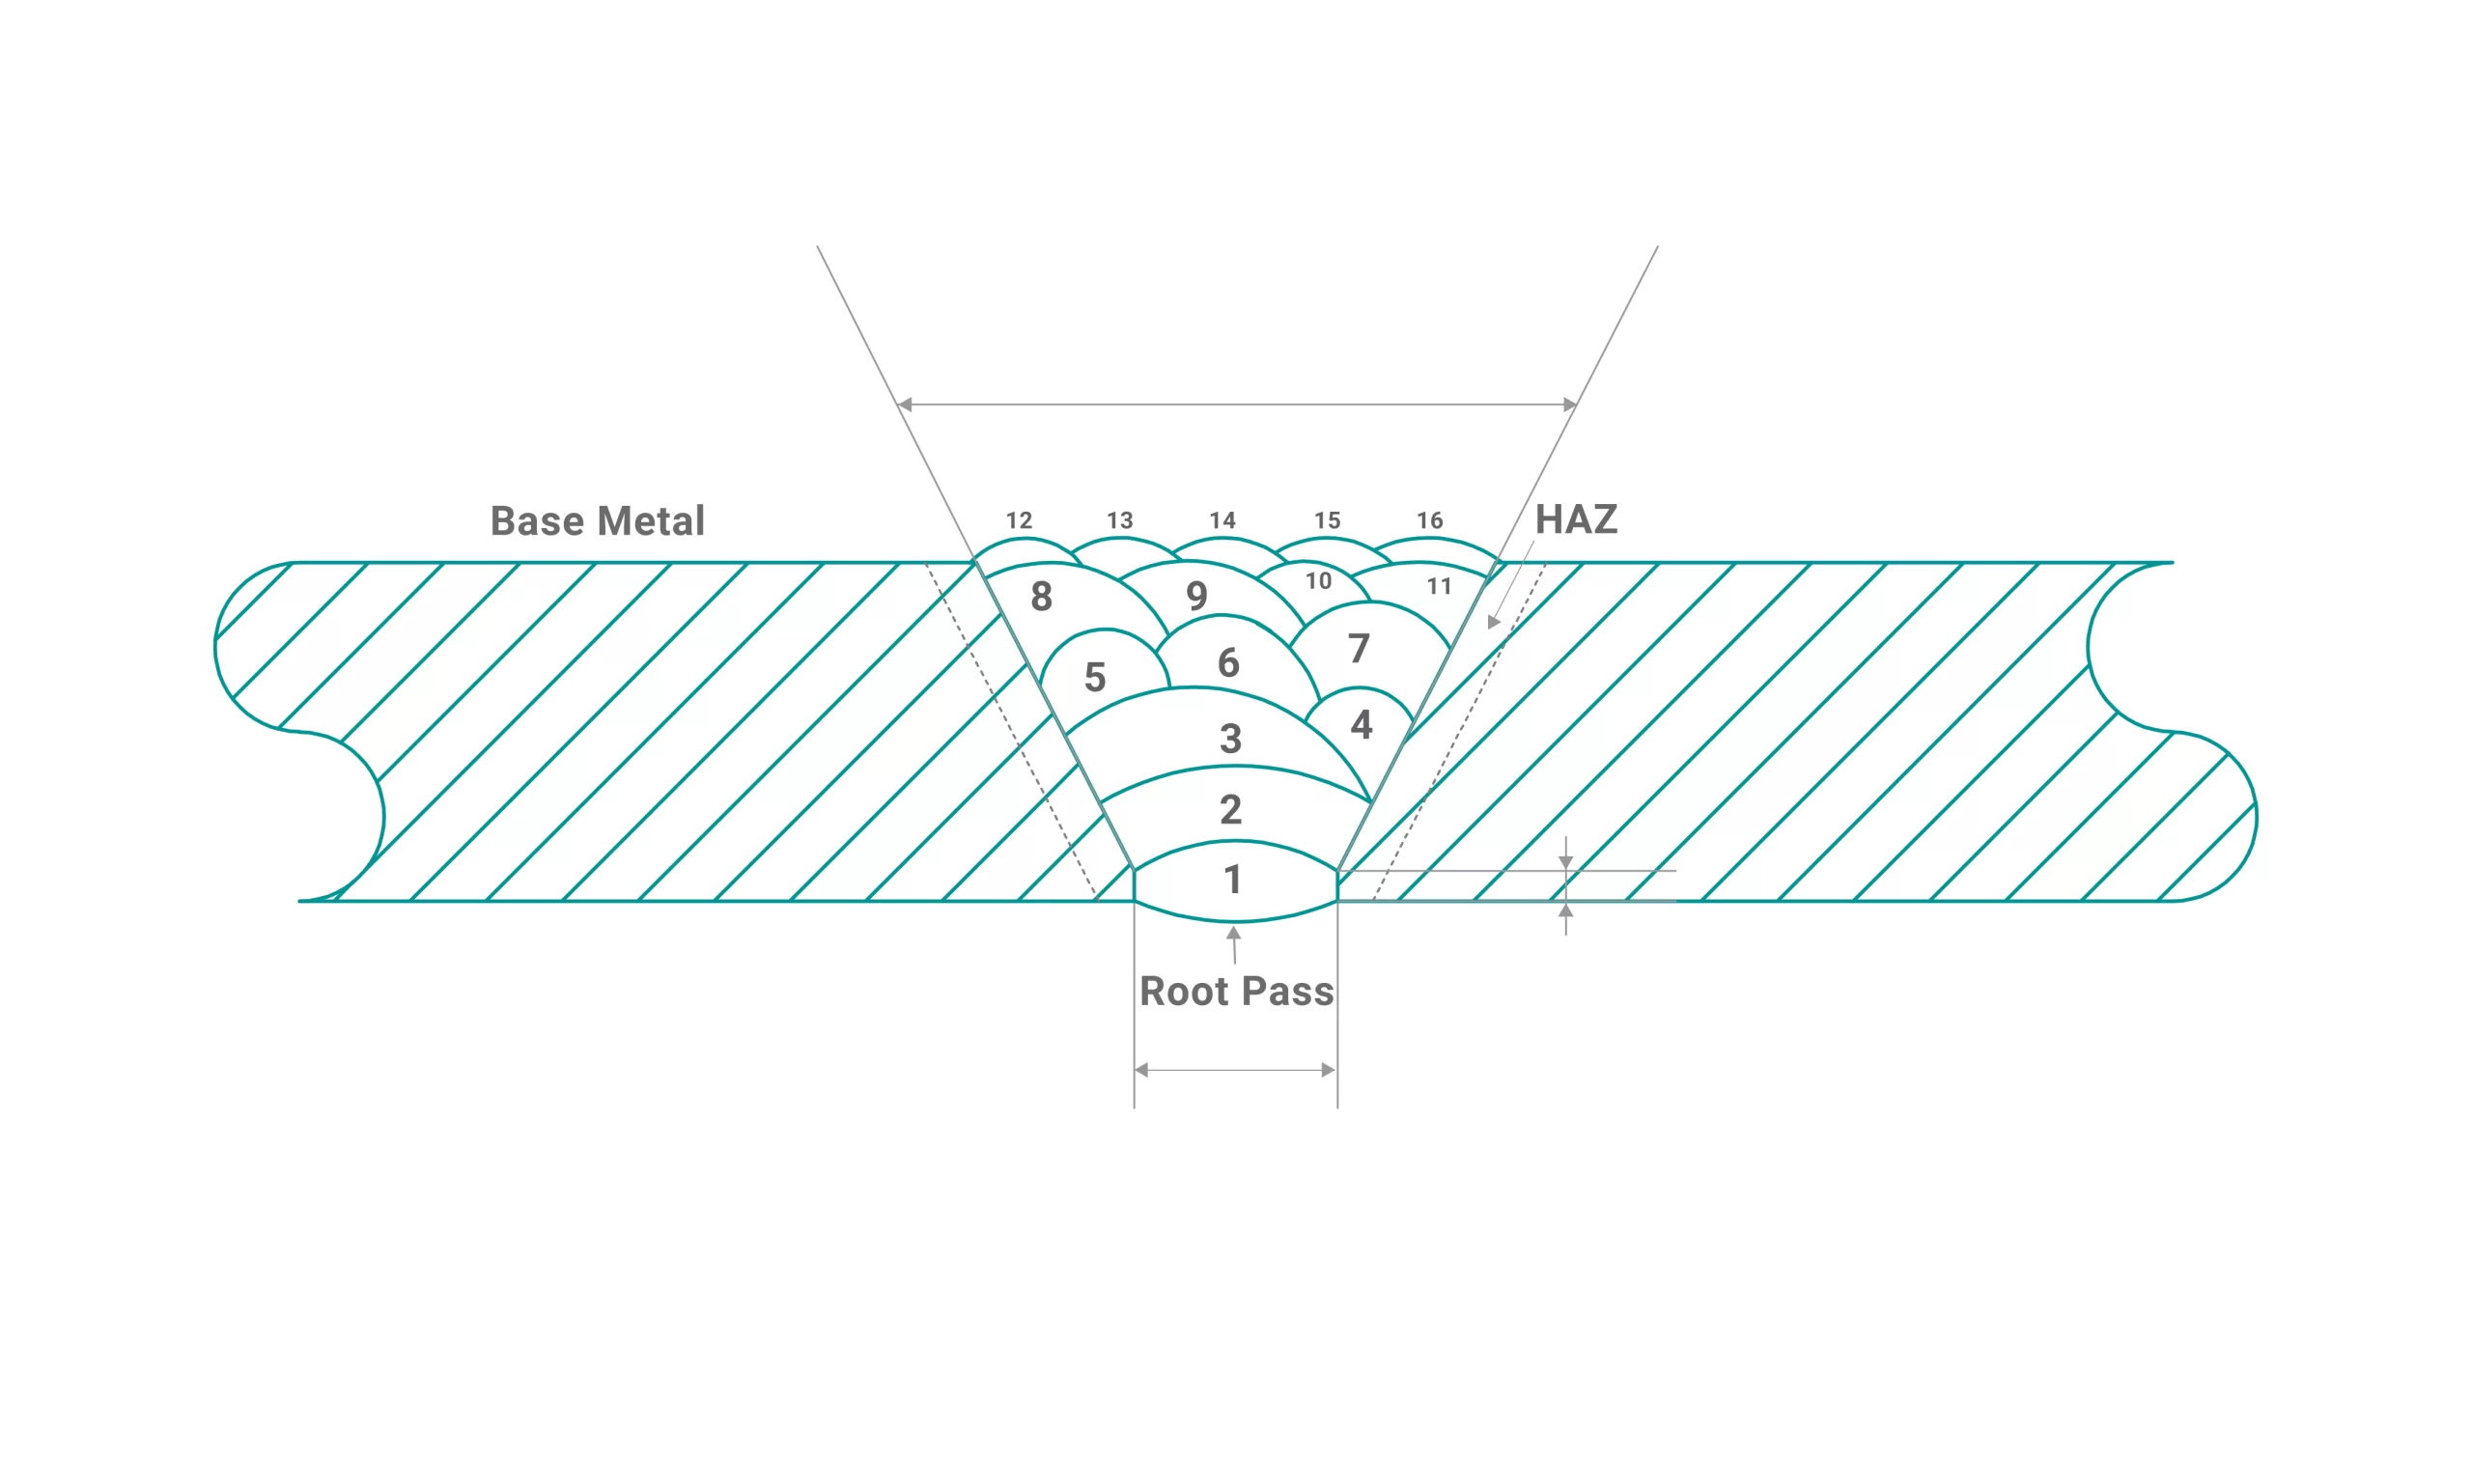
Welding pipes are one of the applications where downhill MIG can be successfully used for the initial pass. Every now and then, root passes can be welded downhill MIG, but fill passes and cap pass are done uphill.
To successfully MIG weld root pass, you will need proper preparation and pipe fit-up. Most US codes require a bevel with 37.5 degrees with 2.5 degrees deviation. A 1/8″ gap is required, and the best way to ensure an even gap is to use tack welds. For smaller-size pipes, two tacks at 6 and 12 o’clock are enough, but for larger-diameter pipes, you will need 4 tacks. You can use 1/8″ stick electrodes to check if the gap is even and the pipe is properly aligned.
Equipment and Settings
Joint prep is half the work for any pipe welding, and the same thing applies if you are using a MIG welder to do it. You won’t need anything fancy to ensure a good joint, your 250 amp-rated welder will do just fine.
However, for industrial applications and extra-thick pipes, a 400 amp-rated MIG welder with a 100% industrial duty cycle will get the job done.
Solid wire choice usually depends on specific applications, but it is usually carried out with .030-.035″ ER70s6 wire.
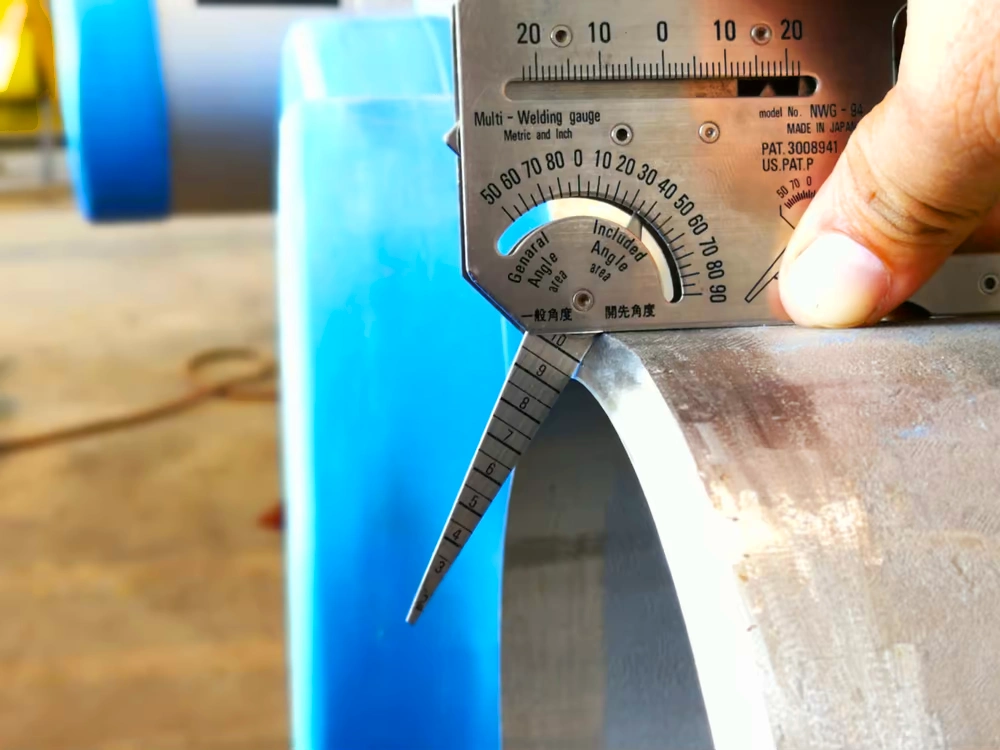
Solid and flux-cored wires have a low hydrogen content, which gives them an advantage over the traditional E6010/E7010 rods when doing root weld in high-yield strength pipes with a tensile strength of 120 ksi.
The good thing about leaving a root opening is that you can weld up to a 6-inch schedule 80 pipe with the same settings. Commonly, a root weld will require 18 volts 230 inches per minute, but these may differ on your MIG welder. On downhill welding, it is a good practice to set up the inductance for your short circuit transfer. The inductance will reduce spatter and ensure good penetration, but you don’t get this feature in all MIG welders.
Since MIG is chosen due to economics, shielding gas choice may vary. C25 (75% argon, 25% CO2) yields the best results in the MIG welding process, but for pipe welding, you can use 100% CO2. Even though it doesn’t provide the most beautiful beads, deep penetration and low costs are on its side.
If you are working in the field with the risk of draft or wind, you will need more shielding gas. By increasing a gas flow, you ensure the weld puddle is well protected. However, you don’t want it too high, as it could suck in the oxygen from the atmosphere into the weld.
Since the gap can be larger, you will need to weave with your MIG torch to properly fill the weld. Medium-duty applications and pipes will require a 250-amp rated MIG torch. A stringer bead on any 1/8″ or higher root is not recommended, as you can’t get the proper penetration and fusion.
Fill Passes With MIG
After laying a foundation with a solid root pass, it is time to fill the gap. The gap is filled with multiple fill passes and finished with a cap pass. Seasoned welders would argue on the wire choice, as many prefer self-shielded wires.
They usually provide good penetration and high deposition, and welders love them because flux core wires work great in the field and can burn through dirt and rust.
Dual-shielded flux core wires burn even faster. However, these require cleaning after each pass due to the risk of slag inclusions.
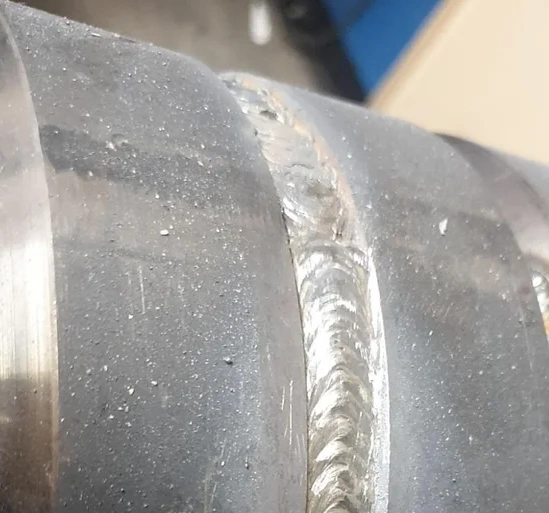
Depending on the size of the gap, you can use a single fill pass or multiple passes. When using a single fill pass, you want to tune down your MIG welder to 19.5 volts and wire speed to 200 ipm. That way, you can get larger weaves that will properly fill the joint of two pipes from one tack weld to another.
Once the thickness of the base metal rises, you will need more metal to fill in the gap. For multiple passes, you can use the stringer bead without too much weaving, but the ideal technique is your personal preference. Again, the combination of good MIG welder settings and welding techniques will help you get the best weld quality of the final weld.
GMAW Cap Passes
Finally, you will finish with a cover pass that gives your weld that nice cap. With enough skill and weaving technique, you can put that shiny crown on top of your weld.
To avoid common mistakes such as excessive reinforcement, you will want to lower the voltage and wire feed speed to 18 volts and 180 ipm.
Don’t forget to let everything cool down between the fill pass and the cover pass. You want to avoid excessive heat, as it will lead to improper fusion and defects. The final goal is to achieve a strong and solid weld that has no hidden defects.
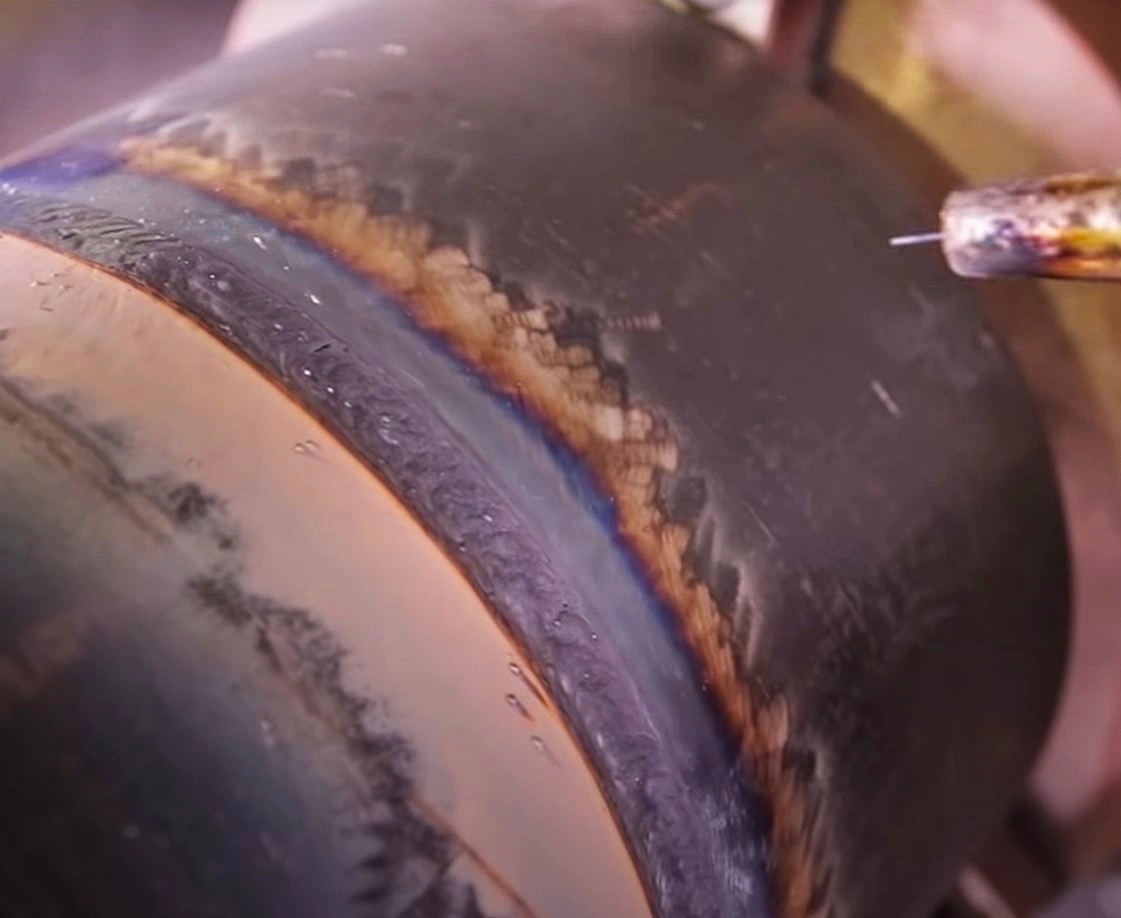
Unfortunately, you cannot see the weld quality without proper tests. The good thing is that you can use the same thickness plate to practice. You can easily cut the test plate to look for a lack of penetration, inclusions, or porosity. With a pipe, you will have to rely on an x-ray or ultrasonic testing to check for defects.
If you properly clean the mill scale and prepare the joint, set the power source, and employ adequate technique, the risks of defects with GMAW pipe welding are minimal.
MIG Pipe Welding Position
Pipe welding often includes joining two pipes in extremely uncomfortable positions. The given welding position will vary on the specific applications, but it is commonly done in 1G, 2G, 5G, and 6G welding positions.
However, since GMAW welding pipe is reserved for indoor welding in fab shops, things don’t have to be so uncomfortable. You can fit the pipes in a 1G position, which places the pipe horizontally. The pipe can be rotated around the x-axis while the welder remains stationary.
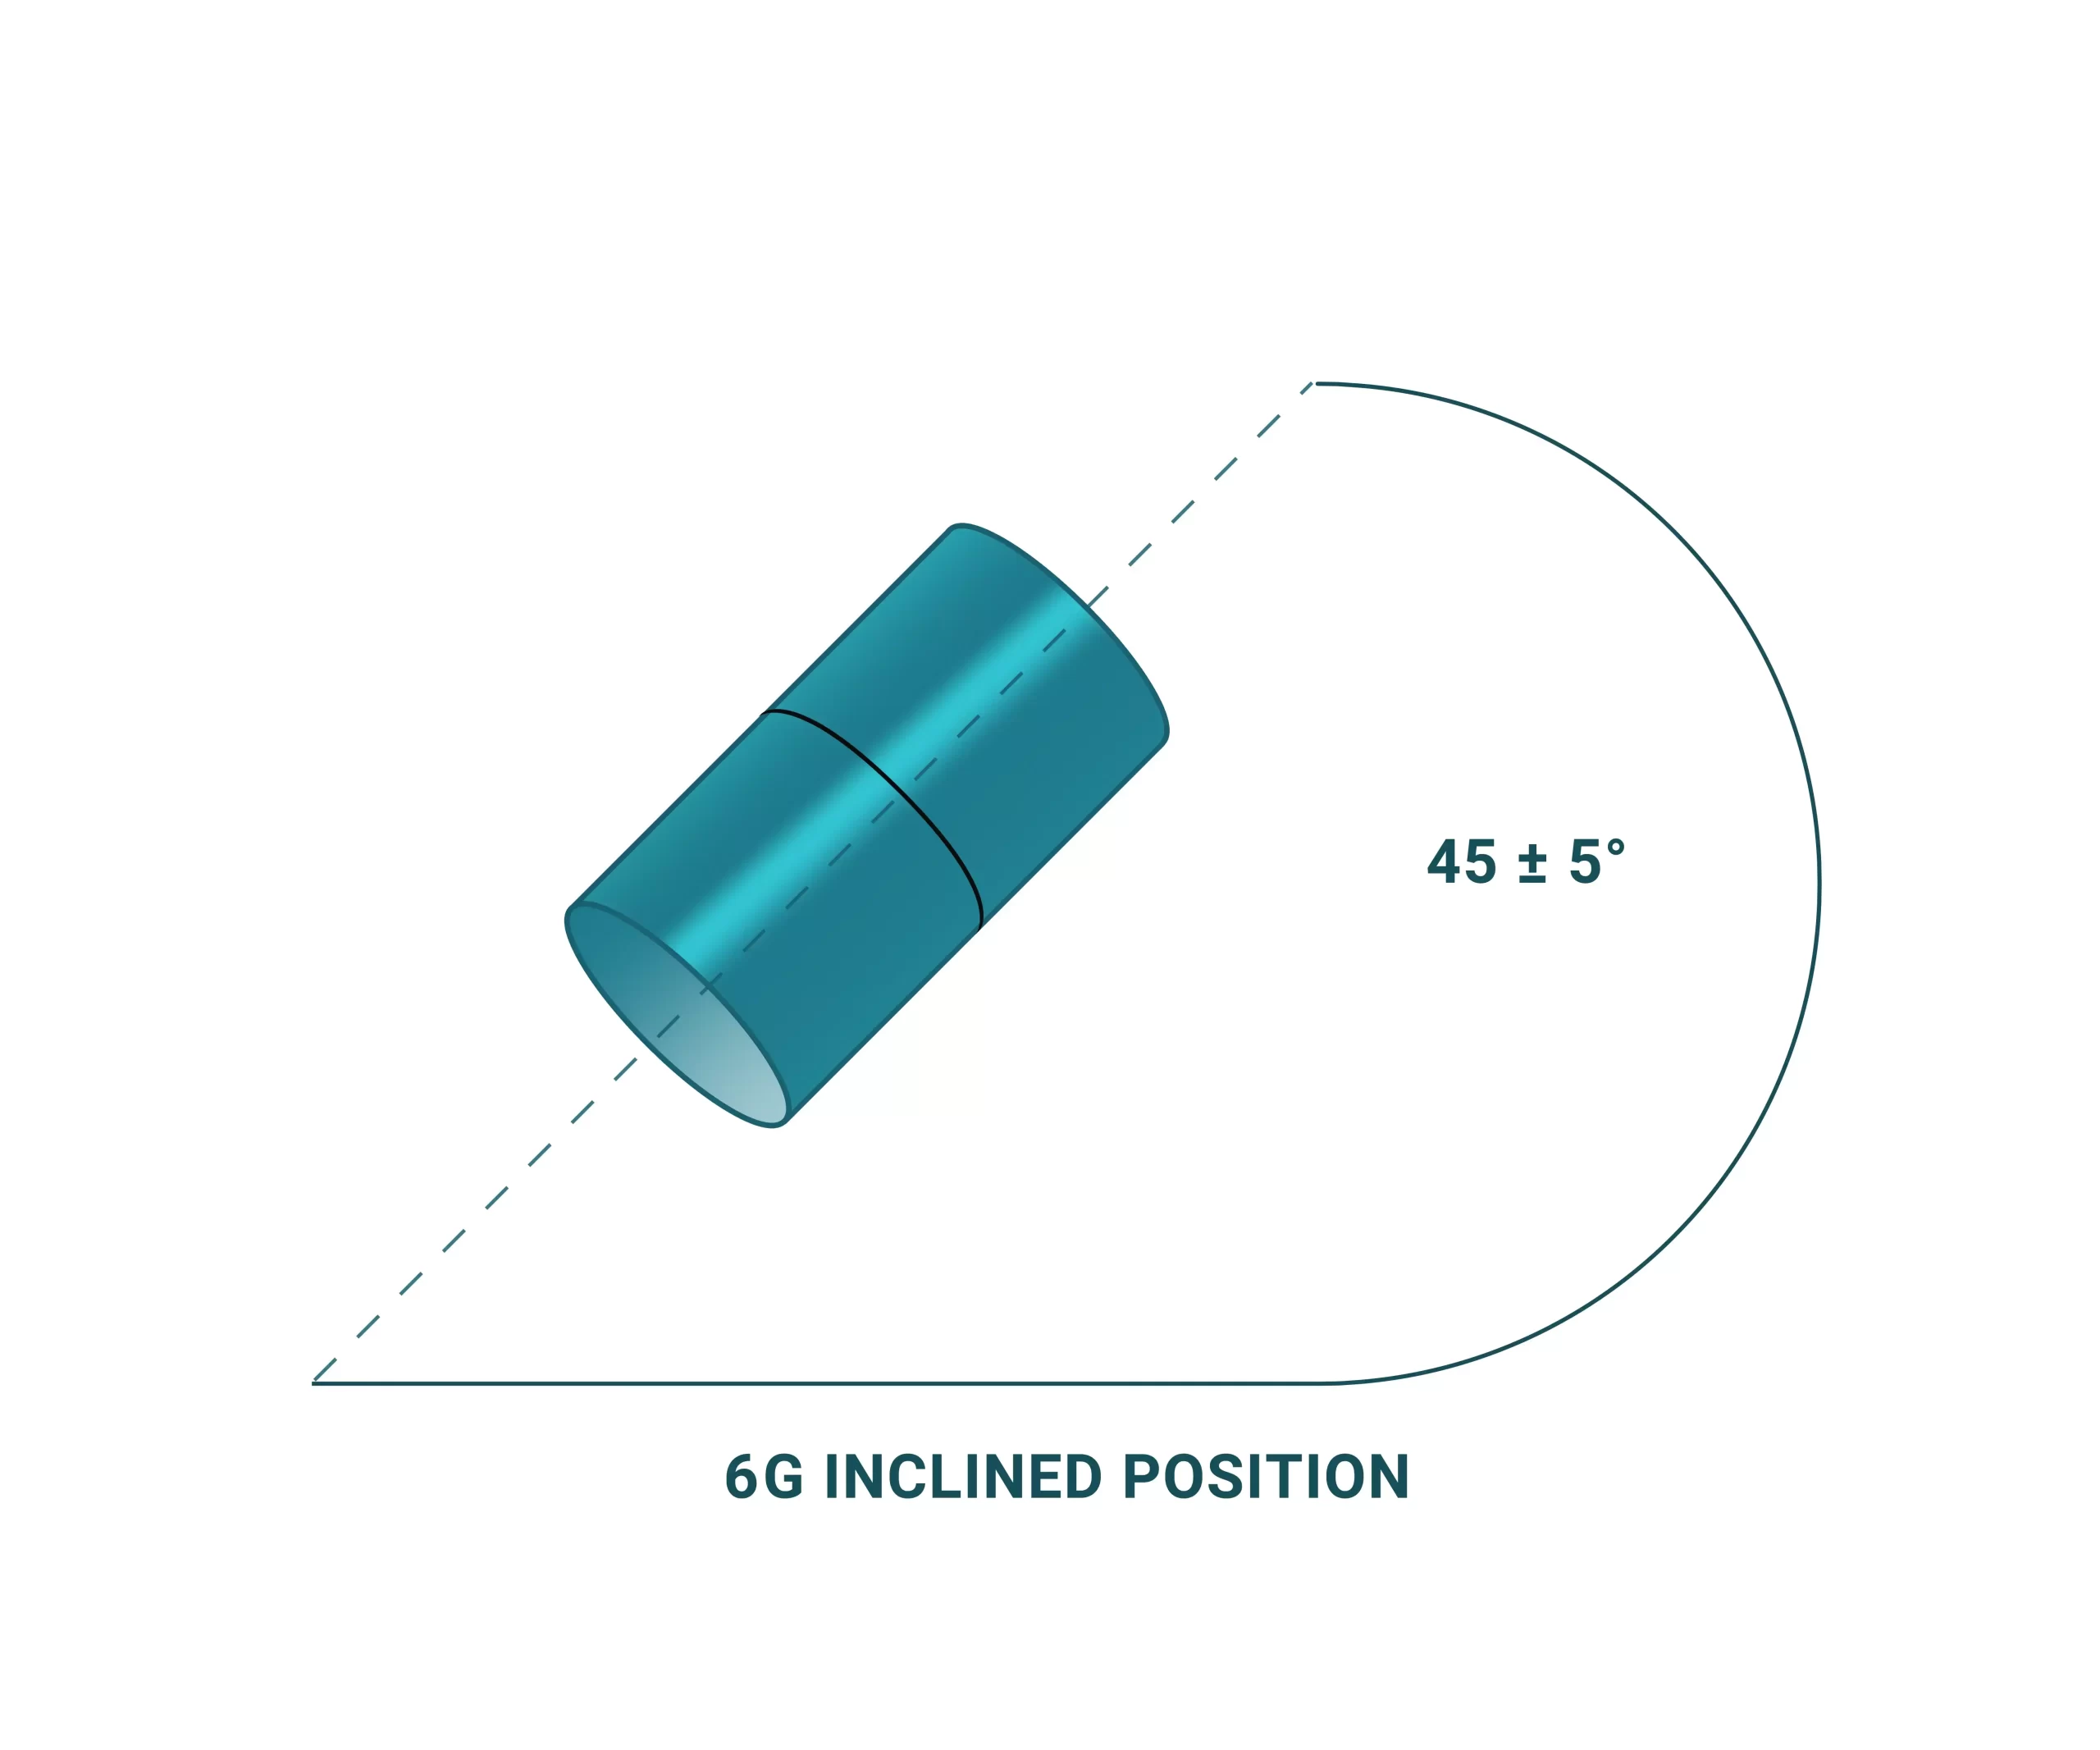
Additionally, if you don’t have a positioner machine in the shop, you can place the pipe in the 5G position, which is fundamentally the same as 1G, but the pipe is stationary. This position might be less comfortable, as you will have to rotate around the pipe.
The 6G and 2G vertical positions are somewhat more challenging to work with, but these conditions are commonly found on the field. Specific applications might require them, but you are not strictly limited within your shop. Therefore, you can make the GMAW welding pipe convenient.
Final Thoughts
MIG pipe welding is not a commonly used technique since it requires a clean surface with strict preparation and good shielding gas coverage. These are not typical conditions you find in the field, where most pipe welding is carried out.
Nonetheless, when joining pipes in a fab shop, MIG can be successfully employed. By welding in a shop, you surpass the drawbacks of a GMAW welding pipe. You utilize the advantages such as high deposition rates, ease of use, and low overall costs.


