Aluminum is everywhere around us. You will find it in small bits and pieces all the way to objects of significant value. I myself have done a fair share of aluminum welding during my time and still do. It doesn’t get any easier to tell you the truth, but it is still more than rewarding once you do it properly.
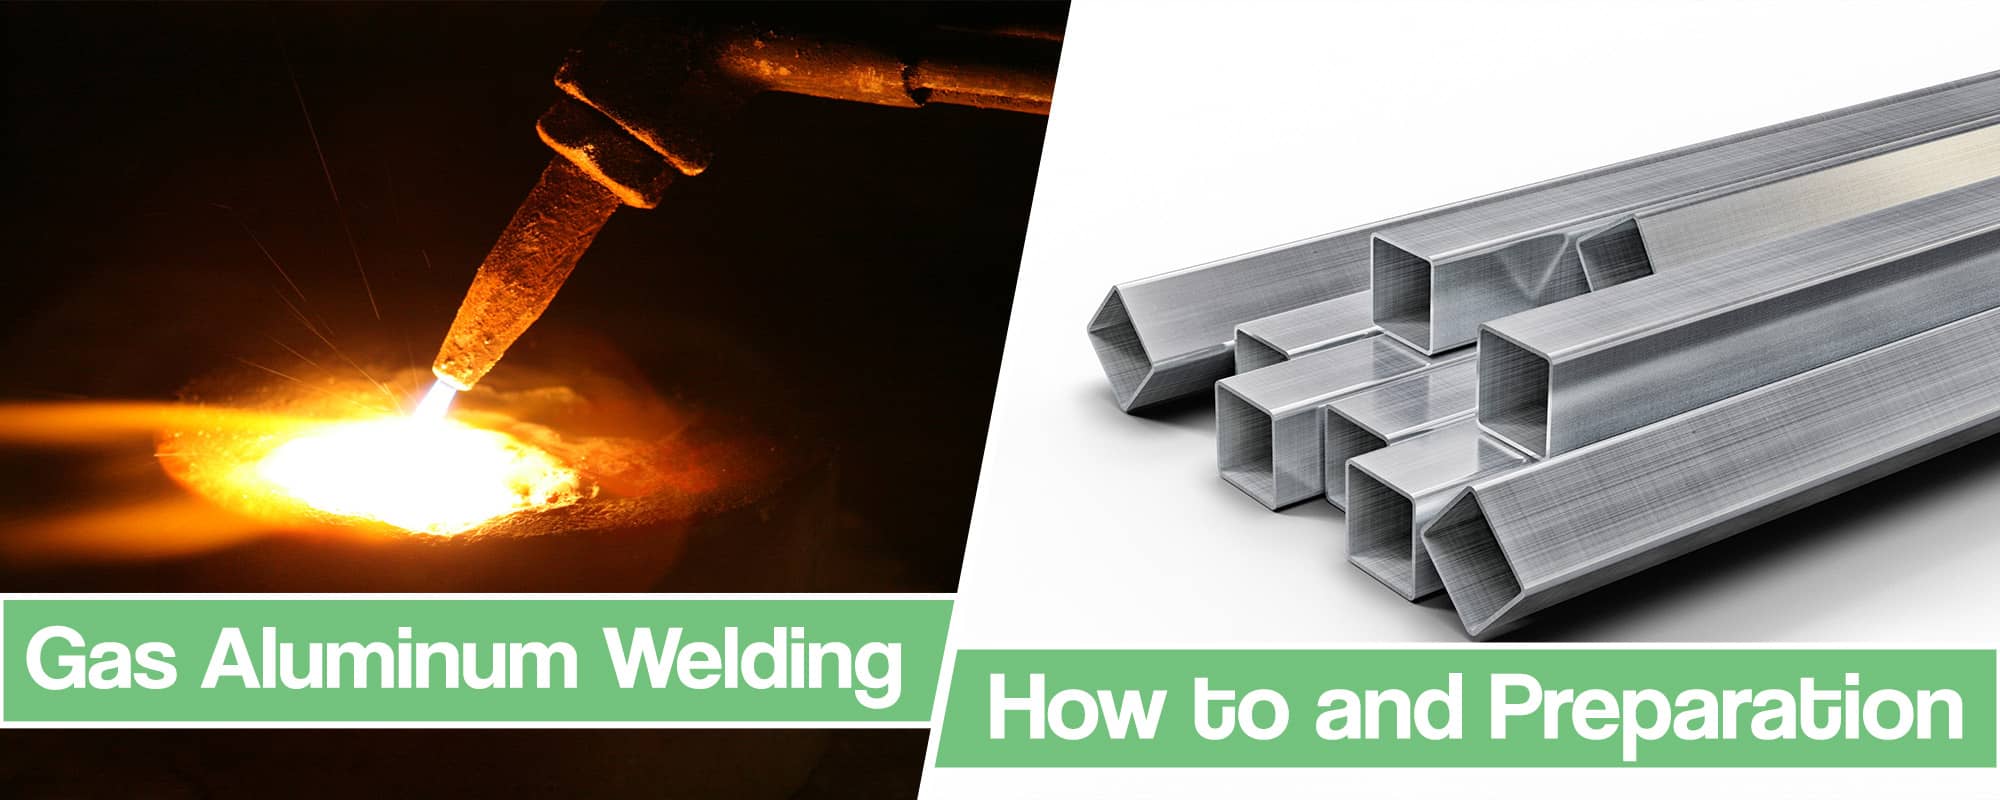
When it comes to welding aluminum, TIG and MIG methods are still kings. But there is more than one way to skin a cat and more variants of welding aluminum. That’s right, gas welding is one of them. Fortunately, gas welding aluminum, or oxyacetylene welding, makes things a whole lot easier.
Gas welding eases things up a bit particularly when it comes to some of the unique properties of aluminum. For example, aluminum has great conductivity but a low melting point. With a bit of back work put into it and a whole lot of practice, even a novice will be able to master gas welding aluminum in no time.
Just do what I do and you’ll be all set.
Can You Gas Weld Aluminum?
The most reliable aluminum joining go-to methods are gas welding (Oxy-Acetylene) and TIG welding with AC current when it comes to aluminum.
Both methods have their advantages and disadvantages, but the biggest ones come with reliability.
Gas welding aluminum increased weld density. On the other hand, conventional aluminum TIG welds are susceptible to porosity if not done correctly. It is an accident waiting to happen if the weld gets contaminated.
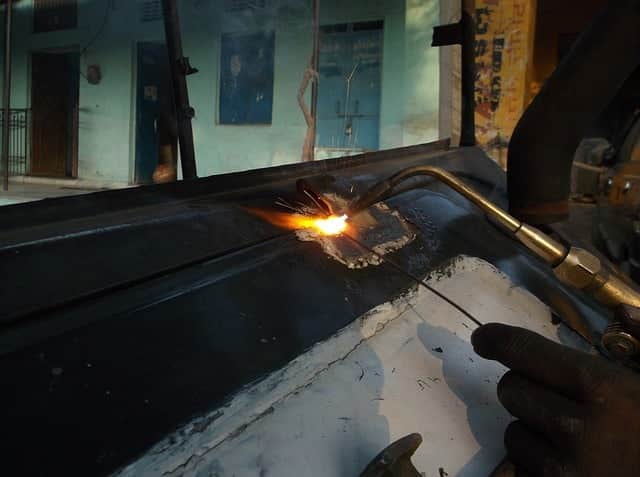
Welding aluminum with gas and hydrogen is a process that can easily be learned even by a beginner welder. During WWII, gas welding was used for fixing combat components. Today, oxygen and acetylene have a wide variety of uses and are even good for 4130 chrome-moly steel.
Required Tools and Materials
Gas welding aluminum with an oxy-fuel torch requires using good flux. The main job of flux is to prevent oxidation in the weld puddle. Additionally, it keeps the weld clean of any contaminants and improves the flow of filler metal. Unfortunately, when flux burns it gives off an orange sodium flare, making the visibility of the weld puddle difficult.
The best fix for welders to see the puddle clearly, and protect their eyes, is to use a Shade 5 green or Shade 6 cobalt blue lens. Besides these, a homemade flux tray, some pliers for holding the work piece, a stainless steel brush, and proper safety equipment are all useful tools that will come in handy.
Aluminum Weld Rod
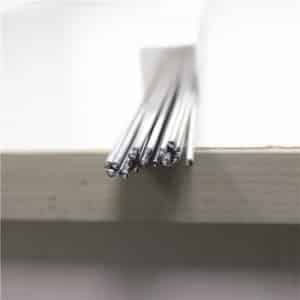
One of the main steps is finding yourself a proper rod. Usually, a TIG welding rod works fine as it has high purity which makes for quality welds. Keep in mind that flux-cored aluminum welding electrodes can be used as well since they are rich in flux.
The 1100 filler rod is a good choice for soft application, particularly if bending or shaping is needed. Contrary, the 4043 filler rod is a good choice for hard application if the base metal is not intended to flex.
Choosing the welding rod diameter is a guessing game. But I would advise you to start with a 2mm (5/64”) rod and move down in size if needed.
Aluminum Welding Flux and Welding Safety
The purpose of using flux is to remove the aluminum oxide film and protect the puddle from oxygen. The flux used usually comes in powder form mixed with water to get a thin paste.
Before you start welding, you should apply the flux to both the base material and the filler rod. The flux melts due to the welding heat and will form a protective layer on the top of the puddle. The coating breaks up the oxide, prevents oxidation, and slows down the cool-down process of the weld.
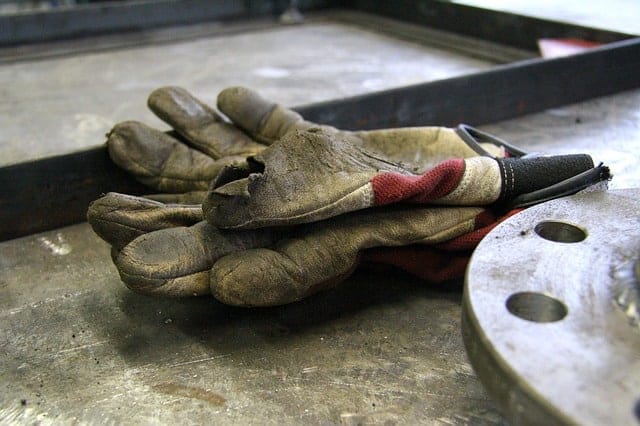
After you are done, the flux needs to be completely removed. However, the acid solution used is toxic and corrosive. The solution must be handled with protective goggles, a rubber apron, and gloves. It goes without saying that you should avoid inhaling the fumes.
If you spill the solution on your body or clothing, wash immediately with some cold water and be sure to seek medical attention. You should never pour water into acid when preparing the solution. Instead, do it the other way around and mix slowly. Be sure to do it in a well-ventilated area.
Weld and Edge Preparation
Preparation is always key. Even if you apply flux, cleaning both the base metal and the work surface is needed. Use a stainless steel wire brush to clean the weld area and wipe off the surface with a clean rag. Joining material thickness of 1/4″ will require you to bevel the edges for good penetration. Sheep and plate edges in particular have to be well prepared.
The edges have the same preparations as the steel. However, metals of 1/16 in. (1.6 mm) can be formed to a 90-degree flange to prevent unwanted warping and buckling. Working without a filler rod only works for pure aluminum alloys because cracking occurs in high-strength alloys.
Preheating the Joint
Aluminum needs to be preheated before the process commences. However, a fair amount of metals do change color after heat input, but aluminum doesn’t. So here are a few tips that will help you recognize that the material is ready:
- Rub the end of a wooden stick to the metal. If the stick chars then the proper temperature is achieved.
- Mark the metals being preheated with some blue carpenter’s chalk. At the proper temperature, the line will turn white.
- Tap the metal with a hand hammer. If you notice an absence of a ring, then the proper temperature is achieved.
- Carburize the surface of the metal by sooting it entirely. Then, as you apply heat from the torch, the soot will disappear.
Welding Flame Selection
The best choice for gas welding is a neutral or a slightly Carburising flame. Oxidizing flames create aluminum oxide, which might lead to defective welds and poor fusion.
Gas Welding Aluminum Method
The best way to start is to first pass the flame by moving the torch in circles until the flux melts. The filler electrode should be scraped into the surface at three or four-second intervals with the rod coming clear off the flame each time. Scraping removes oxides and reveals the aluminum.
Melt the base metal before applying the filler electrode. I recommend using forehand welding as that way the flame preheats the weld area. When thin material is welded, it is enough to move the torch only forward. However, with 5mm (3/16”) materials thick and over, a uniform lateral movement is recommended.
This allows distributing the weld metal over the entire weld. A slight back and forth movement helps the flux in removing the oxide. Dip the filler electrode into the puddle from time to time, and pull it back with a forward motion. This drag technique will close the puddle and prevent porosity.
Post Weld Treatment
After completing your work, some post-weld treatment is required. Fluxes contain fluorides and chlorides, which when exposed to moisture attack the base metal. Therefore, any flux remaining has to be removed.
Parts that cannot be cleaned well with a brush or hot water can be with an acid dip and a cold or hot water rinse. I recommend dipping it for 30 minutes in a 10% sulfuric acid cold water solution, or about 10 minutes in a 5% sulfuric acid hot water solution at 65ºC (150ºF).
Conclusion
As you can see, this type of welding process may be a better choice for a beginner who wants to weld aluminum. It is much easier to learn but still comes with some details that need to be learned and mastered.
But if you can follow the instructions I mentioned above, you will have no trouble doing it. Good luck and may the torch be with you.


