Stick welding is still one of the most important welding processes used in the industry.
A lot of people think that it has become obsolete but it couldn’t be further from the truth. It is still used today for many purposes as it produces quality welds and provides excellent results.
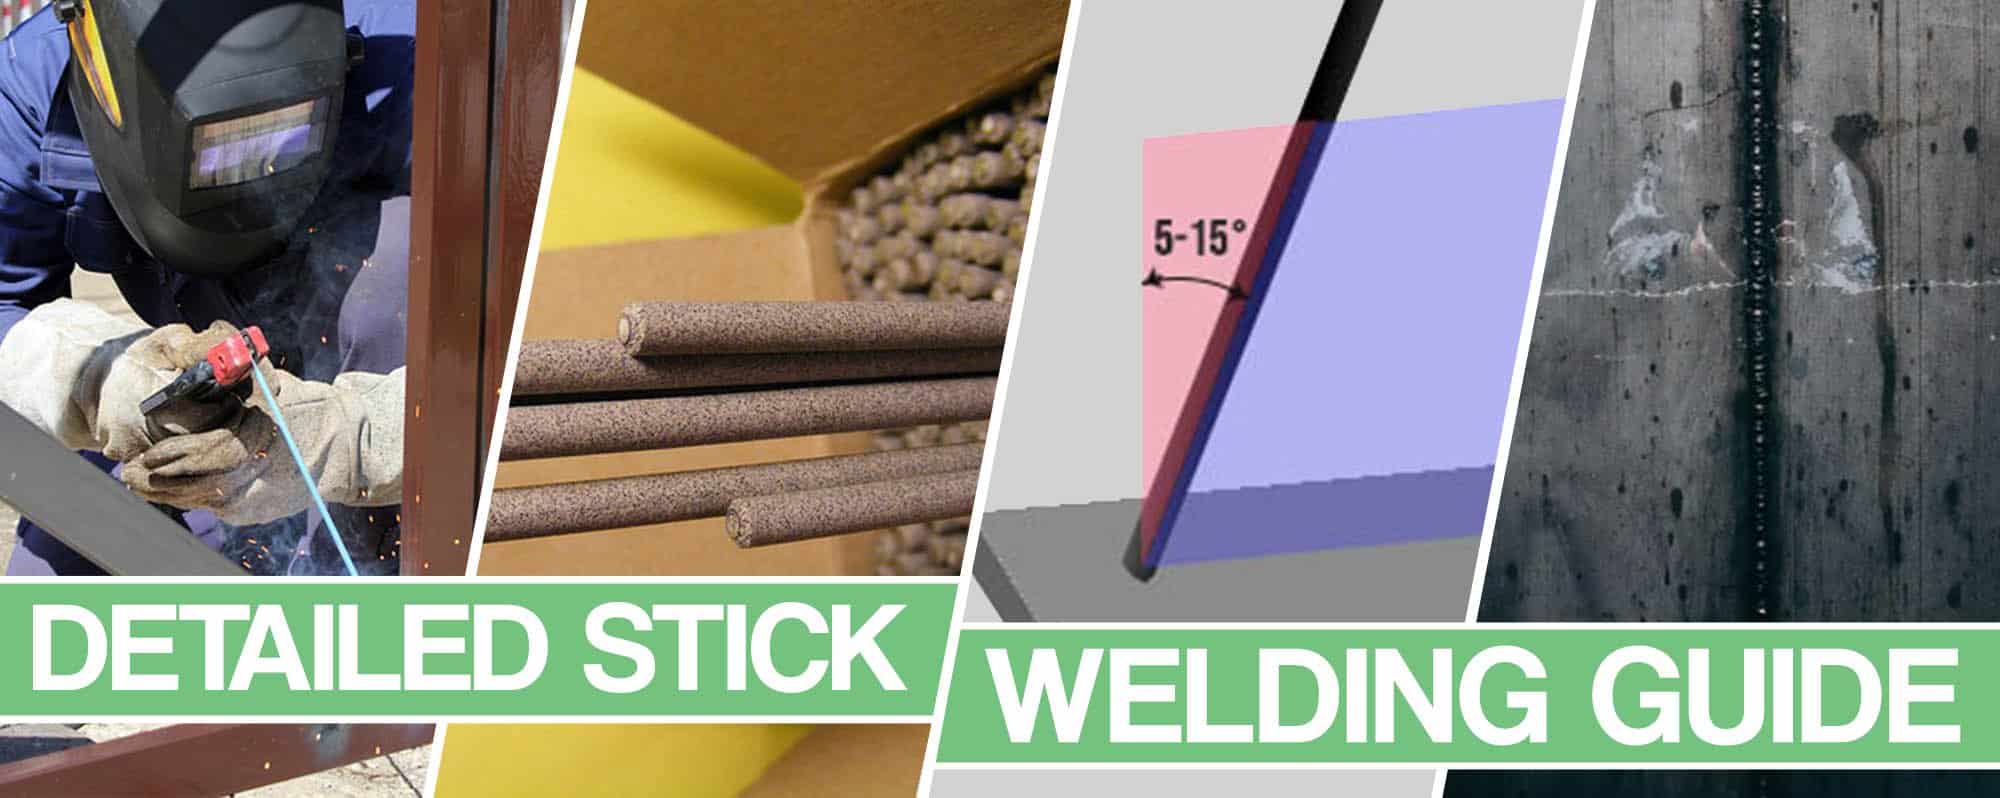
Stick welding was originally introduced back in the 1920s with the first flux coated electrode. Today it is used for welding bridges, in construction, pipelines, for maintenance, etc.
But let’s break it down into more detail and determine how to stick weld.
What is Shield Metal Arc Welding [SMAW] or for short – Stick Welding?
Stick welding is a slang term that the industry has adopted for the process technically called Shielded Metal Arc Welding. The reason why many people refer to it like this is that the electrode used to weld the metal is in the form of a stick.
Stick welding uses electricity to melt the filler metal rod or the electrode as it is properly referred to. Both the metal joint and the electrode are melted at the same time and fused them together. The joint is filled with filler metal at the same time to make the weld stronger.
The electrode is covered with a layer of flux.(1) The flux melts due to the heat and serves as a protection for the weld pool preventing it from being contaminated by the atmosphere. The flux has the same protective function as a shielding gas has in MIG and TIG welding.
However, when melted, the flux will form a layer of slag on top of the weld bead. This slug needs to be removed and welders usually brush it off or chip it off after the weld is complete.
How Does Stick Welding Work?
The way stick welding works is that the current flow comes from the power supply through the electrode holder and ground clamp and forms a closed circle.(2) This results in melting the electrode and the metal piece together.
How to weld with a stick welder?
The first thing that a stick welder needs to do is to hook up the electrode holder and the ground clamp to the power supply using the needed polarity.
The polarity will depend on the electrode you are using. The next step involves hooking up the ground clamp to the metal you will be working on. The final step includes putting the electrode in the stick holder and starting the welders arc.
Starting the arc welder stick is actually easy. One needs to strike it the same way as a match and lift it slightly and the rod will start burning on its own.
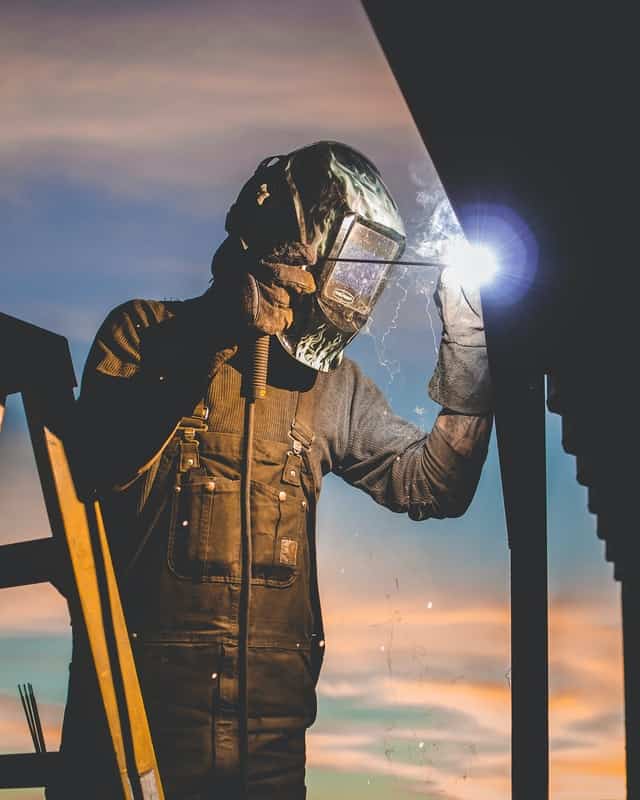
The electricity of the welder will pass through the rod and the arc and will create a temperature of up to 7,000° F at the point of contact. The coating will begin to melt and a shield will be created, protecting the work area from oxygen contamination.
This is actually where the technical term shield metal arc welding (SMAW) comes from. As you move the rod it will continue to melt over the weld area (like a spray) creating a crater and filling the weld joint.
Is Stick Welding AC or DC?
The power supply for a Stick welder can be AC, DC, or both, it actually depends on the type of machine you are using. DC welders are a preferable choice among modern welders as they provide a smoother and stable welding arc.
Using DC allows you to pick between a DC electrode positive (DCEP) and DC electrode negative (DCEN).
Going between the two will help you work on different types of metal. With the AC stick welding, the current goes from positive to negative 120 times a second.
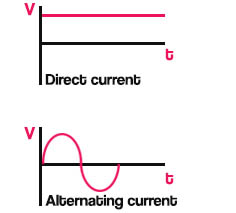
Every time it switches the arc will go out and will be restarted again. This results in less consistency. On the other hand, DC provides a non-stop current from the moment you start the welder arc. However, AC is a better choice if the distance between the power supply and the work area is greater. This is because the voltage that goes through the cable drops as opposed to AC. The resistance in the cable becomes greater the longer it is even though they are usually made out of aluminum or copper.
Also important to note is that welding with AC in humid conditions increases the chances of the welder getting shocked.
DCEP or DCEN?
Making your stick welder settings for DCEP or DCEN is important!
Usually, there are two connectors on your welder, one marked with “+” and one marked with “-“. You will connect your stick holder and ground clamp there. How you connect your equipment will also determine the choice between the positive and the negative electrode.
So connecting your stick holder to the positive connector and your clamp to the negative will mean that you are welding with electrode positive (DCEP). If you make the connection the other way around it will mean that you are welding in electrode negative (DCEN).
DCEP
The DCEP setup means that your electrode will be positively charged while your welding piece is negatively charged. Since electricity always travels from negative to positive, it means that the current will travel from the welding piece to the electrode. This results in more heat and penetration in the welding piece.
DCEN
The DCEN setup means that your electrode will be negatively charged while your welding piece will be positively charged. In this case, the current flows from the electrode to the welding piece. In this case, the current concentrates less in the metal that is welded and more in the electrode. So the result is less penetration and less heat on the metal you are working on.
Materials & Application
Shielded metal arc welding is the go-to method in the repair and maintenance industry due to its versatility and simplicity to use. It has its usage in industrial fabrication and the construction of steel structures. However, it is still interesting to use by various hobbyists who perform their work around the garage.
Shielded metal arc welding working on low and high-quality steel, carbon steel, stainless steel, ductile iron, and cast iron. But it is not really applicable for non-ferrous materials. But it can be used for nickel, copper, and even aluminum.
Advantages of Stick Welding
According to stick welding basics, there are plenty of advantages for method.
They include:
- Outdoor work: Stick welding is perfect for any outdoor work as working with gas is not good in windy conditions.
- Easy to learn: Stick welding for beginners is easy to learn, particularly opposed to TIG welding.
- Affordability: Basic stick welders are very affordable.
- Easily dispose of welding fumes: You can simply use a fan to get rid of the welding fumes, which is not the case with MIG or TIG welding.
- Versatility: You can weld a variety of materials with Stick and the equipment is easy to use.
- Portable: A good Stick welder is easy to carry and move about. You don’t require any added equipment like a gas cylinder or a wire feeder.
Disadvantages of Stick Welding
However, when learning how to use a stick welder, you will notice that there are certain disadvantages that come with it.
They are:
- There is a lot more spatter and slag produced.
- Not really easy to be used on certain thin metals.
- You need more skill for it as opposed to MIG as you need to keep the stick welding electrode at a certain length from the metal to prevent it from burning down.
- Stick welds do not provide the same quality as TIG welds.
- More stick welder electrodes are needed as it only allows for short length usage.
- Stick welding takes more time and is a much slower process compared to, for instance, MIG welding.
Stick Welding Machine & Equipment
Stick welding is widely considered as the easiest and simplest welding process. The equipment that it uses and setting it up can be done quite fast.
It consists of four parts: a stick welder or a constant voltage power supply, an electrode holder (also referred to as a rod holder), a ground clamp, and stick welding electrodes which are the rods used for welding.
How Much does Stick Welding Equipment Cost?
As with any sort of machine, the price of the stick welding equipment will vary. It all depends on what you are planning to use it for and your budget. For your basic welding needs, you really don’t need to spend a large amount of money. Any stick welder will do. But if you want quality stuff you have to think about the brand, warranty, availability of spare parts, etc.
If you are planning to do more welding, you should aim at a well-known brand. Some of the most popular brands in the world currently include Miller, Lincoln Electric, Hobart, Everlast, and ESAB. On the other hand, a cheaper choice will be good for some occasional jobs.
How Much Power or Amperage do I need in a Stick Welder?
Generally speaking, with enough skill a person will be able to weld almost anything with Stick at 150 amps. Additionally, you can also make multiple passes to make the weld as you desire it to be. But the more amps you are using fewer passes you are going to need.
There is nothing wrong with using multi passes but it requires some skill to do it. The best advice would be to study the Stick welding chart and the maximum material thickness it is meant for.
But note that the number given is not final and you can weld thicker materials if you are able to make more passes. Welding rod size (diameter of the electrode) for metal thickness is also important and if you are planning to use thicker rods you should look at what amps did the manufacturer state to use.
Safety Equipment
Some very serious stick welding tips come with the safety equipment that needs to be used. Protection is one of the most important aspects of this type of work. If taken lightly, it can lead to serious injuries and even death.
Welding safety includes protecting your eyes and head, your body, the surrounding, and minding the air that you breathe.
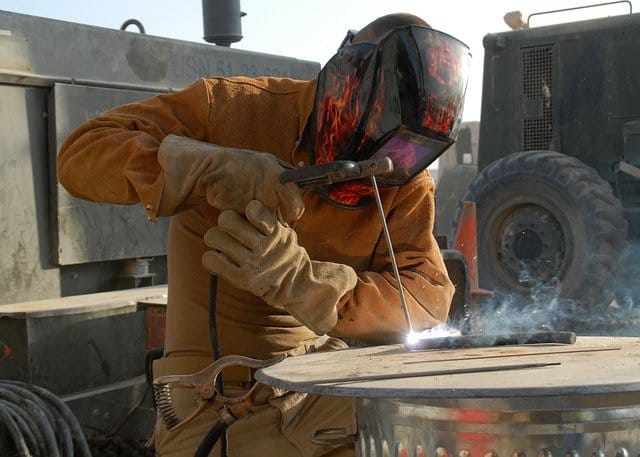
Body protection and fire retardant ling sleeve clothing is there to protect you from UV radiation and from sparks and bits and pieces of slag and metal splatter everywhere. A welding helmet with protective glasses is there to mind your head and eyes. Welder’s blindness is one of the most serious injures when doing this type of work. You also have to mind your surrounding and work in a well-ventilated area.
Welding safety demands that if you work indoors, you have to make sure that the room is ventilated due to dangerous fumes that are created. But welding outside only requires you to watch your surroundings.
Slag Removing Tools
The process of stick welding produces a lot of slags. It is important to understand that cleaning up the weld after you are done is necessary to complete the work. A welder should chip the slag away using a chipping hammer. Finalize the cleaning process by brushing the base metal weld joint away with a wire brush. The finishing touches done with a wire brush will ensure that the weld is also aesthetically appealing.
Choosing Your Electrode
Welding rod selection is an important part of stick welding. There are thousands of stick welding electrodes that one could choose from but the most popular ones still are the mild steel welding rods. These fall under the American Welding Society (AWS) classification A5.1.(3) The included ones are 6010, 6011, 6012, 6013, 7014, 7024 and 7018 electrodes.
But in order to correctly pick the welding electrode, you need to understand the markings and what they meant. Welding rods explained tells you that before there were letters used to mark the electrodes.
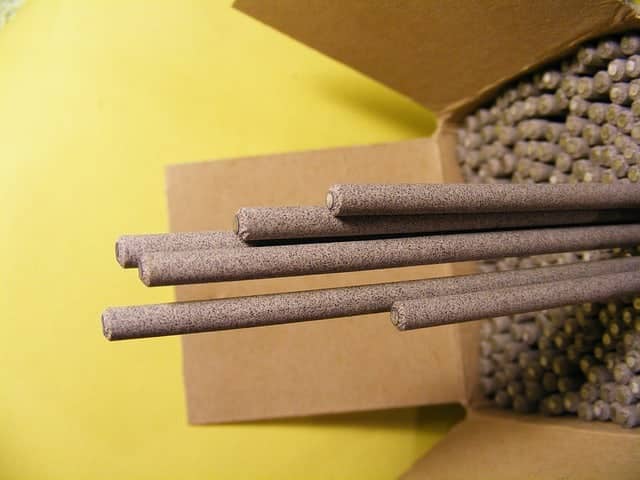
The letter “E” simply stood for the “electrode.” However, the letters were removed and only numbers remain.
- The first two numbers reflect how strong the welding filler metal is. So 7018 stick welding means that it has 70,000 pounds of tensile strength per square inch.
- The third number of the sequence tells us in which position the electrode can be used. Number 1 means that the rod can be used in any position and create vertical welds, while number 2 means that it can only be used in the flat position.
- The fourth digit reflects the flux coating on the electrode and the current that the rod can be used for. Coatings can actually consist of a number of different compounds. The main ones being rutile, calcium fluoride, cellulose, and iron powder.
Rutile electrodes are easy to use and provide good looking welds. However, the welds created are high in hydrogen and susceptible to cracking. Calcium fluoride electrodes, also known as a basic or low-hydrogen electrode, can produce strong welds but can have convex-shaped or coarse joint surfaces. Cellulose electrodes provide deep weld penetration but have to be treated specifically due to their high moisture content in order to prevent cracking. Electrodes with iron powder fill-up the weld joint twice as fast compared to other ones.
The choice of coating will also determine the polarity you are going to use, the angle of travel, and when you need to stop. However, welders that know how to weld with a basic electrode have a hard time welding with a cellulose one.
You can see the stick electrodes chart below for more information regarding the last digit.
| Number | Coating type | Current type |
|---|---|---|
| 0 | High cellulose sodium | DC+ |
| 1 | High cellulose potassium | AC, DC+ or DC- |
| 2 | High titania sodium | AC, DC- |
| 3 | High titania potassium | AC, DC+ |
| 4 | Iron powder, titania | AC, DC+ or DC- |
| 5 | Low hydrogen sodium | DC+ |
| 6 | Low hydrogen potassium | AC, DC+ |
| 7 | High iron oxide, iron powder | AC, DC+ or DC- |
| 9 | Low hydrogen potassium, iron powder | AC, DC+ or DC- |
The majority of the people will use one of three standard electrodes. E6010 is usually used for working on dirty and rusty metals. It offers deep penetration, can weld in all positions, and has the ability to burn through various junk. The E6013 is perfect for general, all-around welding purposes. It offers smoother welds, has decent penetration ability, and is easy to use. This stick electrode is also perfect for beginners. Finally, 7018 allows you to work on clean metal in all possible positions. It is considered as the industry standard and produces very appealing welds.
How to Lay Your First Stick Weld?
If you were able to set everything up properly, it is time to lay your first stick weld down. the most important thing to check before you strike an arc are your settings, see if the polarity coincides with the electrode. You might also want to get a few pieces of scrap metal that you can use as a butt joint.
Since stick welding requires a lot of skills and the learning curve is different, you should also do a practice run before you start. Lay a weld on a piece of scrap metal before you actually do a real one.
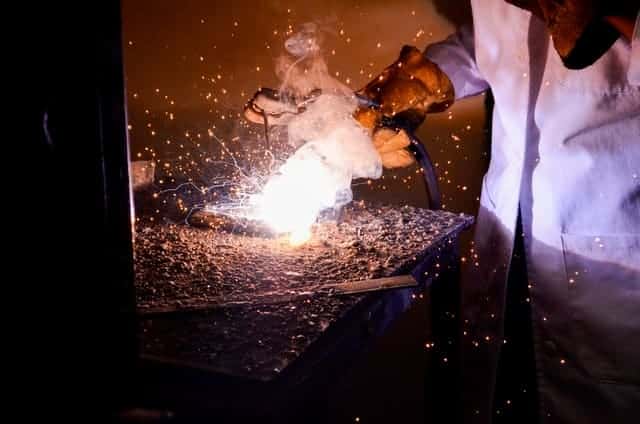
There are five elements to keep an eye out for when stick welding so make sure to watch for the length of the arc, current settings, manipulation of the electrode, the angle of the electrode, and the speed of travel.
Prepare your Welding Piece
In order to ensure that you have a quality weld during stainless stick welding or for any other type of metal, you have to have a clean piece. Stick welding may be the most forgiving one when working on rusty or dirty metal. Even so, the quality will depend on the cleanliness of the welding piece.
To ensure that the welding area is clean, use a wire brush and remove all the dirt and grime first. Not doing this will significantly impact laying down a good first weld. It can result in porosity, cracking of the weld, lack of fusion, or even inclusions.
Also, a clean spot for the work clamps is needed and a good electrical connection, which is needed for good arc welds.
Current Setting
The current setting is important for the type of metal you are going to weld and the type of stick based and the diameter you are going to choose. Thus the electrode you decide to go with will determine how you set your machine – DC positive, DC negative, or AC. You will set it based on what you plan to do at the given time before getting started.
Electrode positive will add 10% more of penetration at a given amperage at AC. But if you are working on thinner metals, like stick weld aluminum, you should use DC straight polarity, electrode negative.
If you are not sure what welding rod to use, you should look at the operating range that the manufacturer has stated for each rod.
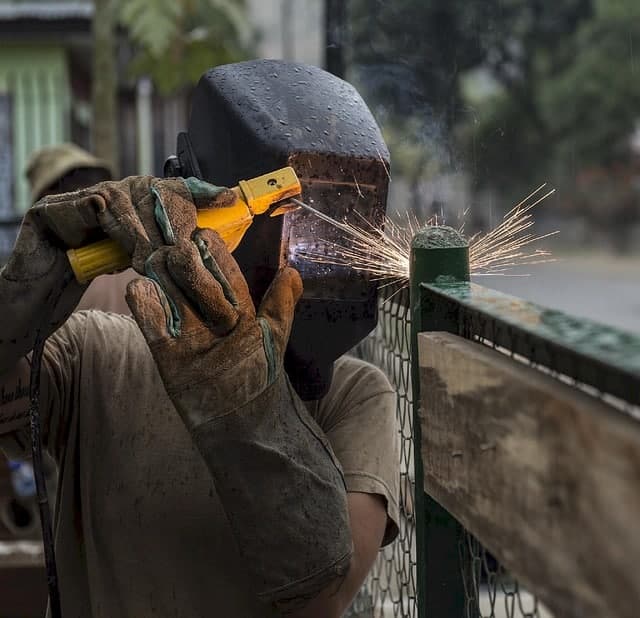
Thus the amperage should be set based on the electrode you are using., 1 amp for each .001-inch of electrode diameter is a good way to go. Welding position also needs to be considered and as it will need 15% less heat for overhead work as opposed to flat horizontal welds.
In order to get it correctly, adjusted your welder by 5 to 10 amps at a time until you get the correct setting.
Starting the Arc
If you have made all the aforementioned settings above and considered welding safety as well, it is time to start the arc welder.
Make sure you are holding your stick holder with both hands that you have your welding pieces in front of you. You should also be able to clearly see the area where you are going to strike the arc. Place the tip of the electrode against the metal and drag it across as if you are lighting a match. If you see that the arc is formed lift it up and pull it away slightly.
If the arc cuts out it means that you have lifted the stick electrode too high from the surface, meaning that you should have had it lower.
When the arc is lit it will start making a sizzling sound. If the sound is too aggressive lower the amperage down. If the amperage is low the electrode will be sticky. The arc will start to go out while maintaining the correct arc length and will stutter.
![Stick Welding [SMAW] - Basic Tips, Electrodes & Advantages 10 image of a welder worker](https://weldingpros.net/wp-content/uploads/2020/06/smaw-e1613126422437.jpg)
If the amperage is set too high you will notice your electrode char and the weld puddle will be too fluid and hard to control. Too much heat will have a negative effect on the electrode flux properties.
You also need to learn how to fix a chipped flux from failed arc strikes. Take a piece of scrap metal and strike the rod 1/4 of an inch away from the metal until it burns to an undamaged part of the rod. Next, you would want to scrape the rod and remove the flux. This helps in restarting the arc later on.
Length of Arc
With arc stick welding, the arc length will vary depending on the application and the electrode. The arc length should not go over the diameter of the core of the electrode. Too long arcs will produce spatter, undercuts, low deposition rates, and leave porosity.
When stick welding for the first time most people find it logical to have a long arc, usually to have a better view of the weld puddle. But avoid that by positioning yourself better and moving your head in a good position. The position is important when learning how to use an arc welder and you will see that controlled arc length will improve the appearance of the bead and minimize spatter.
Angle of Travel
Welders also need to consider the travel angle with this type of welding. There are two basic welding positions that can be used.
The stick welding technique used for the flat, horizontal or overhead position is called the drag or a backhand technique. This includes holding the electrode perpendicular to the joint from the starting point and then tilting the top by some 5 to 15 degrees in the travel direction.
Welding vertical up, a stick welding technique called a push or forehand is used. Here the rod angle is tilted by 0 to 15 degrees away from the direction of travel. In either case, in order to correctly execute the technique try adjusting your body position.
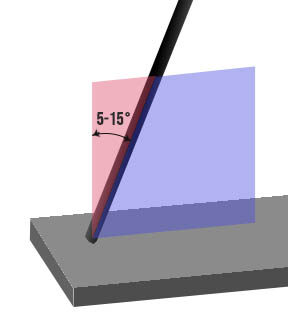
Adjusting to a correct angle will ensure that you come up with perfect results and a good weld. Sometimes weld length or bevel angle is specified on the welding drawings by an additional information on the weld symbol. It is important for welders to understand the symbols as much as learning how to properly weld.
Speed of Travel
If you are asking yourself how to arc weld and maintaining travel speed, you simply need to keep the arc in the leading 1/3 of the weld pool.
Moving too slow will result in a wide, convex bead. It also has shallow penetration and it can cause cold-lapping.
Moving too fast decreases penetration and creates a narrow and crowned bead.
Manipulation of Electrode
Every welder uses the electrode in their own way. Beginners should look at experienced welders and try to copy their movement. But it will eventually result in you creating your own way of movement.
The three most used welding techniques or pattern includes whipping the rod (moving it in a back and forward motion), a circular motion, and weaving from side to side (creating wider welds).
However, welders mostly use a straight bead as it is quite enough for them. A weaving motion should not be used for material thicker than 1/4 inch as it may create a wider bead than necessary.
Frequently Asked Questions [FAQ]
Is It Hard To Stick Weld?
Stick welding is a somewhat hard welding process to learn for beginners. Although it has been around for years, it may take some time to really master using this method. But it is still something that is used today for a variety of purposes.
Can You Hold The Stick When Stick Welding?
Yes of course you can hold the stick while stick welding. However, there is a chance that you might get shocked and even a bigger chance that you might get burned. So keep in mind welding safety while doing it and make sure to have protective gloves on.
What Is A Good General-Purpose Welding Rod?
A go-to general purpose welding rod is the 6011 one. It is good for beginners and hobbyists as it can handle any kind of DIY job. It comes in 3/32 and 1/8 size and performs well even on dirty or contaminated metals.
Do You Push Or Pull With A Stick Welder?
In the case of a welding stick, the general rule is to pull or drag. Experienced welders usually say that if it produces slag than you have to pull. Pushing is usually related to MIG welding.
What Causes The Welding Rod To Stick?
The main reason for welding stick sticking to the parent metal is due to low amperage. However, there are numerous other ones that could also be the cause like flux problems, using low OCV welders, or applying a bad welding technique. Also, important is the usage of the correct electrode size for a specified task.
Conclusion
Stick welding may not be as modern as some other more contemporary techniques seen today. It also may not be as easy as other forms are and may not be for beginners. But it sure gets the job done.
Although considered as an ancient technique by many it is still used for various kinds of jobs and produces perfect welds. So you don’t want to be caught not knowing how to use one in a dire situation.
Resources:
- Old school welding still rules by Jody Collier at www.weldingtipsandtricks.com
- Stick Welding rods by Jody Collier at www.weldingtipsandtricks.com
- Five Steps to Improving Your Stick Welding Technique at www.millerwelds.com
- 8 Questions About Stick Welding Electrodes Answered at www.millerwelds.com
- Stick electrode and welding basics By Michael Allen and Nathan Lott at www.thefabricator.com
- What You Need To Know About Welding Electrodes by Oanh Nguyen at www.tws.edu


