Light, durable and functional: these qualities make aluminum one of the vital engineering materials of our time. You can find aluminum in the homes we live in, in the automobiles we drive, in the trains and airplanes that take us across long distances, in the mobile phones and computers we use daily.
Welding is undoubtedly one of the best metal joining methods, but did you know you can “weld” aluminum without a welder?
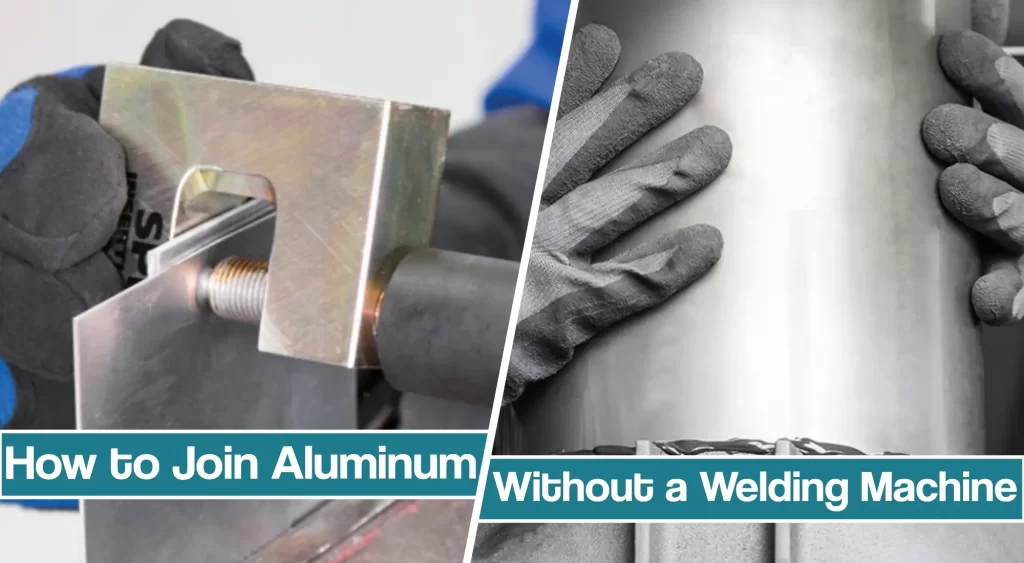
Instead, you can join aluminum using brazing, epoxy, or rivets, and today we’ll explain how to weld aluminum with no welder.
Aluminum Properties
Before we jump into aluminum welding methods, let’s discuss the properties that make it a valuable metal. Aluminum offers a rare combination of beneficial properties. ‘
First, it is one of the lightest metals globally: it’s almost three times lighter than iron, but it’s also very strong, extremely flexible, and corrosion-resistant. In addition, aluminum doesn’t magnetize. It’s a great electricity conductor and forms alloys with practically all other metals.
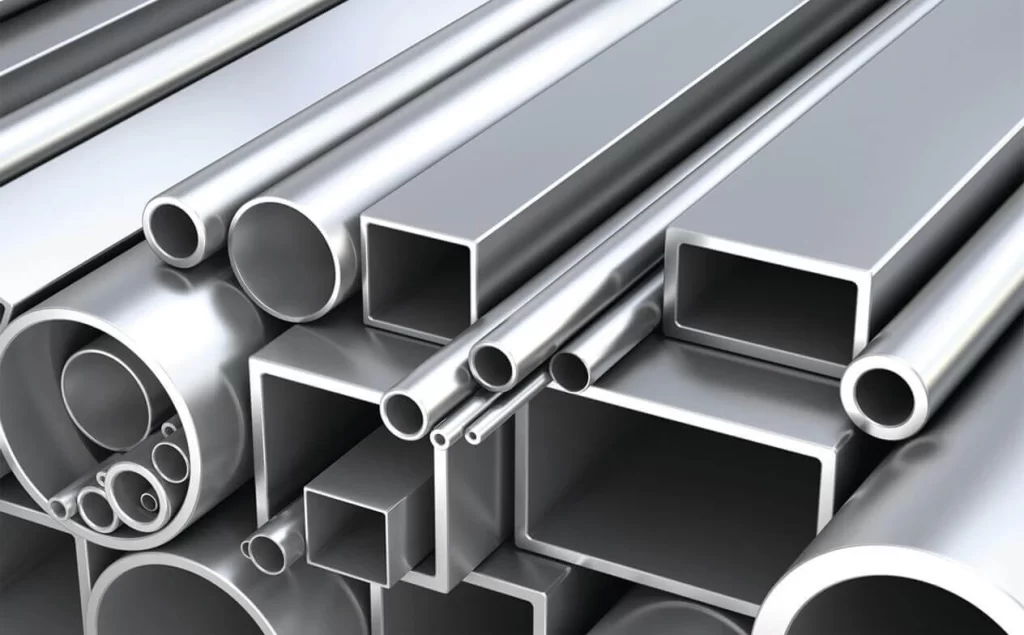
Aluminum can be quickly processed using pressure both when it’s hot and when it’s cold. It can be rolled, pulled, and stamped. Aluminum doesn’t catch fire, it doesn’t need special paint, and unlike plastics, it’s not toxic.
With all the given properties, welding aluminum can be done by brazing, riveting, or epoxy adhesives. Let’s find out how.
How to Weld Aluminum With No Welder – Brazing Aluminum
Since aluminum can be easily processed using heat, you can opt for aluminum brazing.
One of the most significant advantages of brazing aluminum is that the filler rod makes a really strong bond. Therefore, when properly applied, brazing can even increase corrosion resistance.
However, to ensure a strong bond and ever-lasting results, the aluminum must remain stable throughout the process. So, you should make sure aluminum reaches all gaps and cool off gradually.
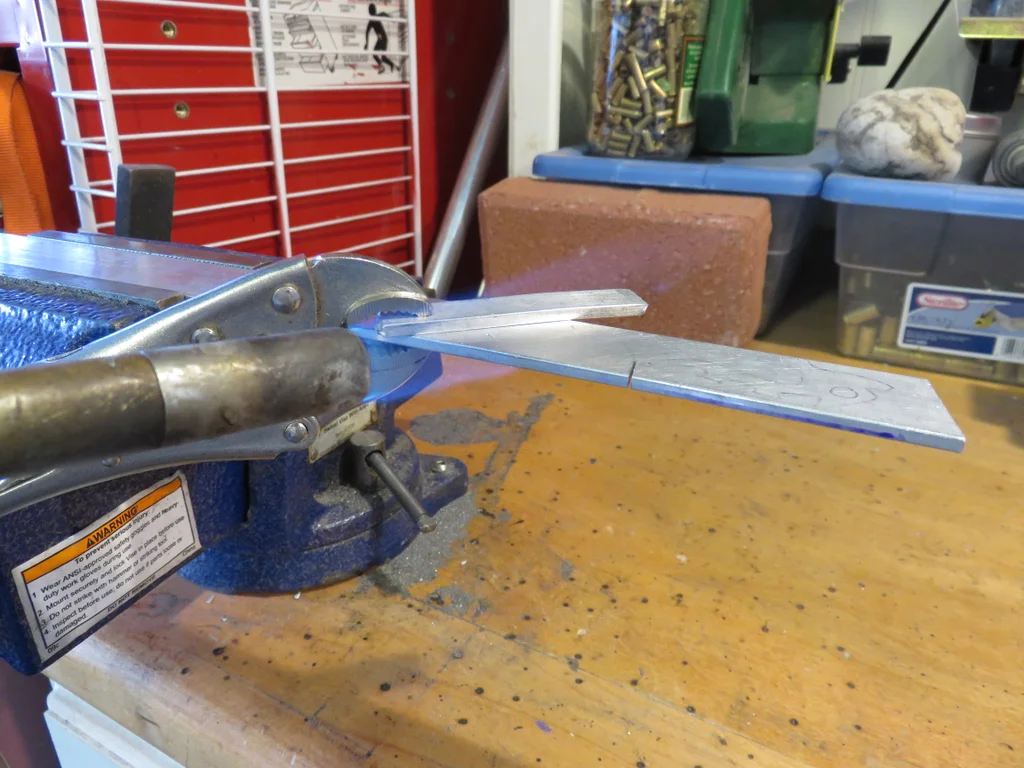
Nonetheless, to start brazing aluminum, you will need adequate tools. Thus, you should get:
- Propane torch,
- Aluminum brazing rods
- Aluminum tubing or other shapes you want to weld
- All-purpose flux
- Joint preparation tools such as degreasing solvent, sanding paper, or brush
Joint Preparation and Cleaning
Cleanliness is crucial when it comes to any aluminum joining method, such as TIG welding aluminum. Brazing is no exception, as you will have to clean the aluminum surface area thoroughly.
However, when dealing with high-temperature processes, such as brazing, you will have to wear proper clothing. Therefore, make sure you wear fire-resistant gloves, shoes, or any other accessories.
Brazing material is as effective as the aluminum pieces are clean. First, you should remove all dust from the surface, then apply a degreasing solvent. The solvent will remove the grease and oil from the joints, but there is more.
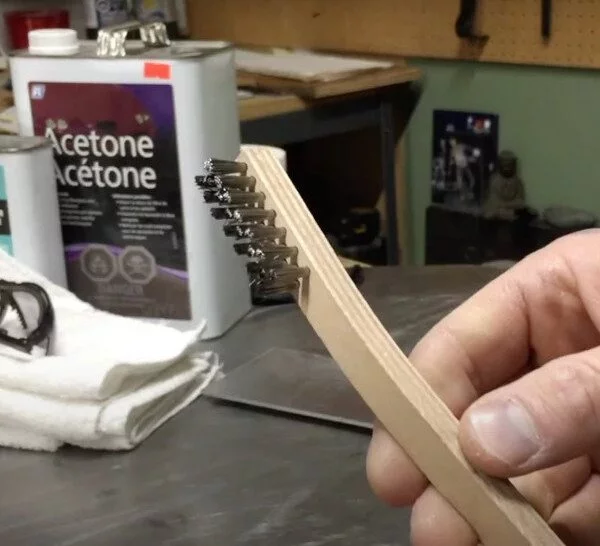
You should sand, grill, or sandblast the aluminum surface, as the filler metal will make a very strong bond on the rough area. Finally, you should clamp the workpieces to make sure they don’t move during the brazing.
Welding Aluminum by Brazing
Once you ensure proper protection and clean the joints, it is time to braze aluminum. Since there is no shielding gas present, you should make sure to dip your filler rod into flux, or you can even buy JB weld fluxed brazing rods.
Next, there are two approaches. First, you can heat the aluminum directly with your torch while simultaneously rubbing the joint with filler metal. Once the aluminum is hot enough, the filler metal will melt instantly inside the joint. This method is easier to use, but it is best suitable for joins.
Another approach is to heat the aluminum joints and filler material inside the metallic container. Once the base metal is hot enough, you should apply the molten filler rod. This approach is better when dealing with repairs, cracks, and holes, even in cast aluminum.
Bonding Aluminum With Epoxy Adhesives
Today, adhesives are advanced to bond aluminum achieving very high tensile strength. The improvements made them a very strong competition to the welding process, as we even see increased use in the automotive industry, aluminum boat welding, or even in construction.
Even though adhesives are gaining popularity, there are a couple of concerns when joining aluminum. Firstly, there is a concern about metal oxidation.
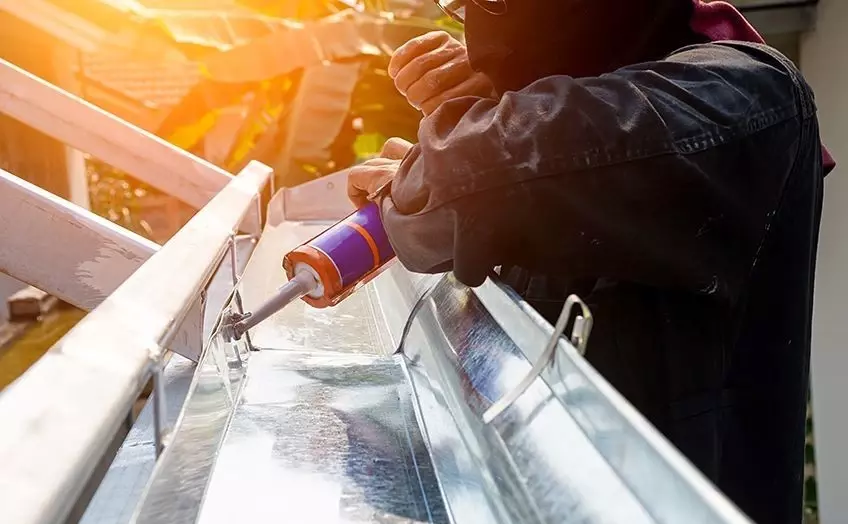
IIf the aluminum interacts with oxide, it forms an aluminum oxide layer. Therefore, the base metal loses its good properties, and it is impossible to form a strong bond with the aluminum adhesive. Therefore, before using adhesives, you should use a clear coating to cover the metal surface to deal with the issue.
Another concern refers to galvanized corrosion, which can happen even to various material thicknesses such as sheet metal, which is non-corrosive. To ensure a strong adhesive bond that is resistant to galvanized corrosion, you should first electroplate the aluminum. The best options are gold or nickel since they are corrosion-resistant even under electrical contact.
Surface Preparation and Cleaning
After ensuring the aluminum is ready for bonding with adhesives, you should also prepare the surface area. Once again, cleanliness is crucial, just as it comes to arc welding. To make sure glue can bypass the top layer, you should remove any oil, dirt, dust, or grease from the surfaces.
To degrease the aluminum surface, you can use trichloroethylene, warm distilled water, or a mixture of 20% water solution, 10% sulfuric acid (96%), and 3% sodium dichromate.
After degreasing, you should use sandpaper to make the surface rough, therefore better for joining. Finally, apply deionized water, and you are ready for proper bonding without wielding.
Bonding Aluminum
Once you prepared the surfaces and made sure there isn’t any dirt that can compromise the strength of the bond, it is actually time to use adhesive. But, again, you should always follow the instructions from the manufacturer or use recommended epoxy hardener to mix it.
To make sure the bond is as strong as possible, you should make sure there aren’t any gaps. Therefore, you should clamp the pieces, and give them some time to cure.
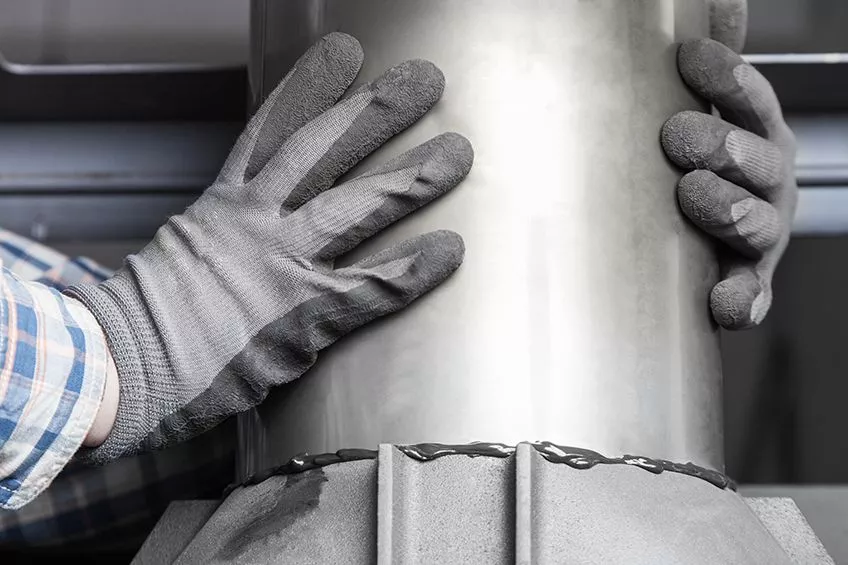
Only by following all the steps we recommended, you can achieve the bond whose strength can compete with traditional aluminum welding.
Riveting Aluminum Joining
Riveting in joining metals has been used since the early periods of shipbuilding, and it is still one of the widely used methods. All you need is a riveting gun and little practice, and you are set for success. If you are used to spool gun, mastering the riveting gg un is a piece of cake. Since aluminum is a soft metal, you can use it with ease.
However, just like with other welding methods, you should make sure you prepare the surface. In addition, there are a couple of things you should take care of.
Preparing Surface and Riveting Aluminum welding
There are several differences when preparing the surface for riveting. You don’t need to spend too much time cleaning, but you shouldn’t disregard it. You can also grind or cut sharp edges, and then move on to the actual process.
After cleaning the surface, you will have to plan the riveting position. Therefore, you will need a ruler and a pencil or permanent marker, to line up your rivets perfectly.
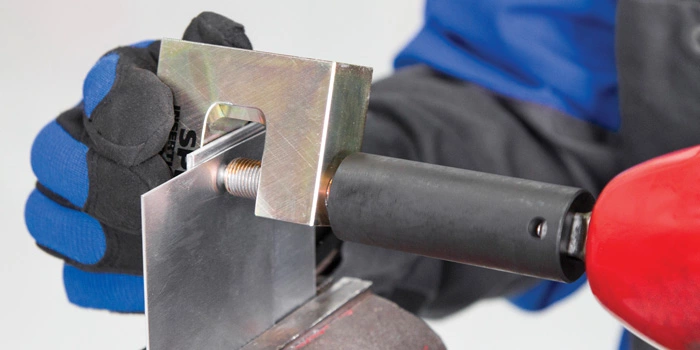
You should always make sure to align pieces the way that marks are visible. In addition, make sure you follow the marks you drew before.
Next, you should clamp the pieces tightly. Since you will be using force to drive the rivets, it is highly dangerous to work with an unclamped surface. Next, proceed to squeeze the handle while pressing the gun down to release the rivet and bond the two surfaces in place.
However, if you fail, you can use a drill to get the misplaced rivet out. You can repeat the process once you got it out, but you cannot reuse the rivet once it is out.


