Welding plastics is in many ways similar to welding metal. But, there are, of course, crucial differences.
You can approach plastic welding professionally or as a DIY solution if something valuable is broken. Depending on the joint quality you wish to achieve, either works well.
In this article, you’ll learn the most practical ways to create high-quality joints with some DIY to cut corners if you must.
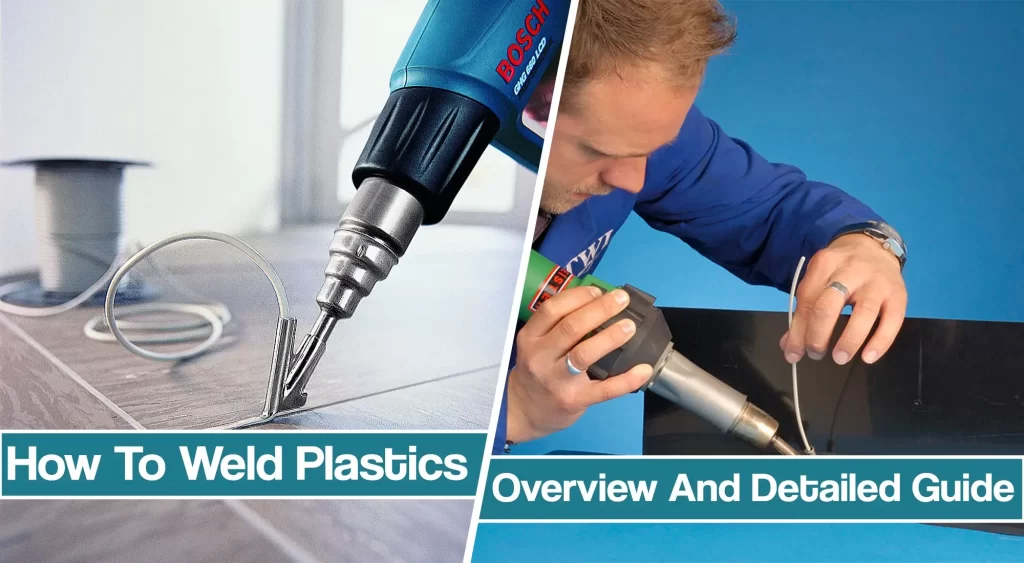
Even if you skip a few less crucial steps, most plastic joints will hold just fine. But, to create a perfect joint, follow our how-to weld plastics guide completely.
Welding Plastics Preparation Steps
To successfully weld plastics, you need to follow two crucial preparation steps: plastic identification and cleaning the entire joint’s surface before welding. There is an option of an additional step, creating a V-groove joint, which we’ll explain later.
How to Identify Plastics
It’s necessary to identify the plastic-type that you wish to weld because the plastic welding rod must match the welded plastic. The easiest way to identify plastic is to look for a stamp on the plastic piece. However, not all plastic parts are stamped, and the symbol may be damaged or problematic to read due to wear.
The most common plastics and their letter identifiers are:
- PP – Polypropylene
- PVC – Polyvinyl chloride
- PE – Polyethylene
- PET or PETE – Polyethylene terephthalate
- HDPE – High-density polyethylene
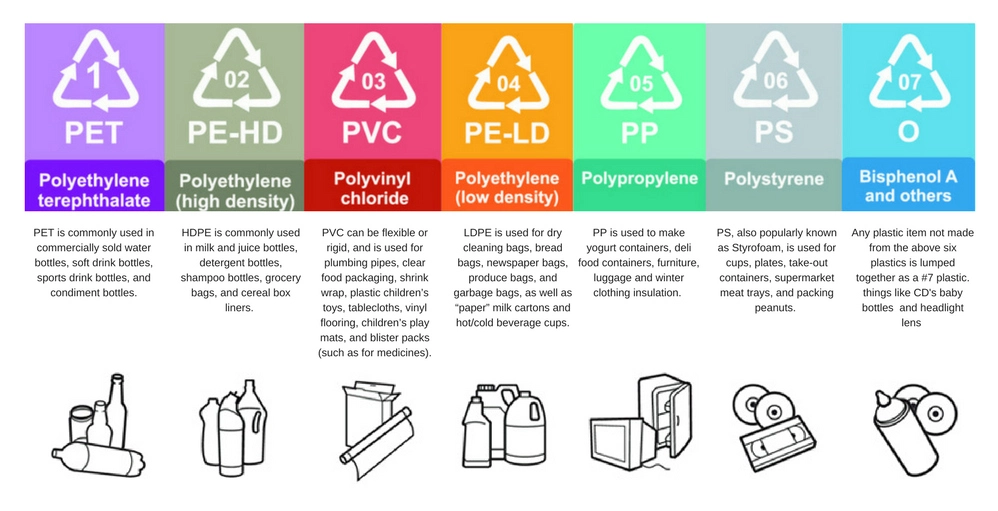
If you cannot find a stamp on the surface of the plastic you wish to weld, there is another simple solution to identify plastic — weld the welding rods to its surface.
By welding a welding rod to the plastic surface and attempting to pull the newly formed joint apart, you can quickly tell if you matched the correct welding rod with the plastics. If you manage to tear them apart, you need a different rod; if the joint is rock solid, you’ve matched the materials.
So, take the PE, PVC, PP, PET, and HDPE welding rods are weld them to the cleaned surface of the welded part. Weld plastic rods one by one to reduce effort or all at once to minimize the needed time. The one that cannot be pulled apart is the one that matches the material. For example, the base plastic is polyethylene if the polyethylene rod cannot be pulled apart while others remove easily.
I know what you must be thinking… HOW TO WELD THEM?! Patience, please! We’ll get to that part in a second! But, first, let’s briefly explain surface preparation.
Surface Preparation
When welding plastic, you can never achieve a solid joint if the surface is dirty. This holds true when welding metal too. The joint and plastic surrounding the nearby surface must be cleaned from dust, dirt, oils, and grease. Any paint or other solutions must be removed as well. Additionally, surface-level UV degradation must be ground off too as part of pre-weld preparation.
Large elements like car bumpers should be pressure washed first, but don’t use too high of a pressure to damage the plastic.
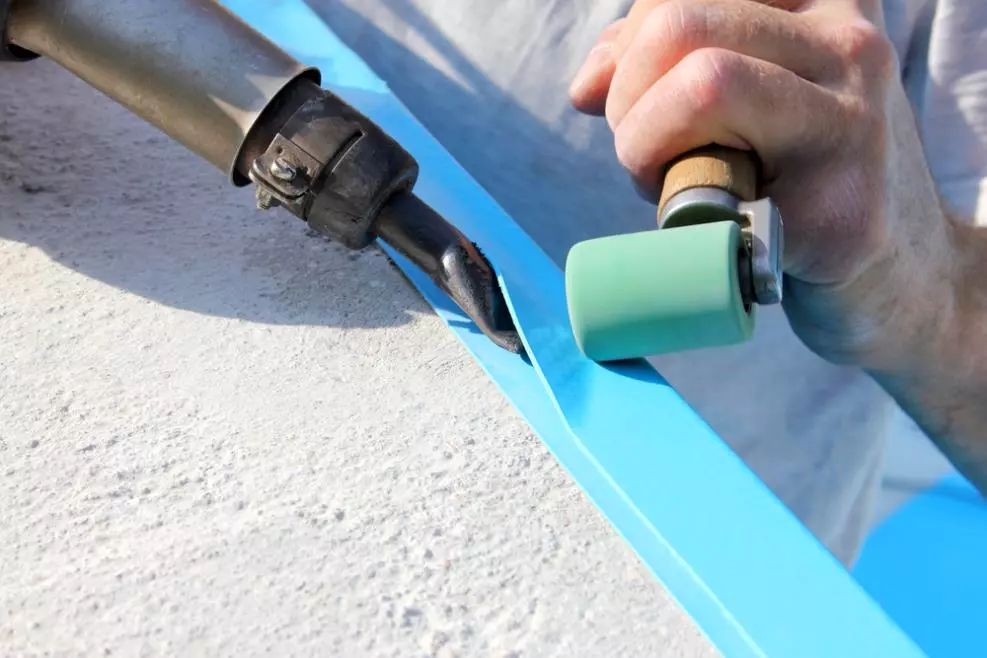
Still, a pressure water stream will remove all dirt from tiny crevices and pores. Don’t use complex cleaning solutions because they can introduce chemical residue that may interfere with the welding process. Instead, use mild dish soap and warm water to remove stubborn stains if you must, and wash it away thoroughly.
Paints and UV degradation should be removed to the base material. Use an abrasive disc like a sanding wheel or handheld sandpaper. Grit 80 is sufficient for most plastics. Be careful not to remove too much material because plastics yield easily. They are much softer than metal.
If the welded joint doesn’t have paint or UV degradation, but its surface is overly scratched, consider grinding it to bare plastics. Washing scratches is unlikely to be successful. Too much dust and dirt stuck there will jeopardize the welded joint.
Joint Preparation
Just like when welding metals, you can create a groove joint to achieve better penetration, especially if welding thicker plastic pieces. This step is not a must, but it will significantly improve joint quality.
The most common groove joint design for plastic welding is a simple V-groove. You can create a V-groove joint using any rotary tool with an abrasive wheel to grind both edges at an angle. You can learn more about joint design here. That article talks about metal joints, but all the same, principles apply to plastic welding.
How To Weld Plastics Step By Step
Finally, we are ready to weld some plastic! Follow the steps below to achieve the best results. But, we’ll also explain how you can save some money and effort if the joint doesn’t need to have maximum strength.
The Plastic Welding Tool
If you have a small welding/soldering iron, you can skip buying a heat gun. But, soldering iron will not create as the quality of a joint as a heat gun.
This is more of a DIY solution than a professional way to weld plastic. However, many repairers use welding iron to repair cars, motorcycles, and canoe parts.
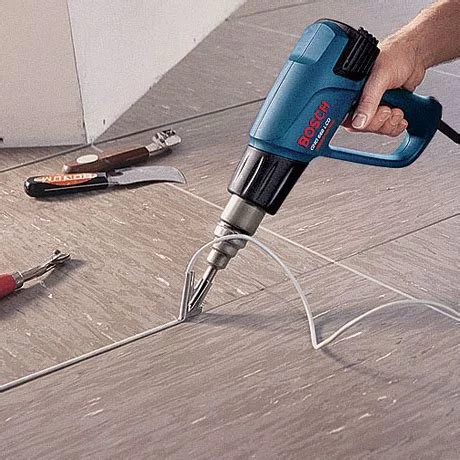
On the other hand, the heat gun provides scorching air that melts the base metal and welding rod and allows a seamless mixture of the two.
The joints are more durable, and you can deposit filler plastics better. Additionally, the hot air welding torch allows interchangeable tips for various welding procedures.
Tacking The Pieces Together
If you have a hot air tool with a tack welding nozzle, use it to make tack welds along the entire joint length. Unlike metal welding, plastic welding requires tack welds throughout the weld — not just at the start and the end.
Pendulum Welding Technique
The pendulum welding technique is the most common way to apply heated air from the heat gun and feed the welding rod into the joint. Don’t worry, we’ll soon cover how to weld if you only have a welding iron.
Once the heat gun is heated up, take the filler welding rod in one hand and the heat gun in another. Place the welding rod into the joint groove and start applying heat at a distance of about 1/2 in. with the pendulum motion.
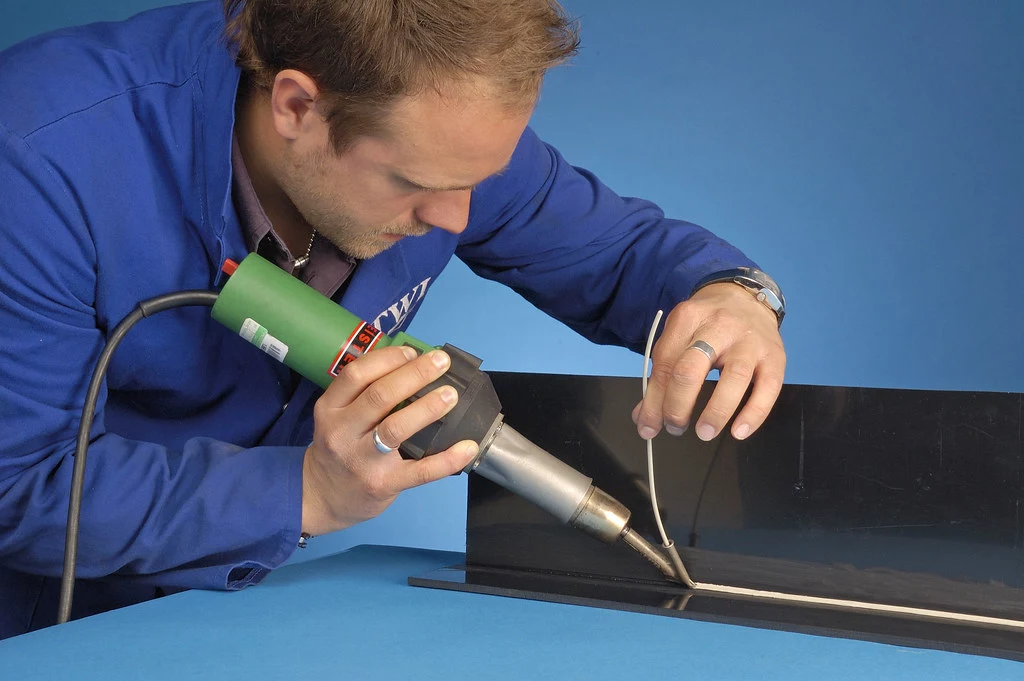
The heat gun will start melting the welding rod and the base plastic. You can use this method to weld test rods in the plastic identification process we wrote above, and to actually weld after you have identified the materials.
Once the tip of the welding rod has bonded with the material, curl it backward, away from the welding gun. This provides better control over the molten plastic and the welding rod.
As you keep moving the plastic heating gun along the joint with the pendulum welding motion, keep slowly feeding the welding rod into the joint. There are other welding methods but this one works the best for creating a steady weld, especially for beginners. The weld will make a permanent bond with the base material. Once you complete the joint, clip the end of the welding rod and that’s it.
Welding With An Iron
Welding with a welding iron is not as quality, but for most use cases, it’s more than enough. Heat up the welding iron and prepare the welding rod and a piece of stainless steel mesh if you have it available.
Use the iron tip to start melting the base material surface. Once the surface has softened, add a piece of stainless steel mesh in the melted joint to reinforce it.
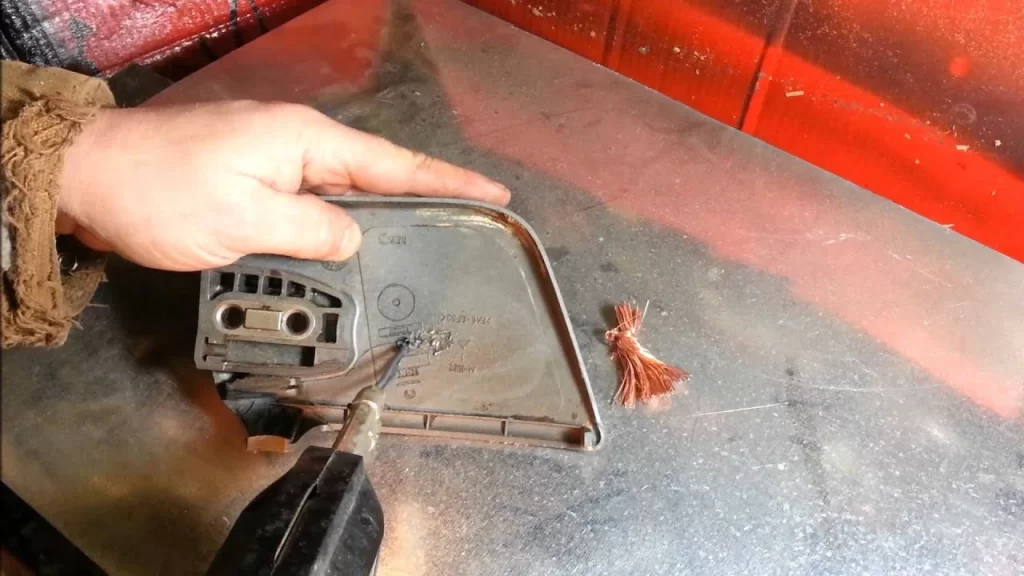
Next, use the welding iron to push the mesh deep into the plastic, this will reinforce the bottom of the joint and allow it to endure a higher bending force before breaking.
Afterward, use the welding iron to melt the filler material into the welding joint above the mesh to create a strong bond. Try to use smooth strokes and light pressure with the soldering iron to prevent messing up the two pieces’ surface. After you are done welding, you can use the iron to smooth out the surface by gently passing over it with medium to high heat.
Conclusion
Don’t forget to wear protective gear like heat-resistant gloves, long-sleeved clothing, and a welding respirator. Read about the welding safety and personal protective equipment first. Additionally, never weld plastics in a poorly ventilated weld area. Heated plastics release toxic fumes hazardous to your health. Once you identify the plastic type, make sure you research its fume toxicity to better protect yourself.
Most plastic welding jobs can be completed with a standard welding iron. But, if you wish to achieve the highest quality welds, using a heat gun with adjustable tips is your best bet.
Resources:
- Handbook of Plastics Joining: A Practical Guide
- What is Plastic Welding at TWI Global
- The Basics On 7 Common Types of Plastic at Plastic Oceans


