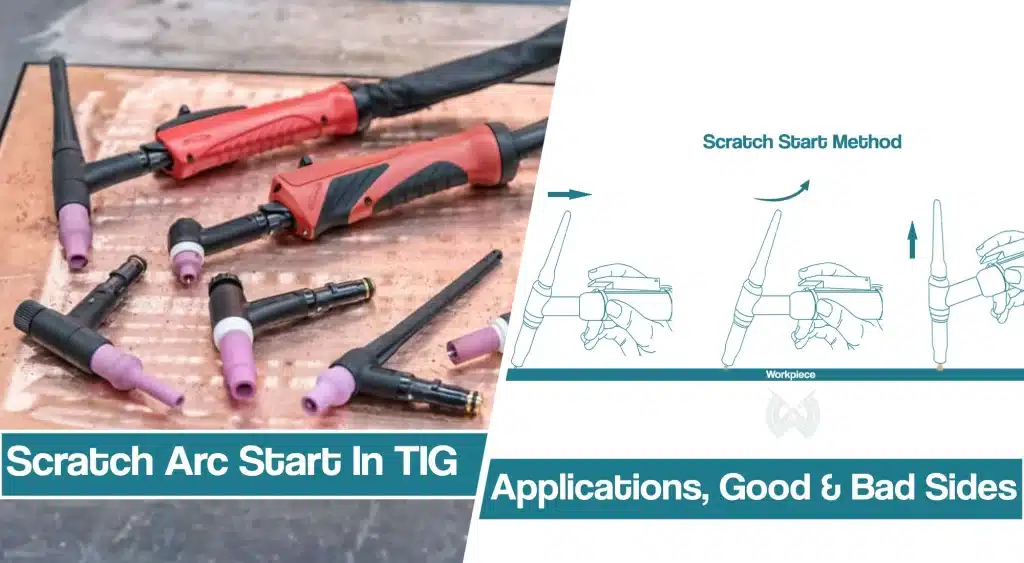
Scratch start TIG welding is a manual arc-starting technique that uses a scratch or tap on the workpiece to initiate the arc of the TIG weld.
This method is often used in situations where other arc-starting methods are not feasible, such as on delicate or thin materials or when using portable welding equipment.
While scratch start TIG welding requires a steady hand and a good understanding of the technique, it can produce clean, precise, and strong welds with minimal contamination.
In this article, we will take you through the basics of scratch start TIG welding, including the equipment you need, how to set up your welder, and tips for getting the best results.
What Is Scratch Start in TIG?
Scratch start TIG (Tungsten Inert Gas) welding is a traditional technique, and TIG welder setting is used to initiate the arc in TIG welding by scratching the tungsten electrode (TIG torch) against the material to be welded. It is also known as manual arc starting or manual initiation. This method of starting an arc is most often used on thin materials and when a high degree of control of the arc is desired.
When scratch start TIG welding is properly utilized, it can produce excellent welds with minimal spatter and cleanliness that rivals that of any other welding method.
Although it takes some practice to master this technique, once mastered it can provide superior results in terms of quality, speed, and cost savings compared to other welding techniques.
What Do You Need And How To Scratch Start In TIG
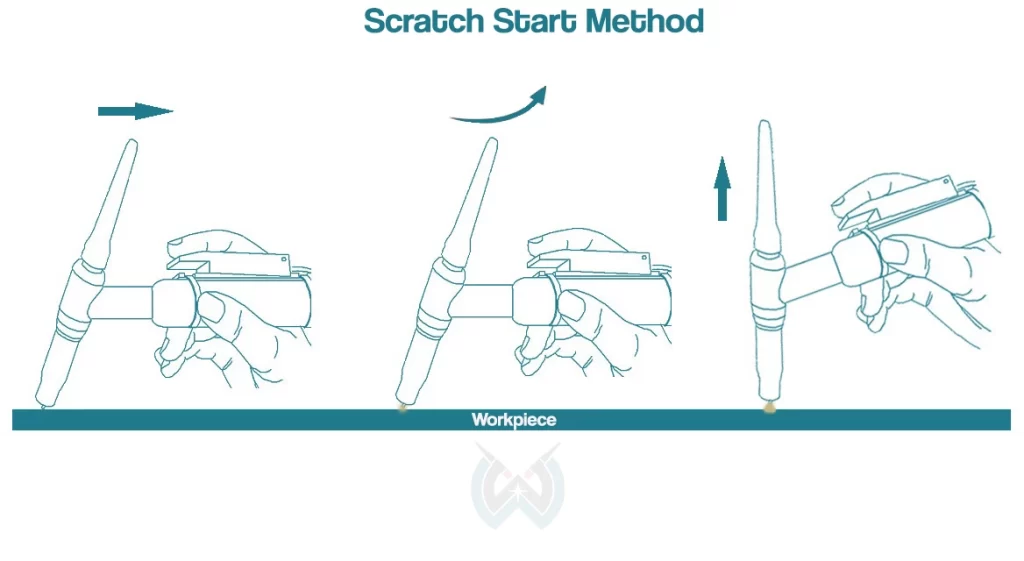
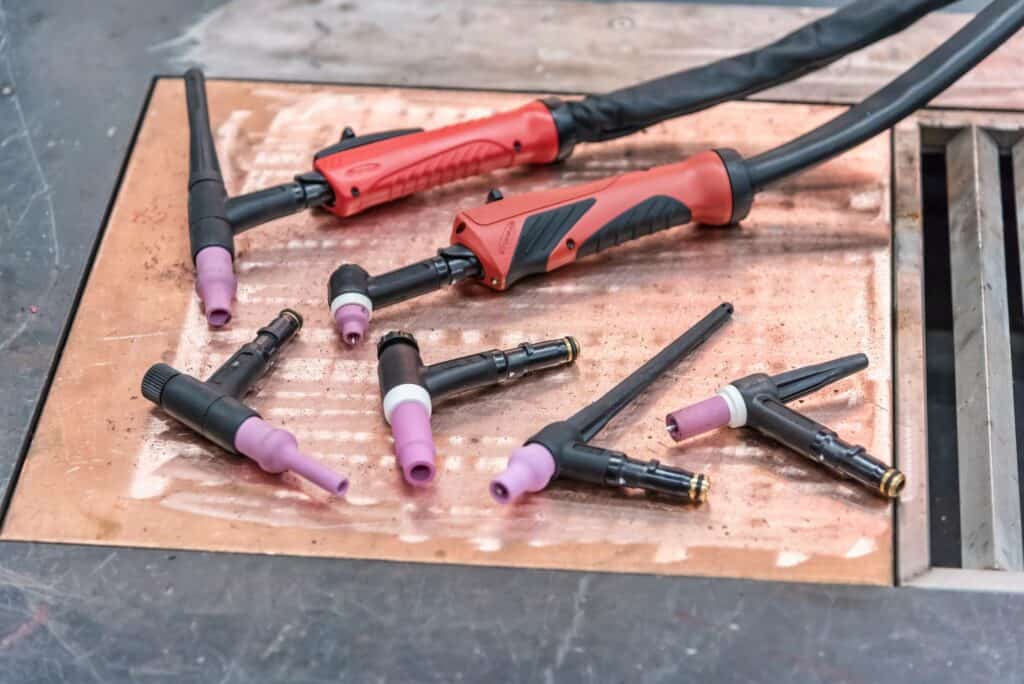
To successfully perform scratch start method TIG welding, you will need a few essential items. First, you will need a TIG torch, preferably with a gas valve, so you can regulate the shielding gas right on the torch itself but also over the argon regulator.
The size 17 air-cooled torch is the most common type. You will also need an inert gas, such as argon or helium, which you can use to create a shielding gas for the weld puddle. Additionally, you will need an appropriate power source (Direct Current Electrode Negative TIG welder settings) that is compatible with your torch setup and reliable welding lead.
The first step is to ensure that the area around the work piece is clean and free from any debris or materials that could interfere with the weld. Then, position the torch so that the tungsten electrode is just above the surface of the workpiece. Turn on your power source and adjust it to the desired voltage and amperage levels for your application.
Next, turn on your inert gas supply and adjust it so that it provides a steady stream of shielding gas around the workpiece. This shielding gas will protect the weld area from oxidation during welding.
Finally, strike a TIG arc between the tungsten electrode and the workpiece by scratching the workpiece surface like you are lighting a match. As you lift your electrode away from the workpiece surface, you should see an arc form between them as current flows through them.
The process involves using a tungsten electrode that is slightly larger than the thickness of the material being welded, typically in the range of 0.063-0.125 inches (1.6-3.2 mm). The electrode is held at an angle between 10 and 15 degrees. The current should be low enough that it does not cause any melting of the material, as this can lead to poor welds and spatter.
Once you have established an arc between your tungsten electrode and workpiece surface, you are ready to begin welding. Begin by slowly moving your tungsten electrode along the joint line while maintaining a consistent voltage and amperage level for your application.
Scratch Start Applications
Scratch start TIG welding is used extensively in manufacturing applications due to its ability to create high-quality welds with minimal post-weld cleaning or finishing required. It is particularly well suited for applications where precise control over heat input and weld pool is needed in order to achieve desired results; for example, when joining thin metals or dissimilar metals together with minimal distortion or warping due to heat input.
Today you will find scratch start in a TIG welding rig that’s cheaper than a costly TIG machine to add a new skill. So if you are putting a budget first, you should consider DC welder with the scratch option. Scratch TIG welding is also extremely portable since you can take a basic stick welding machine anywhere and get to work.
Drawbacks of Scratch Start
The drawbacks of scratch start TIG welding can be divided into two categories: operator errors and weld quality.
Operator Errors: Scratch starting is a more difficult technique to master than other TIG welding techniques. You must pay close attention to the electrode pressure, the electrode angle, the ground clamp, and the arc length in order to strike an arc and create a consistent weld bead.
If any of these parameters are incorrect, you can experience arc wander or inconsistent arc strikes. This leads to poor weld quality and potential porosity in the weld bead. In addition, if the welder does not correctly adjust the welding machine settings, they may experience overheating of the electrode or too long of an arc length which can lead to significant spatter and slag build-up.
Weld Quality: Poor weld quality is a common problem with scratch start TIG welding due to its contact start nature. Occasional arc starting will require scratching the surface of the weld, leading to tungsten contamination in the electrode and tungsten inclusions on the surface.
Once tungsten is contaminated, it loses its ability to produce consistent welds, so you will have to grind it, therefore, consuming it more quickly. Additionally, pieces of tungsten onto the base metal can cause tungsten inclusions, interfering with the metallic and metallurgical properties of the weld.
Due to its drawbacks, today Scratch start is usually replaced with other starting methods such as lift TIG or High-frequency. Let’s see how it compares with advanced techniques.
Scratch Start Vs High-frequency and Lift Start
Scratch start in TIG welding is one of the most widely used arc starting methods, along with high frequency and lift TIG.
High-frequency TIG welding utilizes a high-frequency current that is applied to the electrode before striking an arc, which reduces surface contamination on the workpiece and can facilitate better weld quality and good filler rod distribution.
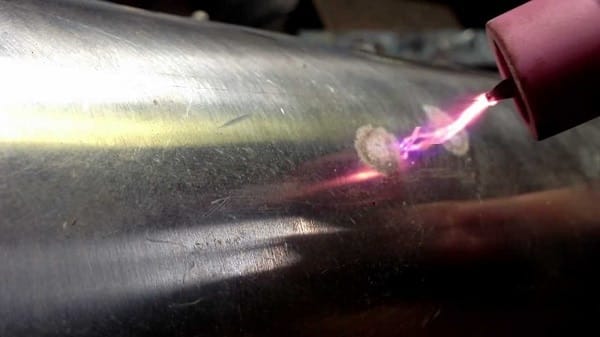
Additionally, high-frequency TIG welding produces a more stable arc than scratch starting, allowing for more accurate welds with less chance of spatter or slag buildup. However, high-frequency TIG requires specialized equipment and can be expensive to purchase and maintain.
Lift TIG welding is similar to scratch start in that it uses direct contact with the base metal to create an arc, but instead of scraping the base metal, it creates a spark between the electrode and the base metal by lifting it off of the workpiece. This method is ideal for thin materials as it prevents excess heat from being applied during startup, reducing warping or distortion of the workpiece. However, lift TIG is also limited by its reliance on specialized equipment, as well as its inability to create a consistent arc on thicker materials.
When Should You Use Scratch Start Over Other Starting Methods
Even though the Scratch start is slowly getting replaced by other starting methods, welders still find good use of this TIG welder settings method. The most common reason to go for a Scratch start is the limited budget.
Scratch start doesn’t require state-of-the-art technologies and specific welding equipment, so the machines are usually cheap. These machines are also very portable, so you can carry them to a remote location and work in the field.
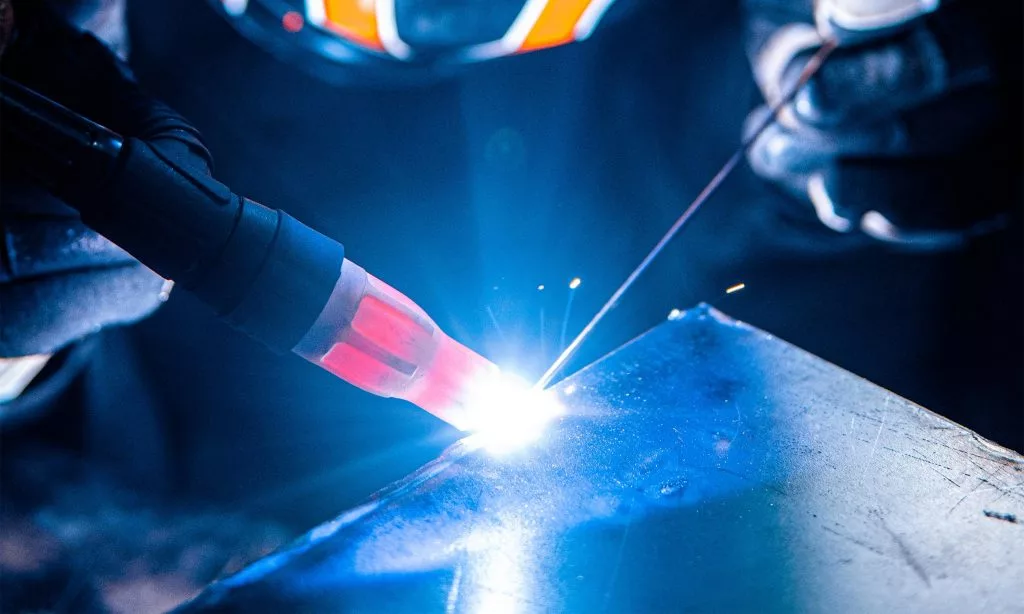
Additionally, the high-frequency start has only one significant drawback, and that’s electrical noise. The frequency used to initiate the start can interfere with sensitive electronics such as computers, laptops, phones or CNC tables. Therefore, you can use scratch start instead of HF ignition when welding near sensitive devices.
Advantages And Scratch Start TIG Tips
- More Control: Scratch start allows welders to have more control over the arc and make precise adjustments to the current and speed to achieve the desired weld results.
- Welding Safety: Compared to HF TIG initiation, scratch start eliminates the need for high voltage, which reduces the risk of electric shock and related hazards.
- Good Quality: Scratch start TIG welding produces a better quality weld than other welding methods due to the increased precision and heat control with the foot pedal or torch valve that it offers.
- Low operating costs: TIG welding machines with Scratch start are more expensive since they don’t need advanced equipment. You can find it in multi-process machines or in Stick welder.
- Increased Reach: With a scratch start, you can access hard-to-reach areas due to its smaller size and enhanced maneuverability compared to other types of TIG welding processes.
Conclusion
Scratch start TIG welding is a valuable manual welding technique that can be used when other arc-starting methods, such as MIG welding or Stick welding, are not feasible. This method requires a steady hand and a good understanding of the technique, but it can produce clean, precise, and strong welds with minimal contamination.
Whether you’re a professional welder or a DIY enthusiast, by understanding the basics of scratch-start TIG welding, you’ll be able to tackle challenging welding projects with ease.
Resources:
- https://bakersgas.com/blogs/weld-my-world/how-and-when-to-use-scratch-start-tig-welding
- https://www.weldclass.com.au/blog/40-tig-welding-what-is-scratch-start-lift-arc-and-hf-ignition-
- https://www.weldingtipsandtricks.com/scratch-start-tig-tips2.html
- https://www.everlastgenerators.com/blog/hf-start-vs-dc-lift-start-tig-vs-scratch-start
- https://www.mdpi.com/2076-3417/9/23/5260


