In the world of welding, Gas tungsten Arc Welding is considered the gold standard for producing clean, precise, and visually appealing welds. However, the key to achieving these high-quality results lies not only in the skill of the welder but also in the setup and maintenance of the TIG welder itself.
From selecting the right equipment to calibrating the settings and ensuring proper maintenance, every step of the TIG welder setup process is critical to achieving optimal performance.
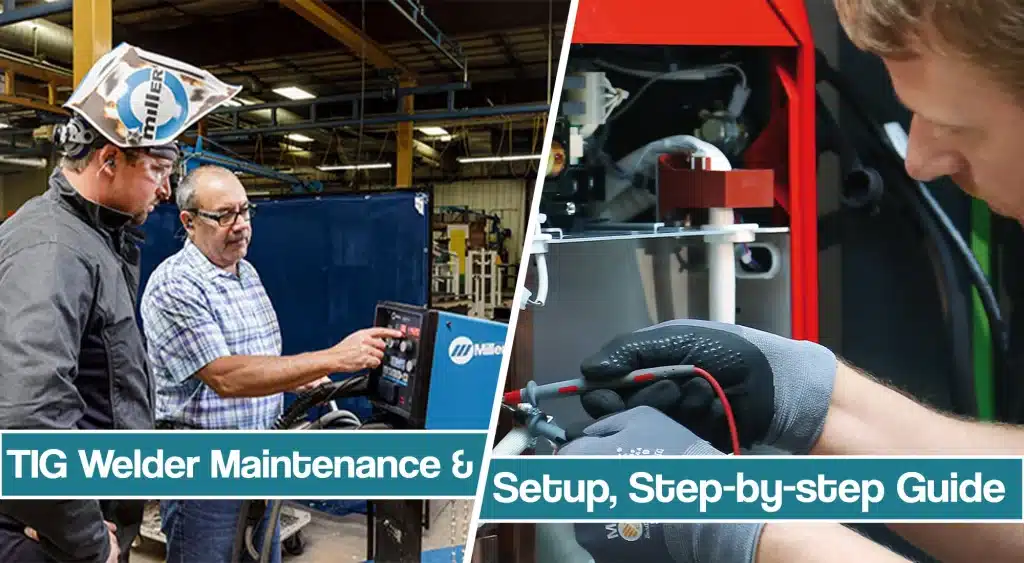
In this article, we will explore the essential steps involved in TIG welding machine setup and maintenance, providing practical tips and insights to help you produce perfect welds every time.
TIG Welder Setup
So, you just got your new TIG welder, but you are not sure where to start from. The steps required in setting up a brand new TIG welder can vary depending on the specific model and manufacturer, but generally include the following:
- Read the manual: Before starting, carefully read and familiarize yourself with the instruction manual provided by the manufacturer.
- Select the right equipment: Ensure you have all the necessary equipment such as a TIG torch, gas regulator, ground clamp, and appropriate filler metal.
- Connect the power: Connect the welder to the appropriate power source and verify that it is properly grounded.
- Install the consumables: Install the tungsten electrode, collet, and collet body into the TIG torch.
- Set the weld parameters: Adjust the weld settings such as amperage, arc balance, and gas flow rate to the recommended settings for the specific welding application.
- Test and adjust: Test the welder with scrap material to ensure that the settings and equipment are working correctly. Adjust the settings as needed for optimal performance.
Reading The TIG Welder Manual
Reading the manual before using the TIG welder is essential to ensure that you understand how to use the equipment safely and effectively, which will result in better quality welds and a longer lifespan for the welder.
The manual contains important safety information about the welder, including how to properly ground the welder, how to handle hot materials, and how to protect yourself from hazardous fumes and radiation.
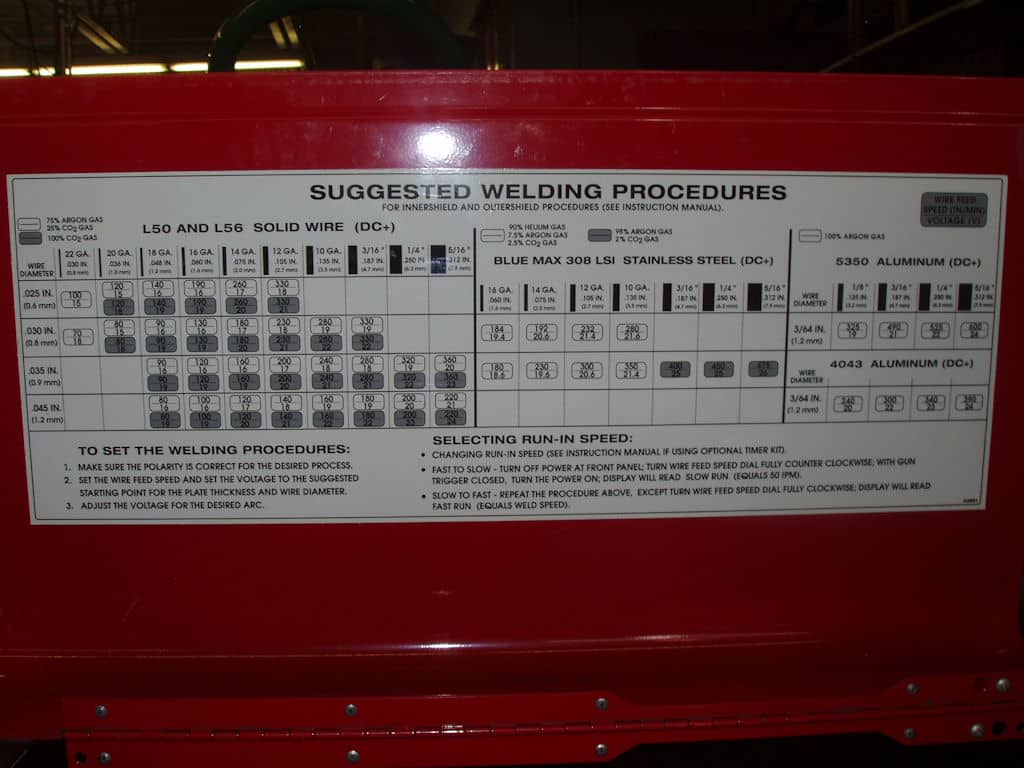
Additionally, you can read detailed instructions on how to use the TIG welder properly, including how to select the correct equipment, set up the welder, and adjust the settings for different materials and thicknesses. The manual usually contains information about the warranty and how to properly care for the welder to ensure that the warranty remains valid. Finally, you can find troubleshooting guides to help diagnose and resolve common issues that may arise during use.
Connecting The Torch, Pedal, and Work Clamp
Connecting the TIG welding torch, foot pedal, and work clamp is a relatively straightforward process that involves attaching the necessary cables to the appropriate sockets on the TIG welder. If you’ve read the instruction manual, you should now know what the right socket and part of your welder is.
First, connect the TIG welding torch to the welder by screwing the torch’s power cable into the welder’s TIG torch socket. When using an air-cooled torch, use the adapter from your accessory package and plug the torch into the front of your machine. Also connect your gas hose and regulator. TIG torch connections and usually standardized at this point, so you cannot really go wrong.
The latest TIG welding machines support remote amperage control, so you get a foot pedal or finger control. These additions will have dedicated sockets, usually with 3 or four pins, so make sure you properly connect remote control plug.
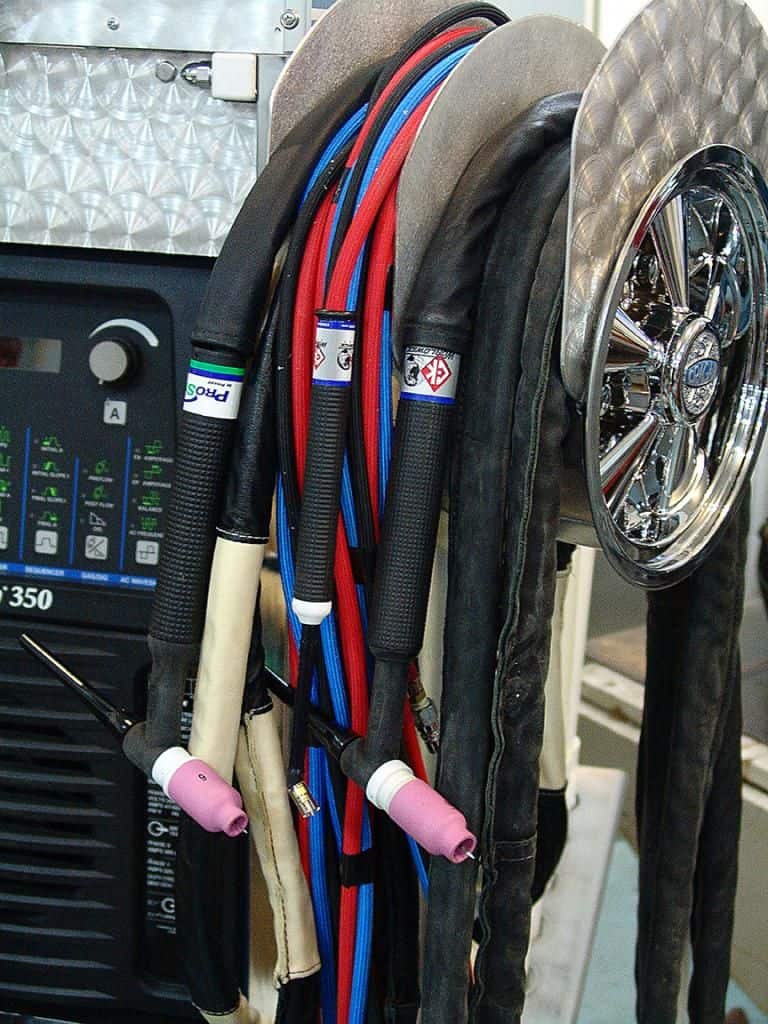
Connect the work clamp to the welder by attaching the clamp to the workpiece or to a work table, and then connecting the clamp’s cable to the welder’s ground clamp socket. The work clamp provides a ground connection for the welding circuit and helps to ensure a stable welding arc.
Select The Polarity Of TIG Welder
Setting up the polarity of a TIG welder involves connecting the electrode and workpiece cables to the appropriate polarity terminals on the welder. TIG welding uses alternating current (AC) or direct current (DC), which means that the electrical current either flows in one direction from the electrode (positive) to the workpiece (negative) or it alters in AC, from the positive to negative part of the terminal.
Most commonly, you will use the DC TIG in steel alloy welding and stainless steel, and your welder is, by default, usually set for it.
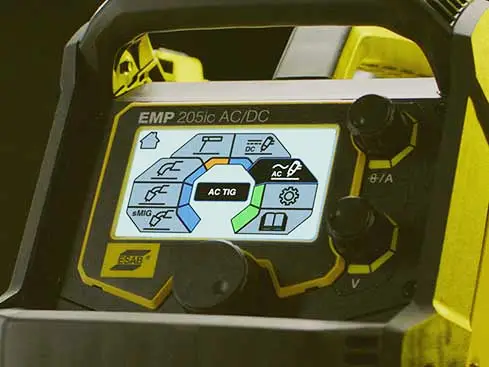
Of course, if you have a DC-only TIG welder, you really shouldn’t worry about this aspect. Instead, you can consider the DC polarity. DC straight polarity (electrode negative) is typically used for welding steels, while DC reverse polarity (electrode positive) is typically used for welding non-ferrous metals like TIG welding aluminum.
For DC straight polarity, connect the TIG torch to the negative (-) terminal on the welder. For DC reverse polarity, connect the torch cable to the positive (+) terminal on the welder, and just switch places of the work clamp. The best way to TIG weld aluminum or other non-ferrous materials is by switching to AC current. If you have an AC/DC TIG welder, you can switch from DC to AC by using a button on the control panel of your welder. In MIG welder, you will have to open wire feeder compartment, but with TIG it is much easier.
Preparing and Installing The Tungsten
Preparing and installing the tungsten in a TIG torch requires attention to detail and proper technique to ensure that the electrode is clean, sharp, and properly secured in the torch. First, you will need to choose the correct type and diameter of tungsten for the materials you will be welding. Common tungsten types include pure tungsten, thoriated tungsten, ceriated tungsten, and lanthanated tungsten.
Use a dedicated tungsten cleaner or a clean, dry, lint-free cloth to remove any oil, grease, or other contaminants from the tungsten electrode.
This will help ensure a clean, stable arc and prevent contamination of the weld. Use a diamond grinding wheel to grind the tungsten to a point using a dedicated tungsten grinder or a bench grinder. The tungsten should be ground to a sharp, fine point that is suitable for the welding process and materials being welded.
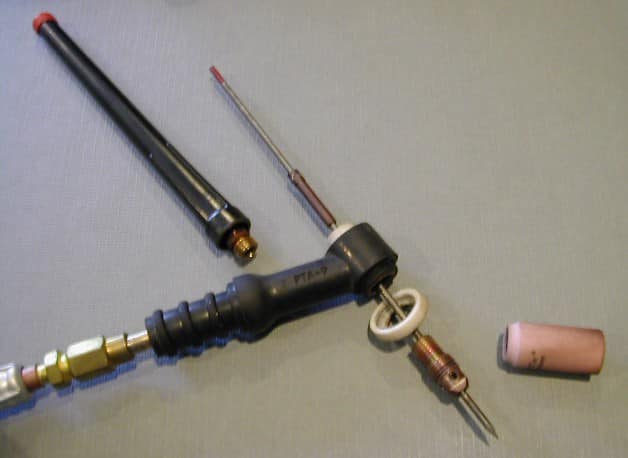
After you’ve prepared your tungsten, loosen the back cap and remove the nozzle and copper collet pieces from your torch. Insert the tungsten electrode into the TIG torch’s collet and tighten the collet body onto the torch using the torch’s head assembly. Make sure the tungsten is straight and centered in the torch to ensure proper alignment with the workpiece.
Check And Connect Power
The final part of setting up your welder for the TIG welding process is checking and connecting the power. The welders can utilize either 110 or 220V power supply, so you should once again check the manual. At home, you are likely using the 110V power input, and most machines are compatible with it, but 110V-only TIG welders can reach up to 140 amp of power. If you want to unleash the maximum power, you will need a dedicated 220V outlet.
Most TIG welders today are dual voltage machines, which means they can operate both at 110/220V. You are supplied with an adapter that allows you to easily switch from 110 to 220V, and help you unleash the full potential.
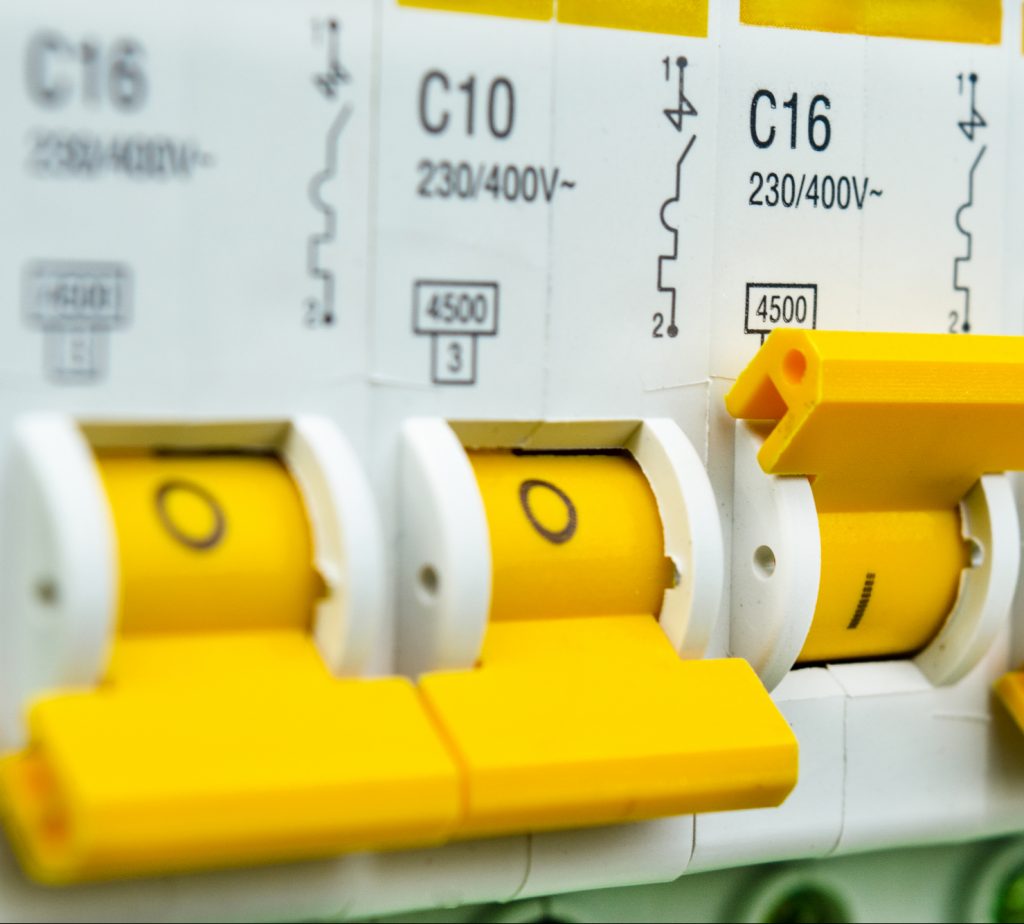
Your goal here is to check and match the voltage of your plug, to the supported voltage of your outlets, to the power of the welder.
Controls and Welding
Once your machine is properly set up, connected, and prepared, it is time to start welding. Once again, consult the instruction manual for a head start and recommended settings regarding the material thickness you are about to weld. We won’t focus too much on TIG welder settings in this article, as we dedicate a more detailed content on our blog.
The same things applies to TIG welding techniques and tips. These are something you develop over time, with enough time put into, you can test the welder with scrap material to ensure that the settings and welding equipment are working correctly. Adjust the settings as needed for optimal performance and keep practicing till you get everything right.
TIG Welder Maintenance
Regular maintenance is essential for keeping a TIG welder in good working condition and avoiding costly repairs or downtime. By following these steps and performing regular maintenance tasks, you can ensure safe, efficient, and consistent welding performance from your TIG welder.
Detailed and regular TIG welder maintenance includes:
- Cleaning the welder
- Inspecting the power cable and plugs
- Checking the coolant system
- Inspecting the welding torch
- Cleaning the welding torch
- Replacing the consumables
Cleaning TIG Welder
Before cleaning the TIG welder, turn off the power and unplug it from the electrical outlet. Safety devices, such as interlocks and circuit breakers, should not be disconnected or shunted out. Use a soft, dry cloth to remove any debris, dust, or dirt from the exterior of the TIG welder. Avoid using harsh chemicals or abrasive cleaners that could damage the welder’s surface. Approximately every six months, disconnect the power to the unit and blow out or vacuum the inside of the machine. In heavy service conditions, monthly cleaning may be necessary.
Regularly clean the TIG welding torch by removing any debris, dust, or dirt from the nozzle and other parts of the torch. Use a dedicated cleaning tool or compressed air to remove any stubborn debris.
Regular Inspections
Follow the manufacturer’s recommended maintenance schedule and perform routine maintenance tasks, such as changing the oil, checking the electrical connections, and inspecting the circuit boards. Check the power cable and plugs for any signs of wear, damage, or fraying.
Replace any damaged or worn cables or plugs immediately to avoid electrical hazards. Also, keep cables dry, free of oil and grease, and protected from hot weld metal and sparks.
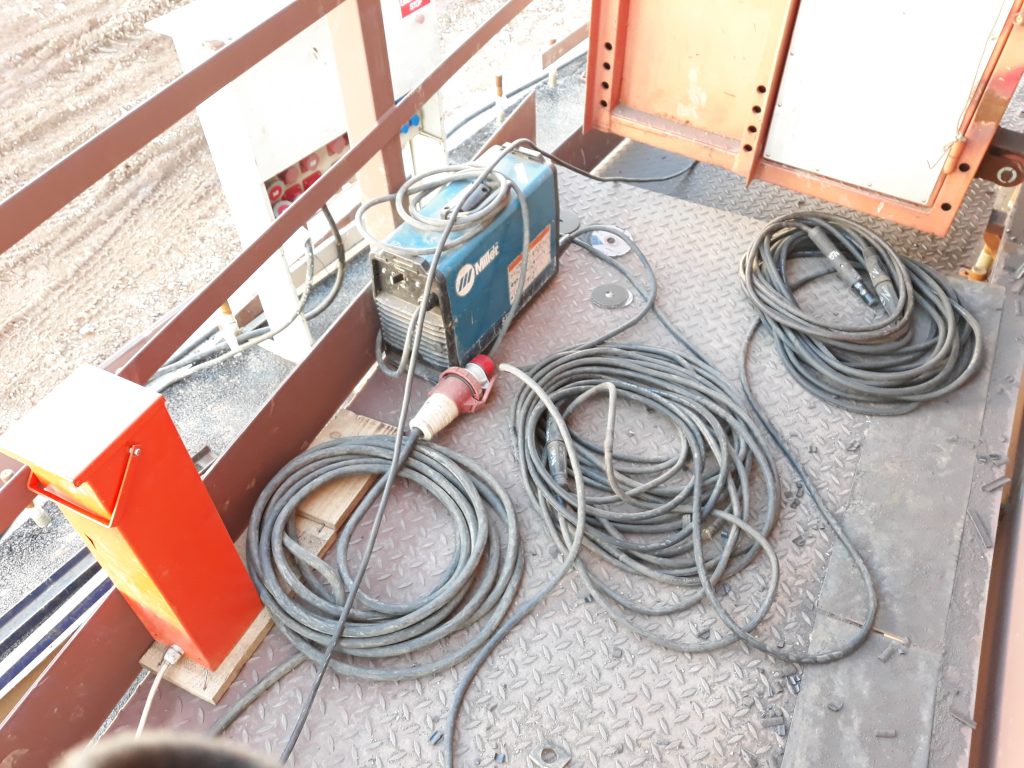
Check the TIG welding torch for any signs of damage or wear, such as loose or cracked fittings, damaged hoses, or worn-out collets. Replace any worn or damaged components as needed to ensure safe and efficient welding. Regularly check the ground clamp for signs of wear, damage, or corrosion. Replace any worn or damaged components as needed to ensure proper grounding. Also, keep cables dry, free of oil and grease, and protected from hot metal and sparks.
Replacing TIG Consumables
Replace any worn or damaged consumables, such as tungsten electrodes, gas lenses, and collets, regularly to ensure optimal welding performance and minimize downtime.
If the tungsten electrode is chipped, cracked, or worn down to a point where it cannot be sharpened, it needs to be replaced. If you notice the arc wandering or flickering, it may be a sign that the tungsten electrode or other consumables are worn out and need to be replaced.
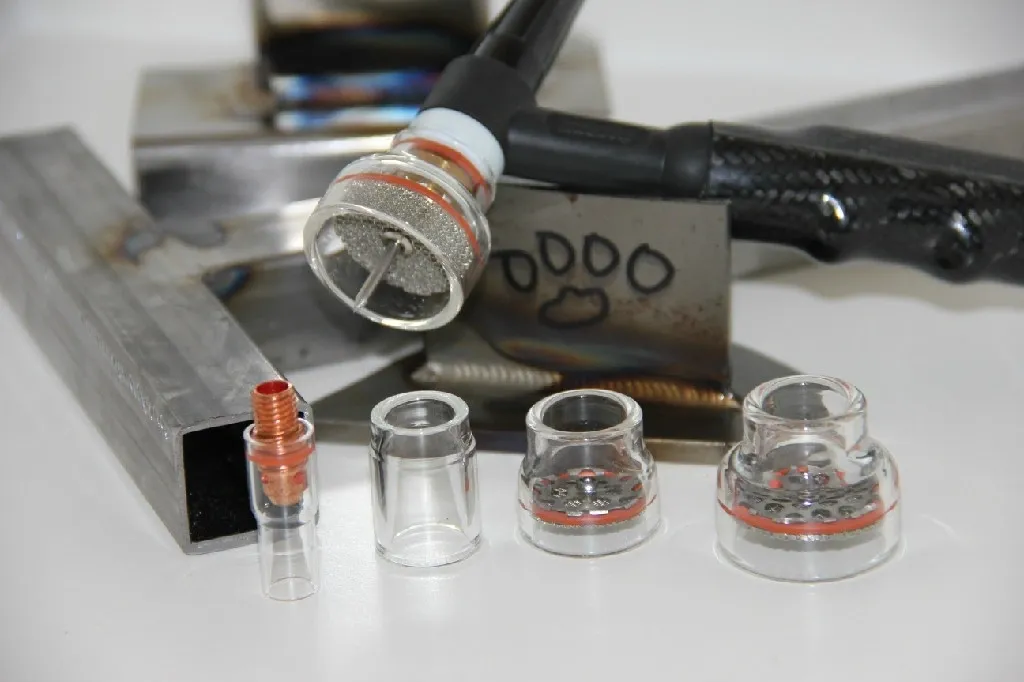
If you notice inconsistent welds, excessive spatter, or other defects in the weld bead, it may be a sign that the gas lens, collet, or nozzle is worn out and needs to be replaced. If you notice gas leaks around the welding torch, it may be a sign that the gas lens, collet, or nozzle is worn out and needs to be replaced.
Checking The Cooling System
The cooling system of a TIG welder is an important component that helps to regulate the temperature of the welding torch during use. If you are TIG welding heavy-duty applications, you are likely to have a water-cooled system that requires some attention. The cooling system is typically located on the back of the TIG welder and consists of a water reservoir, pump, and radiator.
Check the water reservoir to make sure the coolant level is between the minimum and maximum marks. If the coolant level is low, add distilled water or the manufacturer’s recommended coolant to the reservoir. Check the pump, hoses, and radiator for any signs of damage or leaks. Make sure all the connections are secure and tighten any loose fittings.
During use, monitor the temperature of the welding torch to make sure it stays within a safe operating range. If the torch gets too hot, it may be a sign that the cooling system is not functioning properly and needs to be serviced.
Check The Gas Supply
Proper shielding gas coverage is crucial in achieving the highest-quality TIG weld, so you should regularly inspect and maintain the shielding gas supply, which features cylinders, regulator and gas hoses. Check the gas cylinder to make sure it is securely attached to the regulator and that the valve is closed. Look for any signs of damage or leaks, and make sure the cylinder is not past its expiration date.
Make sure the regulator is securely attached to the gas cylinder and that the pressure gauge is showing the correct pressure for the type of gas being used. Check the flow meter to make sure it is working properly and set to the correct flow rate for the type of welding being performed.
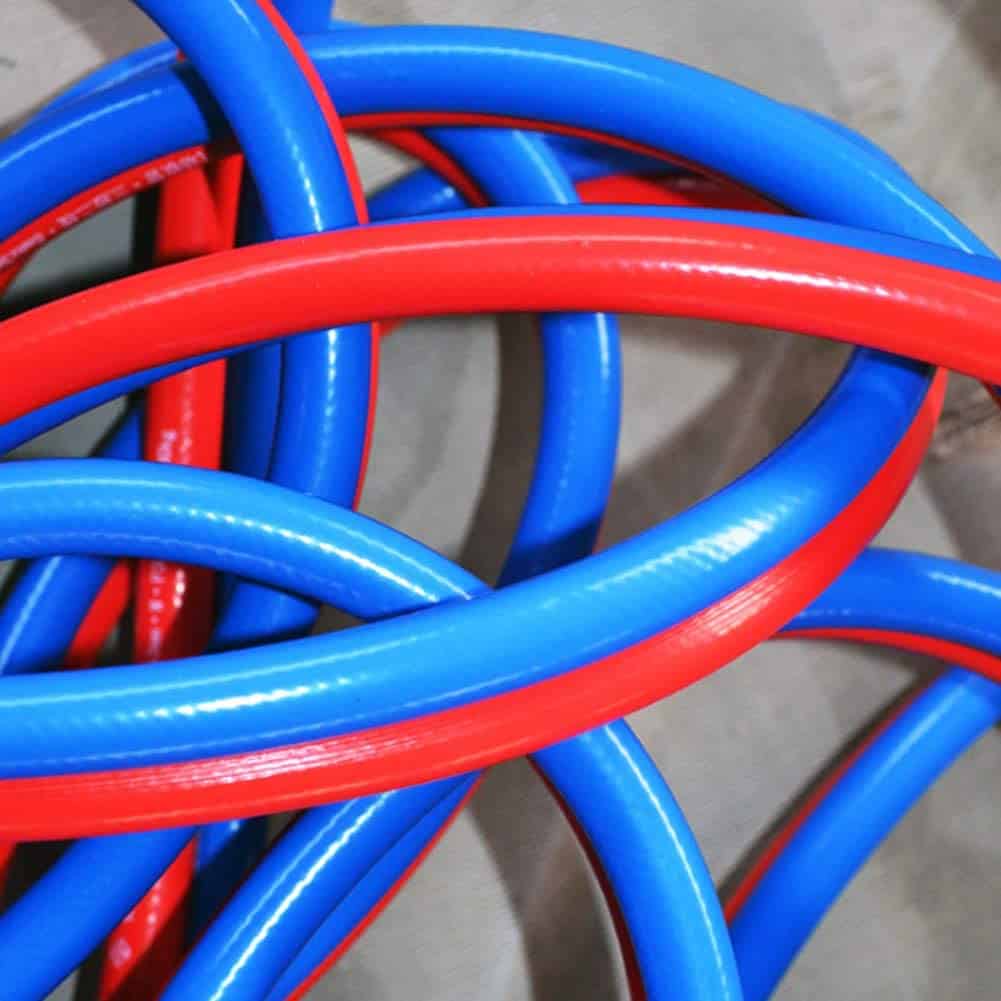
Examine the hose regularly for leaks, wear, and loose connections. Immerse the pressure hose in the water to check for leaks (bubbles will indicate leaks). Repair a leaky or worn hose by cutting out the damaged area and splicing. Do not use tape.
Final Thoughts On TIG welding Machine Setup And Maintenance
Proper setup and maintenance of a TIG welder or machine for any other welding processes are essential to ensure optimal performance, safety, and longevity of the machine. It is important to read the manual thoroughly and follow the recommended procedures for setting up, cleaning, and maintaining the TIG welder.
Regular inspection and replacement of worn-out consumables, cleaning of the welder (especially when Stick welding), checking the cooling system, and monitoring the gas supply are crucial steps in maintaining a TIG welder. By following these guidelines, welders can prolong the lifespan of their Tungsten Inert Gas Welding machine and produce high-quality welds with ease.
Resources
- https://www.millerwelds.com/resources/article-library/safety-and-scheduled-maintenance-protect-your-welding-assets
- https://www.migatronic.com/en/support/service/6-tips-to-easy-maintenance-of-your-welding-equipment/
- https://www.millerwelds.com/resources/welding-guides/tig-welding-guide/tig-welding-setup
- https://bakersgas.com/blogs/weld-my-world/5-tips-on-how-to-maintain-welding-equipment
- https://www.mig-welding.co.uk/tig-setup.htm


