Welding is a critical function in the construction of oil-and-gas industry infrastructure. As a result, young welding engineers and inspectors will need to learn numerous insights and fine points about that sector to advance in their profession.
Therefore, we made this article to point out standard welding inspection methods in the oil and gas industry. We will also describe them briefly, to help you understand the fundamentals.
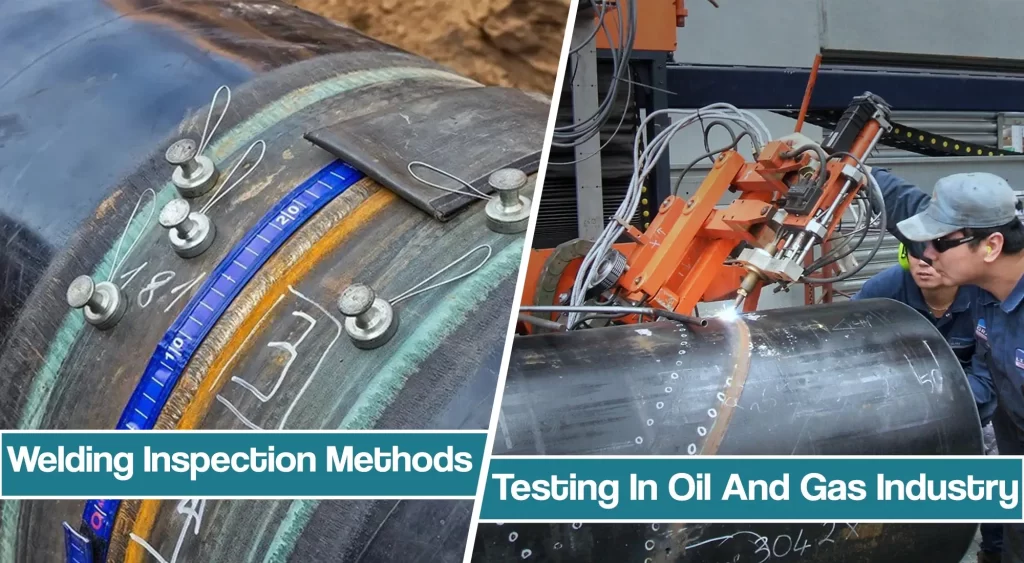
Common Welding Inspection Methods in The Oil and Gas Industry
The following methods are used mainly used to inspect welding projects during the execution process and after completion. Except for destructive and Charpy testing, all the methods described here are non-destructive testing (NDT) methods.
- Visual inspection
- Radiography
- Ultrasound testing
- Liquid-penetrant testing
- Destructive testing
- Magnetic particle testing
- Eddy-current testing
- Hardness testing
- Charpy V notch testing.
What follows the list is a series of brief details about each of these methods and their practical applications. Understanding the issues determined by weld inspection can help welders improve and produce the highest quality welds.
Pipe Visual Inspection
Visual inspection is the method involving the human eye and some tools. It is the easiest, least expensive, and most effective welding inspection method. This technique is used while welding is in progress in a field or a workshop.
A welder certificate, joint preparation, electrode condition, current used, weather conditions, slag removal, etc., can be checked effectively by visual inspection.
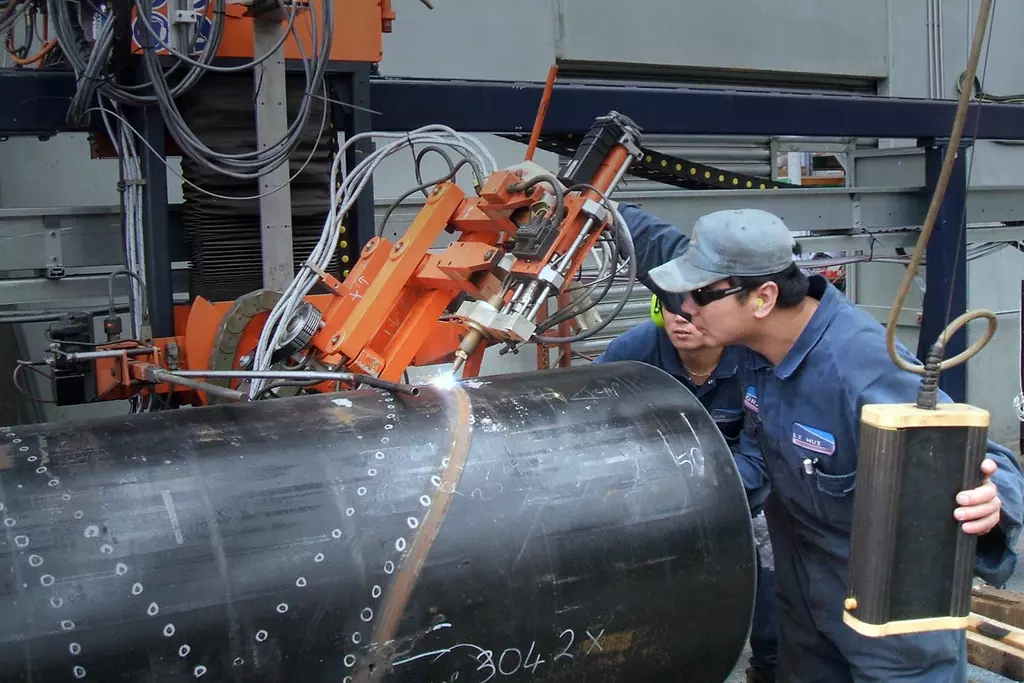
Visual inspection is one of the oldest and most trusted ways to evaluate the condition of an asset as part of the overall maintenance process. As a result, welding inspectors can notice defects such as cracks or buckling in the welds, corrosion, leaks, or other issues with the integrity of the oil and gas pipes and any of the supporting equipment.
Radiography Testing In The Oil And Gas Pipes
Radiography or X-ray methods are also known as non-destructive testing (NDT), and the process is used to examine the internal structure of a weld without destroying the welded component.
The basic principle of radiographic inspection of welds is the same as that for medical radiography. As a result, X-ray films are produced with the help of iridium isotope, producing x-rays passing through the weld.
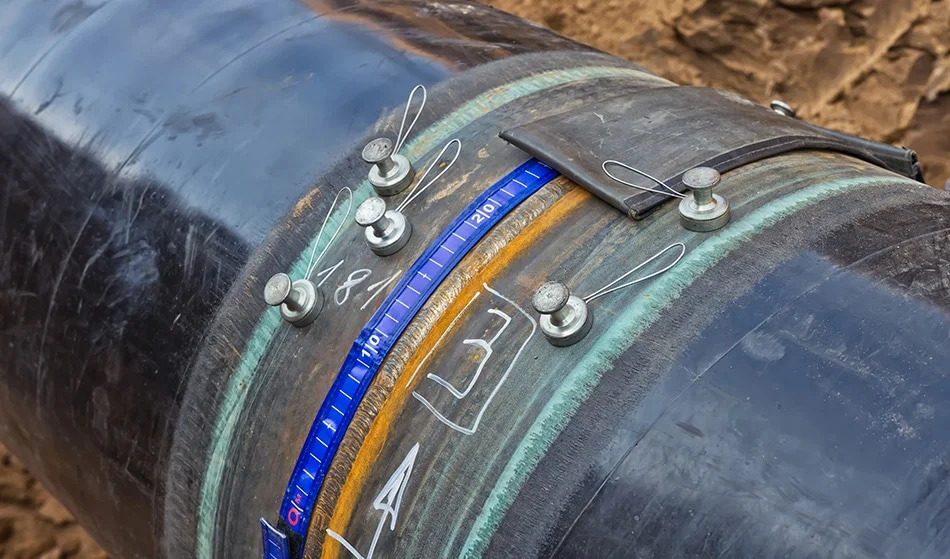
Radiographic testing can provide a permanent film record of weld quality that is relatively easy to interpret by trained personnel. This testing method is usually suited to having access to both sides of the welded joint. Excessive penetration, lack of fusion, concavity, cracks, etc., are inspected through radiography.
Ultrasound Testing Pipes
High-frequency sound vibrations are transmitted by ultrasound equipment through a welded joint. The signals that are received in return on a glass screen determine the defect in the welded joint.
The detection, location, and evaluation of discontinuities become possible because the velocity of sound through a given material is nearly constant,
The thickness of a welded joint, cracking, lack of penetration, and blow holes can be detected by way of the ultrasound method.
Liquid-penetrant Testing In Pipes
The liquid penetrant testing method detects surface defects in a weld, such as hairline cracks, porosity, etc. In this test, a liquid penetrant is applied on the weld surface. Next, a developer is used that renders the defects visible.
Penetrant inspection is used in factories to locate extremely fine defects in high-tech welds. For example, vessel makers ensured that none of their vessels had leaks and the same works for the oil and gas industry.
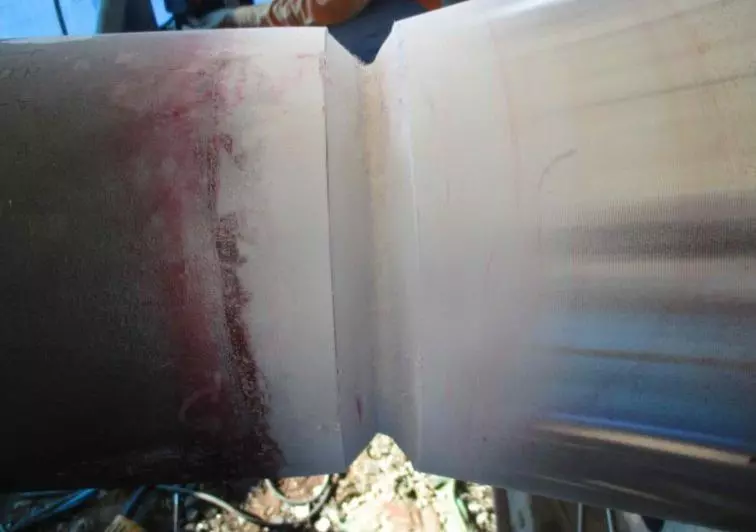
With quick, low-cost examinations in any location, PT is often the best choice of NDE methods. You can check our detailed and comprehensive article on liquid penetrants and their role in welding inspection.
Destructive Testing In Oil And Gas Pipes
Destructive weld testing, as the name suggests, involves the physical destruction of a completed weld to evaluate its strength and characteristics. In this test, the finished weld is cut into pieces per the code for face bend, root bend, side bend, tensile tests, etc. It’s a method that is effective for locating porosity, slag inclusion, undercutting, and like defects in a weld.
While various destructive testing methods exist, welders commonly use macro etch, fillet weld break, guided bend, and transverse tension test, and some of them found their way into the oil and gas industry.
Magnetic Particle Testing
Magnetic particle testing is used to detect surface and slightly subsurface discontinuities in a weld. First, an electric current is passed through the weld to form a magnetic field.
Then, iron particles are applied in that magnetic field. The iron particles will build up in the defect area, isolating it and helping to determine its cause.
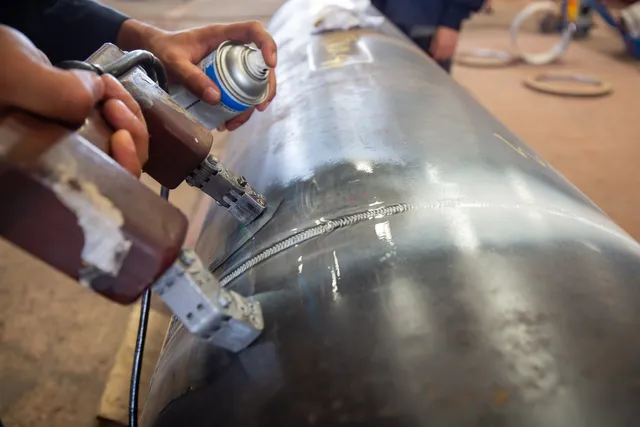
Despite its strengths, the method still carries some drawbacks. The material must be ferromagnetic. Likewise, the orientation and stability of the magnetic field are critical.
Eddy-current Testing
Eddy current testing is used to detect very small cracks. A circular coil carrying an alternating current is placed near the test specimen. The AC in the coil generates a magnetic field that interacts with the test specimen and generates an eddy current. The presence of any flaw will cause a change in the eddy current, and a receiver coil can measure this change.
Besides the oil and gas industry, this method is widely used to examine tubing in heat exchangers, steam generators, condensers, air coolers, and feedwater heaters.
Hardness Testing
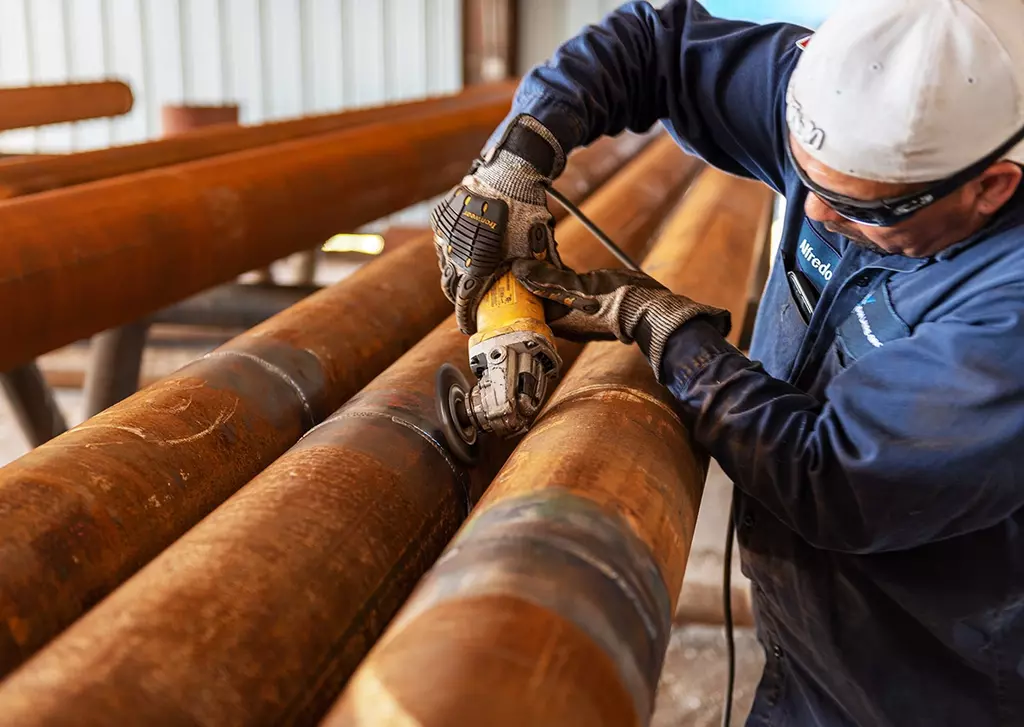
Hardness testing is carried out by striking a specific load on an indicator placed on the weld. The size of the indentation that is so produced can be referred to as a table measuring hardness.
The result of hardness testing can help inspectors evaluate a material’s properties, such as strength, ductility, and wear resistance. While various hardness test methods exist, welders commonly use Brinell, Vickers, and portable hardness testing.
Charpy V Notch Testing
Charpy V Notch test is used to measure the toughness of a weld. It is performed by collecting a sample of the weld, cut to a specific size, into which a V-shaped notch is carved.
Then, the sample is held in a clamp. Finally, a pendulum strikes the notch and swings upward, resulting in a measurement of the weld’s toughness.


