Modern science has developed many techniques and equipment to inspect welds after they are completed, like radiography, ultra sound, liquid penetration, and magnetic practical tests.
But, visual inspection during welding operation is still the most effective way to obtain good quality welds.
Welding Inspector Responsibilities
A qualified welding inspector is responsible for being personally present where the welding operation is conducted. His duty is to ensure the welding operation achieves good quality welds, specifically by monitoring the following items:
- Welders’ certificates
- Weld joint preparation
- Condition of electrodes
- Welding technique
- Weather conditions
- Welding current
- Welding machines and tools
- Slag cleaning
- Incomplete welds
- Selection of welds for radiography
All these quality-control steps can hardly be checked with any other method except with the human eye. That is why proper attention is required for visually inspecting welds during the production process.
A further, important reason for visual inspection is to save on the costs of a project by avoiding unnecessary radiography, weld repairs, and re-radiography. Weld testing is a costly operation that can often be avoided with proper inspection methods.
Welding inspectors are duly qualified through their experience and qualifications. They need certification by a concerned authority to inspect welds with respect to a particular code and standard.
For example, inspections of pipeline welds are done according to API 1104 and plant inspections are done through ASME Sec. IX.
Another most important reason for visual inspection is that most of the time all joints are not selected for radiography after completion. Thus, any joint that has not been visually inspected during welding nor selected for radiography after completion, and has a defect, may fail during plant or pipeline operation, causing havoc.
A defective weld joint cannot withstand the stresses caused because of high pressure and high temperature fluid passing through it with a high-speed flow. Pressure and temperature variation can cause failure of a defective joint at an early stage.
Following is the detail of each item of visual inspection as listed above.
1. Welders certificate
The first thing that an on-site weld inspector is expected to check is whether or not the welder selected to perform the welding has passed the required tests and carries the relevant certification.
A Welder Procedure Qualification (WPQ) test is established with respect to the Welding Procedure Specification (WPS) submitted by the contractor at the time of tendering the project.
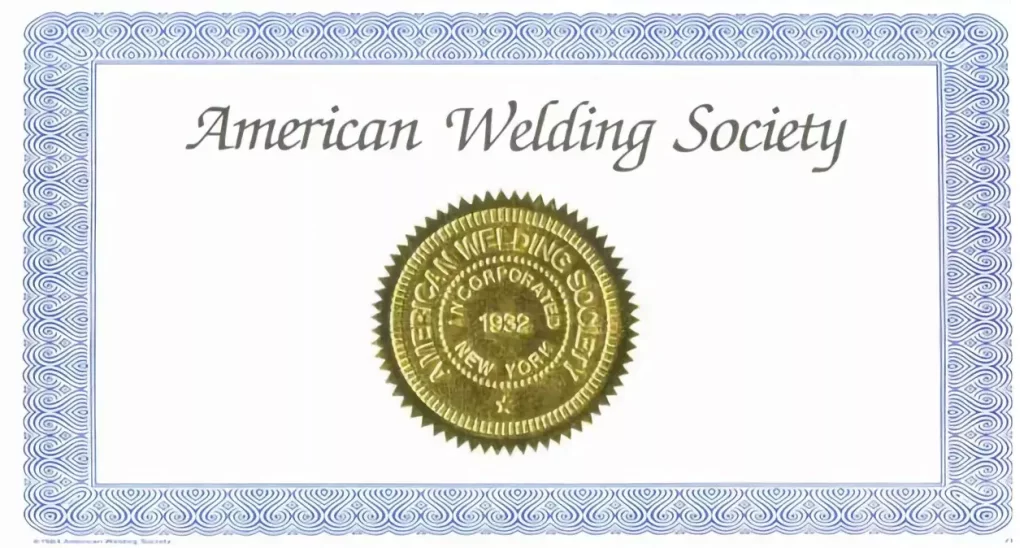
All the project welders are required to pass a welder performance test with respect to this (WPQ). Besides the individual’s name and photograph, the type of test passed is also indicated on this card.
The thickness and diameter range of pipe a welder is certified to weld is also mentioned.
The welding inspector can ask any welder to produce this certificate on demand. No welder, however expert, is allowed to perform a welding task without this card.
Welders discovered to be welding without this card not only are to be removed from the site, but the project contractor too should be reprimanded.
2. Weld joint preparation
Although both the fabricator and welder both know the material to be welded and the joint to be prepared for welding, it is also the duty of a welding inspector to double-check each and every joint to ascertain that it has been prepared according to an agreed standard.
In the case of a pipe joint, he should check the root gap, root lap, and the weld angle. Also, he should check the thickness and pipe diameter range a specific welder is supposed to weld before welding begins.
3. Electrode condition
The welding electrode, its size, and its physical condition is another important aspect of visual welding inspection.
High-quality welds cannot be produced with poor electrodes. Besides quality, the diameter of the electrode should be inspected according to the welding procedure qualification.
The current and voltage required for welding are also adjusted according to the diameter of an electrode. Care must be taken that the right type of electrode is used to weld a specific joint. Wet electrodes and electrodes with rusted tips cannot produce good welds.
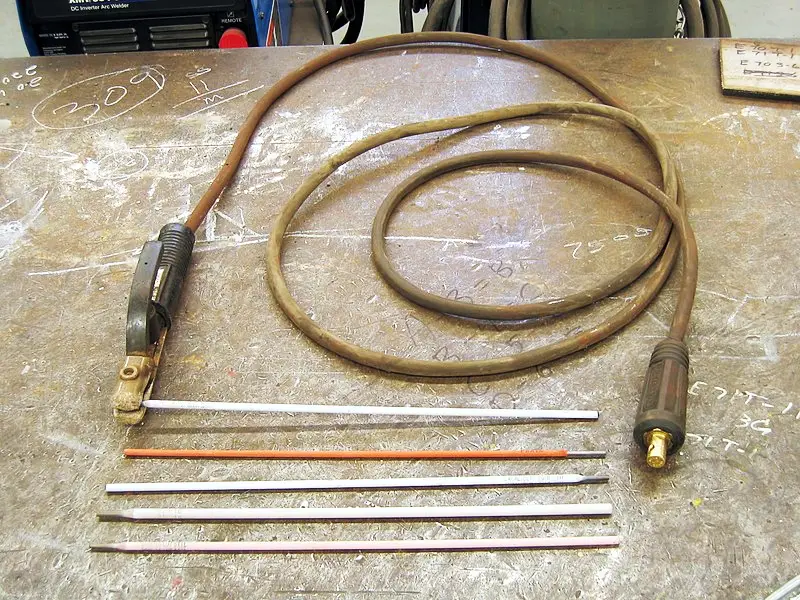
In the case of a low-hydrogen electrode, preheating of electrodes to a certain temperature range is required before use. Preheating of low-hydrogen electrodes is done in specific ovens. Also, a code to specify the strength should be clearly written on each electrode for easy identification.
The same goes for tungsten electrodes used in TIG welding and for MIG wires used for MIG welding.
4. Welding technique
Next comes the welding technique or welding method to be used for the movement of the electrode, especially on pipes.
A “down hand” (downhill) technique is used on cross-country pipelines and “up hand” (uphill) technique is used on plant piping.
With the down-hand welding technique the electrode is moved from top to bottom of a pipe during welding, and in up-hand welding the motion is in the reverse.
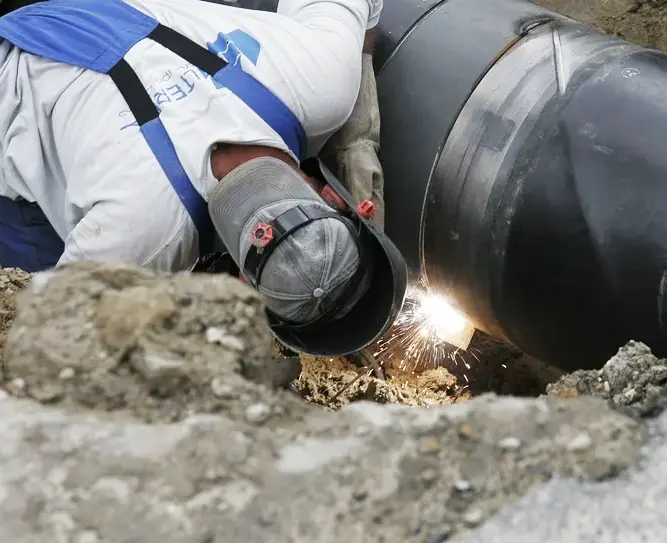
It is easier for welders to weld with a down-hand technique than with than with up-hand technique. Care must be taken so that welders use the right welding technique.
5. Weather conditions
Another required factor that cannot be detected by radiography or other weld-quality control methods, except by visual inspection, are if the welds were made during bad weather.
Special protective measures like use of tarpaulin covers are used to protect welds from rain, dust storms and high-velocity wind, etc. Good quality welds cannot be produced in bad weather conditions.
6. Welding current
By visual inspection one can check polarity, amperage, and voltage during welding operation. One cannot check these parameters through any other quality control method.
Reverse polarity is used on pipe welding. In reverse polarity, the electrode is positive and the pipe is negative Care must be taken to ensure that the correct polarity, correct amperage, and voltage are used for welding.
A welding inspector will have the necessary tool to check current during welding operation.
7. Welding machines, tools
To ensure a good job, it is imperative to have good tools, which is true also for welding. Visual welding inspection also includes the inspection of the following tools:
- Welding machine
- Grinding machine
- Welding cables
- Welding clamps
- Internal and external pipe clamps
- Brushes
- Welding helmet and glasses
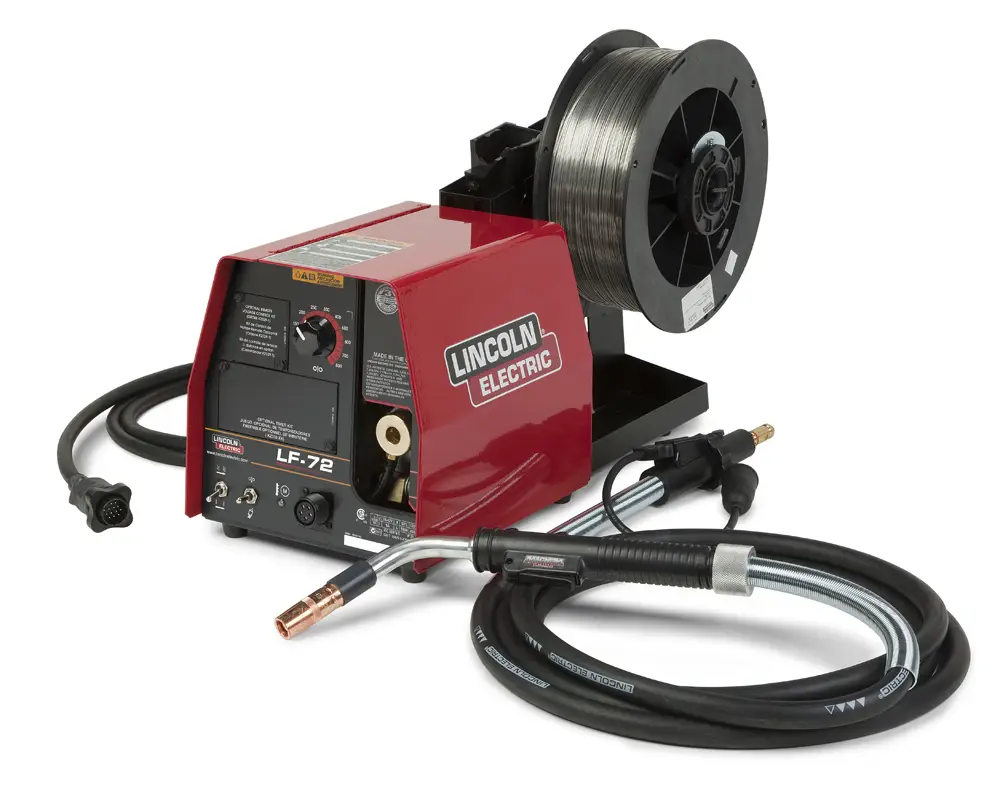
The welding machine is even more important. It should be able to produce the desired current and voltage properly. Ampere meters are used by welding inspectors to measure current during welding.
8. Slag cleaning
The coating on the electrode, which saves the molten metal from rusting during welding by producing a slag cover, must be cleaned with the help of a grinder after the completion of each pass to achieve a good quality weld. The visual inspection helps in this regard tremendously.
9. Incomplete welds
The welding inspector conducting the welding inspection should check that no weld is left incomplete at the end of the day.
10. Selection for radiography
Because the welding inspector is always present during a welding operation, he is the best person to decide which welds are to be radiographed (if certain percentages of welds are to be selected for radiography.)
Moreover, he can determine if a certain weld that had a defect during radiography has been properly repaired, and re-radiographed and cleared.


