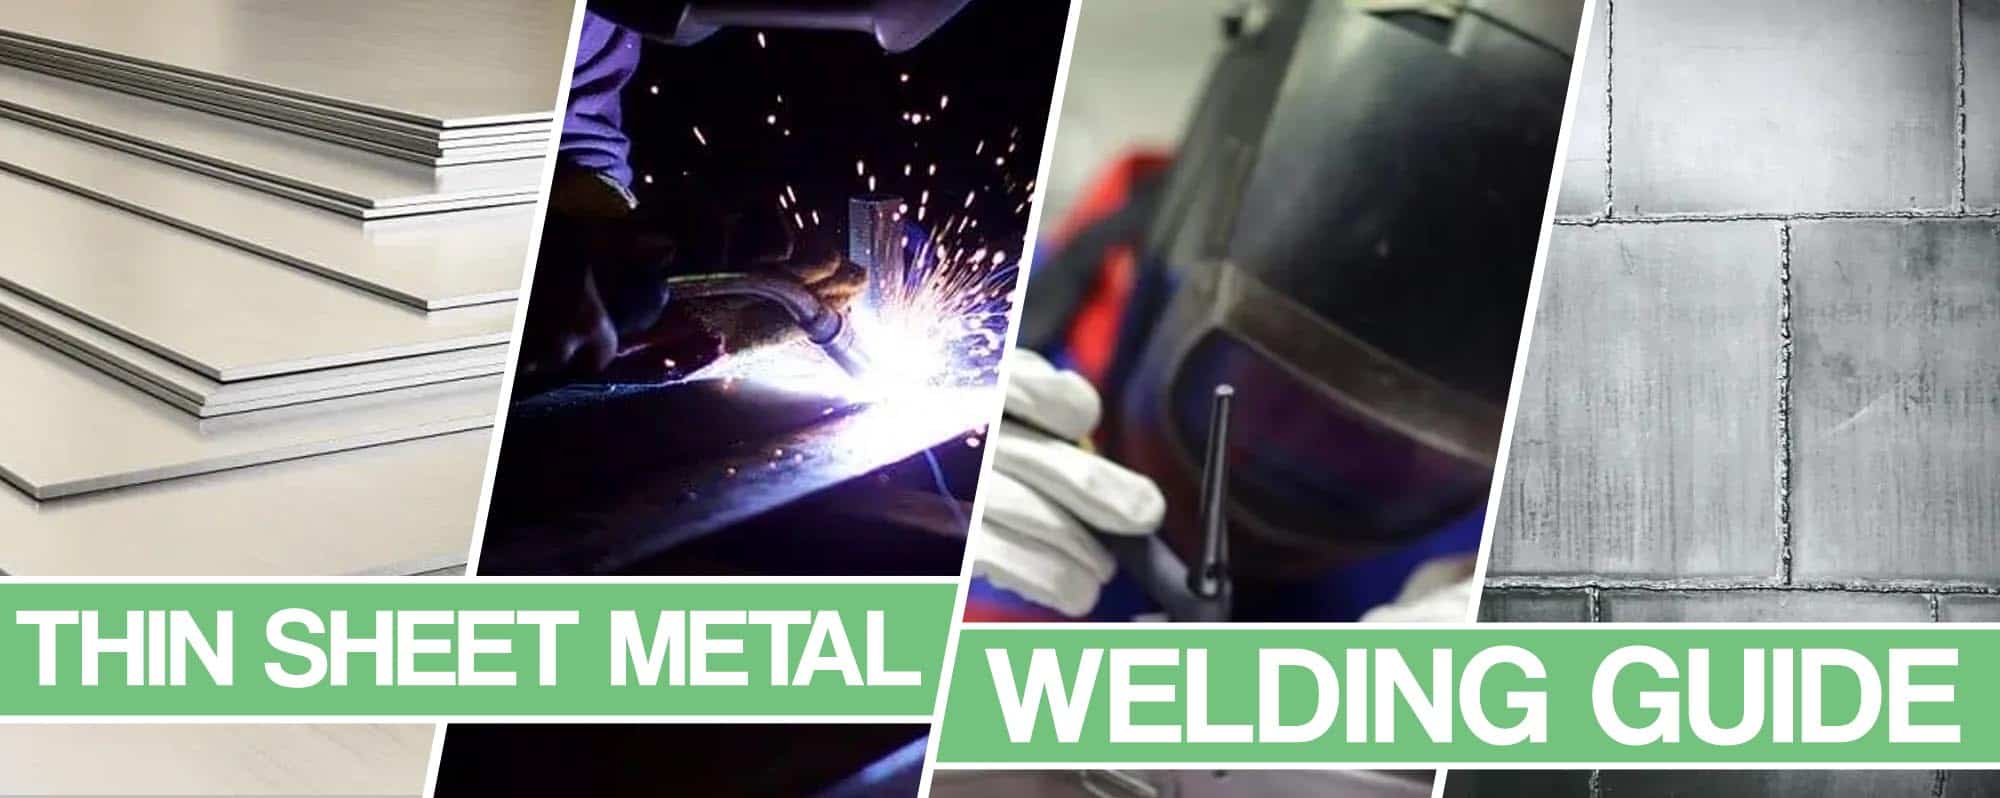
How does one weld sheet metal? This is a question that many novice welders are concerned about when they start dealing with materials of different thicknesses.
Sheet metal is a lot thinner than other materials that one needs to weld, so a completely different approach is needed.
Novice welders need to understand that every material demands a different approach. Sometimes even professional welders may have trouble welding thinner materials. This is due to many factors that came into play.
In this article, I am going to explain the fundamental ways of how to weld sheet metal that even professionals can follow.
I have also put together a list of best welders for welding sheet metal so if you want to read it hop in.
Sheet Metal Welding Tips
There isn’t a definitive answer to how one needs to approach welding sheet metal. But there are several ways that one can do it. Experience plays a lot in this case but you also need to know the fundamentals that come with this type of welding.
Namely, heat is the biggest factor when welding thinner material. Adjusting it properly will ensure you get a perfect weld. Going too much will only cause you to burn through the material. But thicker material, like girders, will require you to turn on the power depending on the panel you are welding.
Different types of materials are also subject to distortion. This is the case with thinner ones. Warping can also occur if the heat is too high so the welder needs to adjust properly so the weld has enough mechanical strength for the application.
Some major things to consider:
Process selection: In order to avoid the usual problems that come with welding thin metal you should carefully consider the process you are using.
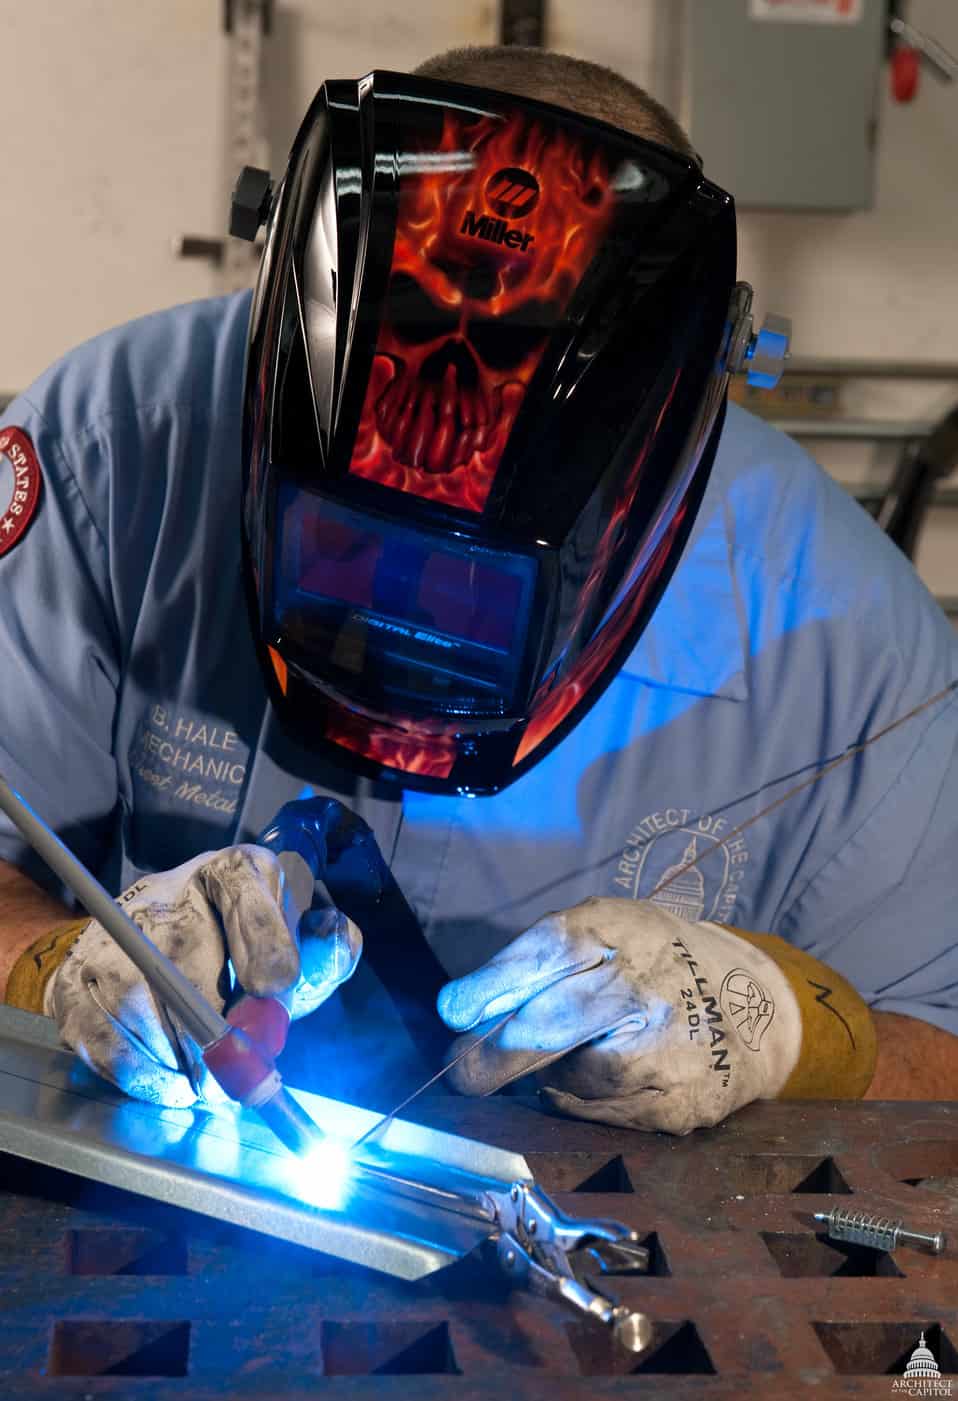
Precision welding methods are preferable like pulsed gas metal arc welding (GMAW-P), short-circuiting transfer gas metal arc welding (GMAW), pulsed GTAW, and gas tungsten arc welding (GTAW).
- Smaller diameter wire: Consider smaller diameter wire feed. The smaller the wire the less heat you will need to melt it, which consequently reduces the heat you produce on the general surface. Smaller wire also allows for better control and also a greater chance of recovering from mistakes.
- Electrode polarity: Welding with solid wires will require you to use electrodes of positive polarity. Electrodes positive do produce more heat than electrode negative polarity, but electrode positive does provide better results.
- Keep things clean: You should clean the welding area or the patch panel you are using, especially when it comes to aluminum. When exposed to air, an oxide layer will form on aluminum. The oxide layer that is created requires at least 2000°F to melt, more than needed to melt aluminum. A stainless steel wire brush or a grinder will do the trick to remove the oxidized layer.
- GMAW power sources: Always choose the welder with good voltage control. This accounts for good arc starts and stability.
Besides heat, one also needs to consider the equipment that they are using and also choose the right method to do it. The two most commonly used methods for welding sheet metal are MIG and TIG methods. However, in some cases, spot welders and spot welding is also utilized.

MIG Welding for Sheet Metal
MIG welding is one of the most appropriate methods used for sheet metal. This method is favorable as it leaves room for beginners to practice and get better. Namely, it leaves you some room for error that can be fixed with experience or by using some tips and tricks. The biggest mistake a welder can make is to blow a hole in the panel. This can happen due to inexperience or because turning the heat up too high.
Either way, there are certain things that a welder needs to be aware of when MIG welding sheet metal.
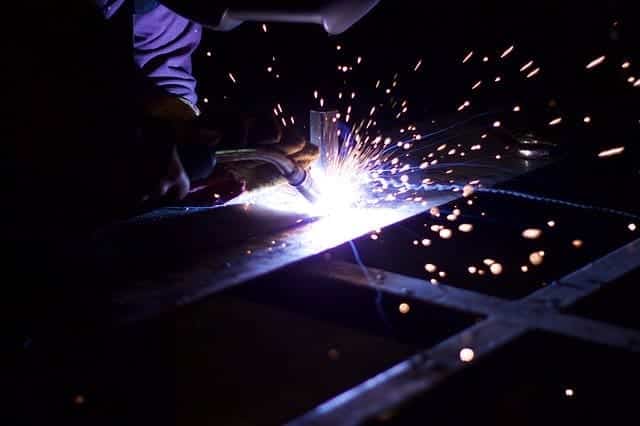
The most obvious advice for a MIG welder is to use the smallest wire diameter as possible. A smaller ire requires less heat to melt and at the same time does not heat the metal as much as you would with a thicker wire. Additionally, using a smaller wire will enable more control over a weld bead and will also allow you to recover from mistakes in an easier way because of the deposition rate.
As a rule, when MIG welding sheet metal, never use a body filler metal that is thicker than the base metal. It is recommended that a welder should use .023- or .024-inch wire for light gauge sheet metal work. However, if you are dealing with materials that are 18-gauge or thicker, one should be able to use .030-inch welding wire. As for mild steel, wires such as ER70S-6 are recommended for use as they have a weld buddle that wets out nicely.
As for shielding gas, a higher argon-based gas is recommended. The best one to use is a mixture of 75% argon/25% carbon dioxide. The best thing about argon is that it carries less heat than CO2, which further results in less spatter.
Furthermore, if you plan to weld stainless steel ER308, ER308L and ER308LSI welding wire are best used. But, in the case of 316L stainless, you will need to incorporate a 316L wire. For these types of materials, a tri-gas mixture is recommended, which consists of 90% helium, 8% argon and 2% CO2.
Finally, if you are welding sheet metal with solid wires, an electrode positive one is recommended or one with reverse polarity. But keep in mind that thinner material like sheet metal should not be welded with flux-cored wires. These types of wires put more heat on the base metal and can result in distortion and unwanted mistakes.
Sheet Metal MIG Welding Tips
- Infinite Adjustability: If you are for some reason, not able to use a MIG welding machine, it is important to acquire one that possesses infinite adjustability. This means that you can adjust the wire speed or voltage in almost any configuration. That way you can easily adjust to the thickness of the metal you are working on.
- Quick & Short Welds: Never try making one long bead, as one would make with heavier materials. Thus a MIG welder should make short and quick stitch welds when working on thinner materials. Long beads require more heat so there is a greater chance of burning through the material or warping it.
- Practice: Practice makes perfect and in the case of thinner materials, one really has to be. Try using a piece of scrap metal of the same thickness as the one you are getting ready to weld. Properly adjusting your MIG welder is key and you will avoid burning holes.
- Use thinner wire: Novice welders should understand that thinner wire needs to be used when MIG welding sheet metal. Thicker welding wire also means more heat which will result in you damaging the panel you are welding.
- Keep the Stick Out Short: The MIG wire stick out is important for welding any type of material but is especially important for thinner materials. Holding the tip too far from the surface will require the wire to come out too much so it can touch the metal. Extra wire will cause the voltage to drop before it gets to the surface. This will also cause the heat of the welding arc to drop as well.
- Butt welds instead of lap welds: Lap welds are only good when you need things to be done fast. But in the long run, they are susceptible to moisture from the backside. That is why a butt weld is a much better option. especially for MIG welding. Their greatest advantage is that they withstand stress much better than any other weld joint. Make sure to fit the patch panel perfectly and leave a gap of 1/32″ between the body panel and the patch.
- Tack welding; A thin metal panel is a lot harder to fit up. So tack welds are a good way of holding the panel together during the welding process. A tack weld of an inch apart is more than enough and tack welding can be more than helpful with MIG welding.
- Leave a gap: When MIG welding a patch panel on your car body panels you should think of leaving small gaps between the patch panel and the original metal. During the welding process the metal will get hot and the gap a welder leaves will compensate for the expansion that occurs. You can test fir the panel first with an even 1/16″ gap around the patch. The weld puddle will fill in the gap that you have left.

TIG Welding for Sheet Metal
Using a TIG welder means that one can work on materials of 26-gauge. Using this process enables more than effective work on thin materials as it provides high-precision and high-quality work. But using this method also requires some practice and practice advice in order to understand it.
For instance, using smaller electrodes that start easier actually performs a lot better at lower heat levels. This will prevent you from burning through the material and will also allow you to focus more on the smaller arc area.
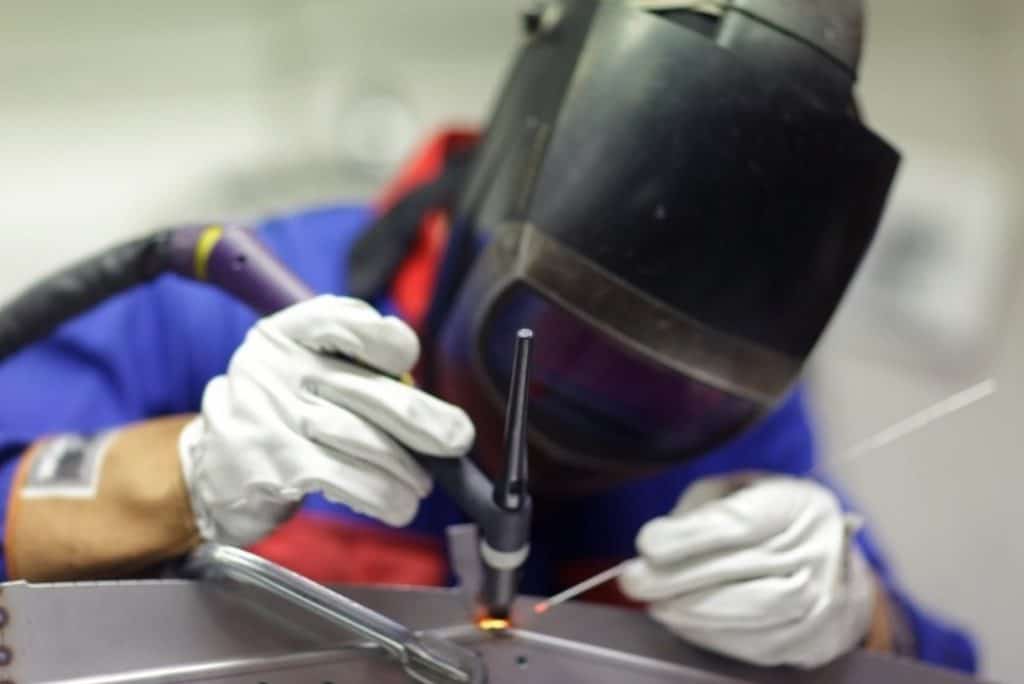
As far as filler metal goes, the ER70S-2 is the most commonly used type of steel. But if you are not able to acquire this one silicon bronze is a great secondary choice. It is much softer and when applied properly it will reduce the heat to the necessary level for this type of welding.
A rule that we have to follow here is using a filler metal that is thinner than the base metal. Or at least keep the thickness as close as possible. This is important as it will prevent you from overheating the base metal before you have a chance to join it with the filler metal.
Sheet Metal TIG Welding Tips
- 1 for 1 rule: The best way to estimate the heat input needed for welding is by applying the 1 for 1 rule. This means that 1 amp should be used per 1 thousandth (0.001) inch of thickness. This is especially useful for carbon steel. But when it comes to stainless steel or other nickel-based metals, less heat is needed. Actually, you should use 2/3 of an amp per thousandth as nickel does not conduct heat as much. But for aluminum and magnesium, you should increase the heat a bit.
- Shield the backside: When welding sheet metal you should always cover the backside of the weld. That way you will prevent oxidation from happening and reduce the heat input at the same time. But it has a twofold use as it improves the quality of the welding process. Eliminating any surface imperfections that could occur.
- Keep things chill: If you happen to be using argon ports, then copper chill bars should be added with your shielding gas. But be careful not to allow carbon to come in contact with the cobalt alloy because the zinc in the copper might create problems. Thus it is better to use a nickel-plated chill bar in combination with cobalt alloy.
- Back-stepping: With TIG welding, welders usually push the weld puddle into a continuous direction. But when it comes to shinner materials a welder needs to back a step and break the weld seam into sections instead of using a single, long one. that way you dissipated the heat. The length of each step will depend on the length of a joint.
- The size of the cup matters: Most applications in TIG welding processes require you to use #7 cup. However, if you do want to get a high-quality weld on sheet metal it is better to have a #15 cup or even larger. Larger cups offer better shielding gas coverage over the weld pool, as well as for the zone which is affected by heat.
- Mind the gap rule: Working on sheet metal will cause ceratin parts to shrink down. So if you need to create something according to specific dimensions you have to plan ahead. Before you begin working, you should determine the required pre-gap. Don’t cut the sheet metal to size but instead, make larger parts than are required.
- Use a glass lens: If you are using TIG welding you should think of using a glass lens as well. The lens can be simply inserted inside the cup. It will smooth up the gas flow and prevent turbulence, which greatly affects the quality of the weld bead.
- Get to the point: Working with electricity also means that it can come off at some point. So the best way is to use sharp tungsten which makes the welding process controllable. Also, it will help welders in directing the heat properly away from the parts that don’t require it so much.
- Invest in your equipment: A conventional TIG welder cannot pulse any faster than 10 pulses per second (PPS). This is not good enough to control the weld puddle up to the edge. In this case, skill plays an important factor. But if you invest in a TIG welder with at least 100 PPS, you won’t have to worry about melting the edge of the panel you are working on. But always make sure to check the specification of your equipment.
Spot Welders and Sheet Metal
Spot welding has been used for sheet metal for a long time now. It has specifically become a mainstay in the automotive industry where it has been used since the 1930s.
It does not require flux nor filler as you only need to apply a concentrated short circuit and physical pressure to a spot that is three thicknesses of boy metal in order to join it.
This method is characterized by combining intense heat with high-amperage short circuits.
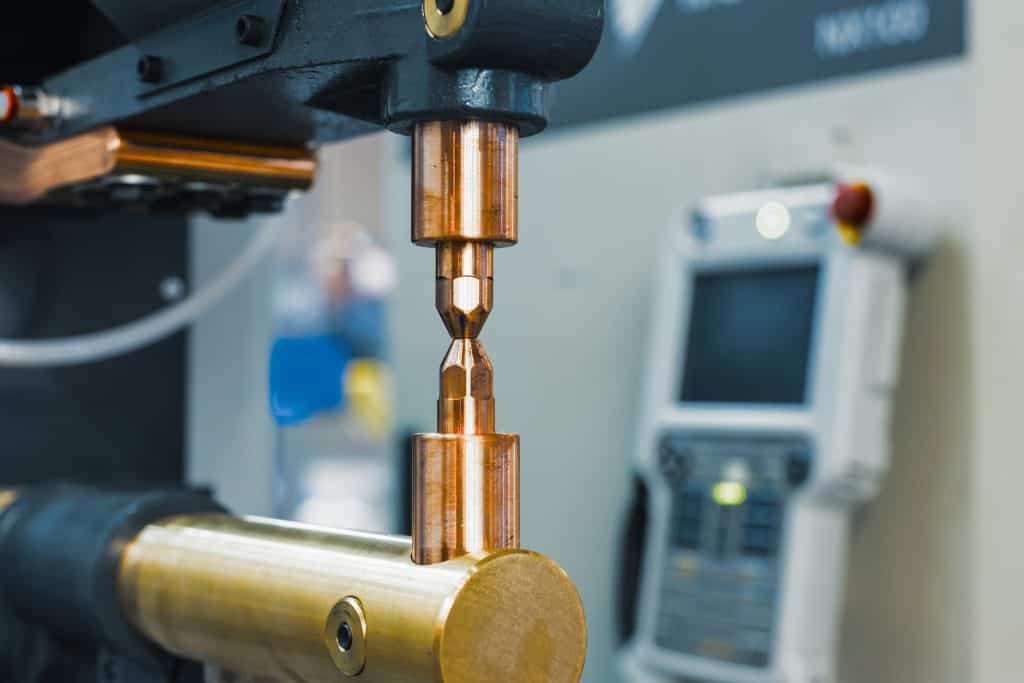
You need to do this at the point of the weld in short intervals as you apply to squeeze pressure to the outer surfaces of the weld area and welding electrodes and melt the spot welds into a fusion weld.
However, certain welders do not squeeze the weld area between two electrodes. They would simply apply force and heat to one piece of metal that is grounded through the other piece that needs to be joined.
This method is actually really useful when the weld is not easy or almost impossible to reach.
However, there is a downside to spot welds. When joining a body panel together it is going to be prone to corrosion as it attracts moisture between the joined pieces. The problem is made even worse by the fact that spot welding vaporizers almost all processes that are used for treatment, like galvanizing for instance. The problem could be resolved by using primers that contain a high concentration of zinc. This will make them more conducive and allow them to carry the welding current much better. It also protects the finished welds with ion from the zinc particles found in the coating after the weld is made.
Sheet Metal Welding Techniques
In order to weld sheet metal or patch panels, you have to follow certain rules and use specific techniques. Proper technique will come with practice and experience.
Also, it will ensure that you don’t get any warping of the materials you are working on and no burn-through as well.
One way to do that is to always use the fastest travel speed possible and always weld in a straight line. This will ensure that you maintain a good weld bead profile.
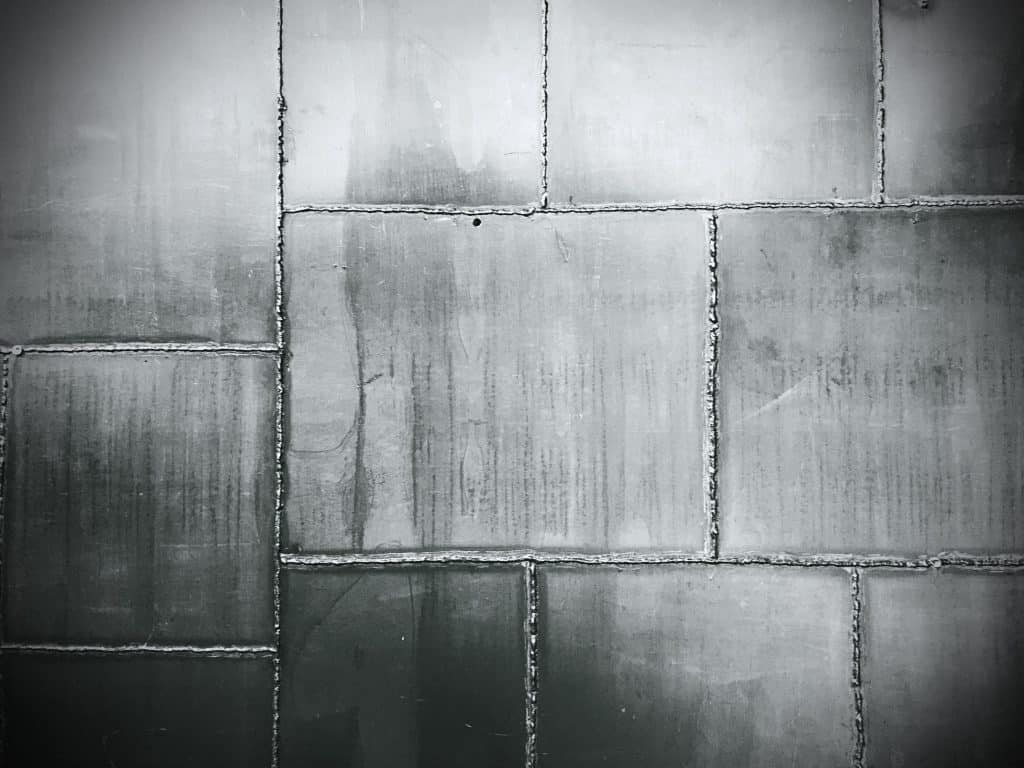
To stop burn-through from happening, one can utilize the push technique from the MIG gun. This means pointing the wire towards the cooler edge of the base metal and weld puddle. Pulling the gun will move the wire towards the hotter part of the weld puddle, which consequently increases the chances of burn through.
But here are some more useful techniques that people can utilize when welding sheet metal:
- Skip welding: If you make the mistake of dispersing heat unevenly it will cause the panel to distort or warp. This is only going to cause further problems for panels that need to fit together tightly. So in order to prevent this from happening heat needs to be distributed as eeny as possible. The skip wedding technique is perfect in this case as it allows you to make a series of separate stitch welds. That way no excessive amount of heat is concentrated in one place.
- Backing bars: A good way to dissipate heat faster than just using atmospheric cooling alone, a welder can use backing or chill bars by putting them in contact with the heat-affected area. This can be done easily as you only need to put a plain metal bar and clamp it to the weldment. Copper or aluminum bars are preferably used as they have the ability to dissipate heat faster. Sometimes usage of a backing bar is specified on welding drawings by a supplementary backing bar welding symbol.
- Fit-up and joint design: Sheet metal welding demands really tight fit-ups. In a situation when a welder needs to make a butt weld on a 20-gauge panel and the parts are not able to touch each other not even for even 1/16 inches, you will create a gap that is not capable of being absorbed by the heat. So if you don’t want to do it again you better use the old trick which is cut once and measure twice. But you can also redesign the panel by using joints that are capable of absorbing higher levels of heat. There is also the possibility of using a plug weld in places that don’t really need a solid weld bead.
Avoiding Weld Distortion On Thin Sheet Metal While Welding
All welders have faced the problem of weld distortion at one time or another. The parts start off straight and square, and after welding, the finished part is warped. Thinner material is more susceptible, as it has less stiffness. Also, stainless steels are more susceptible, as it has greater thermal expansion and lowers thermal conductivity than carbon steel.
Weld metal is deposited at a high temperature, above the melting point of the material. For steel, this is around 2,500°F (1,370°C). As the weld cools to room temperature, it shrinks but is restrained from doing so by the adjacent cold base metal, resulting in high-residual tensile stress. The weld is now like a stretched rubber band, with the workpiece holding the ends. This is the reason that the base metal moves, or springs back when the clamps holding the workpiece are removed, distorting the part.
When the weld shrinks across its width, it causes groove welds to “wing-up” or fillet welds to close up. When the weld shrinks along its length, it causes the base metal to twist around the weld.
To minimize weld distortion, design and welding should be addressed. Weld shrinkage cannot be prevented, but it can be controlled. These are recommended steps for minimizing weld distortion:
- Avoid overwhelming — The bigger the weld, the greater the shrinkage. Correctly sizing a weld not only minimizes distortion but also saves weld metal and time.
- Intermittent welding — To minimize the amount of weld metal, use intermittent welds instead of continuous welds where possible.
- Fewer weld passes — A fewer number of big passes results in less distortion than a greater number of small passes with small electrodes. Shrinkage accumulates from each weld pass.
- Place welds near the neutral axis, or the center of the part — Distortion is reduced by providing less leverage for the shrinkage forces to pull the plates out of alignment.
- Balance welds around the neutral axis — Welding on both sides of the plate offsets one shrinkage force with another, to minimize distortion.
- Use the backstep welding technique — In the backstepping technique, the general progression of welding may be left to right, but each bead segment is deposited from right to left. As each bead segment is placed, the heated edges expand, which temporarily separates the plates at B. As the heat moves out across the plate to C, expansion along the outer edges CD brings the plates back together. This separation is most pronounced as the first bead. With successive beads, the plates expand less and less because of the restraint from the prior welds.
- Presetting the parts — Presetting parts before welding can make shrinkage work for you. The required amount of preset can be determined from a few trial welds.
- Alternate the welding sequence — A well-planned welding sequence involves placing weld metal at different points of the assembly so that, as the structure shrinks in one place, it counteracts the shrinkage forces of welds already made. An example of this is welding alternately on both sides of the neutral axis in making a complete joint penetration groove weld in a butt joint.
- Clamping — Clamps, jigs, and fixtures that lock parts into the desired position and hold them until welding is finished are probably the most widely used means for controlling distortion in small assemblies or components. While there is some movement or distortion after the welded part is removed from the jig or clamps, it will be lower compared to the amount of movement that would occur if no restraint were used during welding.
- Peening — Peening the weld bead stretches it and relieves the residual stresses. However, peening must be used with care. For example, a root bead should never be peened, because of the increased risk of concealing or causing a crack. Also, peening is not permitted on the final pass, because it can cover a crack and interfere with a visual inspection. Before peening is used on a job, engineering approval should be obtained.
- Thermal stress relieving — Another method for removing shrinkage forces is thermal stress relieving, i.e., controlled heating of the weldment to an elevated temperature, followed by controlled cooling.
Frequently Asked Questions [FAQ]
How thick can you spot weld?
The spot welding process is one of the oldest welding methods used. Its primary usage is in welding auto body and sheet metal. Spot welding is usually used to join a panel of overlapping sheet metal, parts that are usually 3mm thick. The ration of thickness should not exceed 3.1mm. This is because the strength of the joints depends on the number and size of the weld. Thus, spot welding diameters go from 3mm to 12.5mm.
What is the thinnest sheet metal that can be welded?
A welder should approach welding thin materials with caution. You should also take into account the type of material and the welding process you are planning to implement. Gas metal arc welding (GMAW) is a very effective method in joining together thinner materials. So for instance, you can work on 18-ga. to 0.1875-in. stainless steel or 24-ga. to 0.1875-in. carbon steel.
This can be applied for small parts, automotive, HVAC, mobile machinery guards and cabs, sanitation applications, and corrosive environments.
How do you stop a weld distortion?
Sometimes when welding sheet metal, distortion can occur due to the thickness of the material. Even something minimal likes to patch a panel can end up with devastating effects. The best way to prevent this is to avoid creating distortion as much as possible.
Some methods include:
- Size of weld: Avoid overwhelming when making a weld seam.
- Intermittent welding: Try making breaks instead of a single long weld.
- Fewer weld passes: The more weld passes a welder makes the greater the chance of shrinking the materials. Try making less.
- Welding placement: You should weld near the neutral axis or the center or the part.
- Backset welding: A welder should weld from left to right, placing every weld seam from left to right rather than the opposite way.
- Preset parts: Make trial welds before you start the process by setting the parts together.
- Use clamps: Clamps are a good way to use instead of a tack weld. You simply clamp down the parts and set them in the desired way before you start welding.
- Thermal stress relief: The process involves controlled heating of the weldment followed by controlled colling afterward.
- Minimize welding time: The more time you take to weld a panel the greater the chances are of creating distortion. Simply try shortening the time needed to weld.
In Conclusion
So what method of welding sheet metal do you use? if you have been using the ones mentioned above in a proper way that you are good to go. But if you have noticed some crucial mistakes you should start thinking of changing your ways.
Sheet metal welding can be easy if you apply the necessary technique. A welder does not have to have problems with adjusting the welding machine if they apply the necessary methods. Adapt your welding and with time and experience, the results will greatly improve.
Resources:
- Clamp down – welding to avoid distortion by Nestor Gula on www.canadianmetalworking.com
- Basics of distortion in welding at technoweld.com.au
- Understanding Welding Current and Polarity by Oanh Nguyen at www.tws.edu
- Tips for Welding Sheet Metal With MIG or TIG at www.millerwelds.com
- Tips for Successfully Welding Sheet Metal at American Welding Society by Mike Brace and Jim Brook
- https://www.rapiddirect.com/blog/6-ways-for-sheet-metal-welding/


