Stainless steel offers many advantages, which slowly led to increased favor among architects, designers, and contractors. The composition of the metal makes it corrosion resistant, attractive, hygienic and easy to clean, sustainable, and fully recyclable.
Besides large-scale industries such as building and construction, architectural metalwork, street furniture, food production, catering, and kitchen equipment, stainless steel found its way into everyday fabrication.
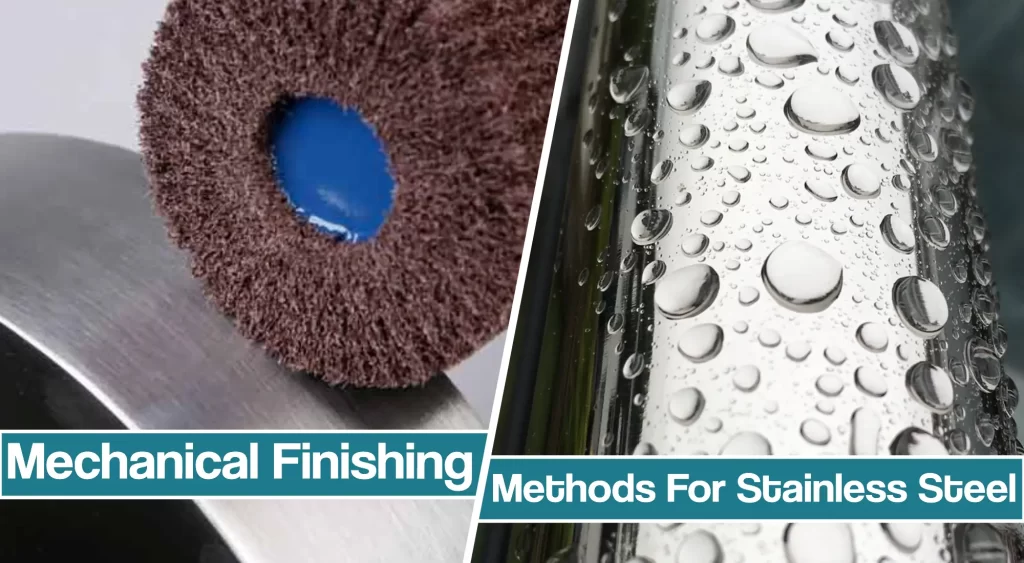
Mastering the mechanical finishing of stainless steel can be challenging. However, it might turn out to be crucial to your future projects as a small shop owner or fabricator.
To do it properly, you will have to follow the following steps we will describe thoroughly.
Specify Mechanically Finished Surfaces after welding
Before you actually start any work, you must first specify the mechanically finished surface. Luckily, the choice of finish is defined by standard industry designations. For example, the ASTM Specification A480 describes general requirements for flat-rolled stainless and heat-resisting steel plates, sheets, and strips in the US.
Take a look at the table of the most commonly used stainless steel finishing options
| Finish | Surface Appearance |
| No.2B finish | The mill finish, meaning it has not been processed further. Matte finishes are dull in appearance and are not ideal for aesthetic end uses, |
| No.3 finish | A semi-polished surface achieved by finishing with the equivalent of 80- to 120-grit abrasive, |
| The No. 4 Brushed finish | Brushing the stainless steel produces a distinctive look with a muted luster and a pattern of fine parallel lines. |
| No.6 finish | Polished finish with more delicate grit lines and higher reflectivity than No. 4 finish. |
| No.8 – Mirror finish | Mirror finishes are highly reflective and created by polishing the stainless steel with the equivalent of a 320-grit abrasive |
After choosing the stainless steel finish, the next step is weld treatment. Weld treatment can vary according to the aesthetics required. Therefore, you can:
- Remove weld spatter and discoloration only;
- Remove weld spatter, discoloration, and weld ripple;
- Remove weld spatter, discoloration, weld ripple, and grind weld smooth with base material;
- Remove weld spatter, discoloration, weld ripple, grind weld smooth with a base material, resulting in all welds pit and crevice-free.
The particle size for the last step in abrasive finishing is usually represented in grit. Here is an example of what amount of grit should be used to achieve various a range of ground and polished finishes on stainless steel fabrications :
- Removal of weld seams (requires more refined finishing) 36
- Grinding of hot rolled stainless “1D” material 36/60
- Pre-polishing of cold-rolled stainless 80/120
- Polishing as a finishing step or as preparation 120/180/240
- Fine polishing (final stages) 320/400
However, you will need the right tools to achieve any selected weld treatment results.
Choosing the Right Abrasives and Tools
Choosing the right tools and abrasives is crucial in the mechanical finishing of stainless steel.
When blending more significant welds, make sure you use larger strokes to get an even appearance. In addition, work in sequence from more minor to higher grit abrasives, and make sure you don’t skip grades.
Abrasives
The abrasive choice is vital for achieving the level of stainless steel finishing we discussed previously. All abrasives come in certain grit:
- Coarse (50-80 grit),
- Medium (100-150 grit),
- Fine (180-220 grit), and
- Very fine (240-360 grit) textures
In the past, the operators usually used a grinding wheel for material removal, followed by a resin-fiber disc for the uniform scratch pattern. However, flap discs are widely used today.
They present a two-step process by introducing layers of coated abrasive. In addition, flap discs are less prone to gouging and scratching the workpiece.
There are newer products such as surface conditioning flap discs, combination flap discs, and unitized discs for more delicate weld finishing.
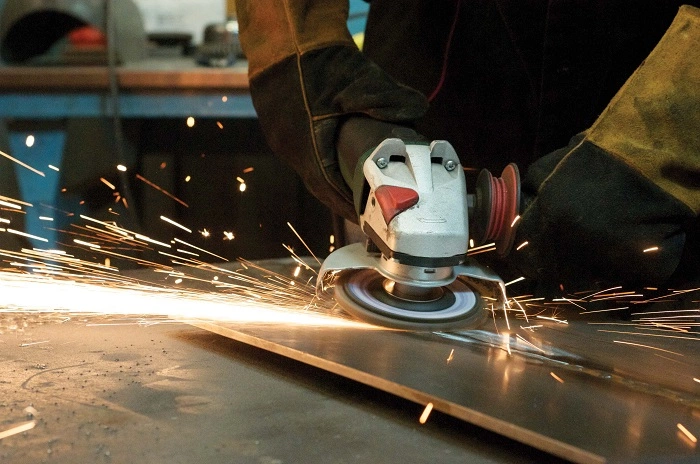
For example, unitized discs are handy for removing welding heat-tinted metal, while fiber disc abrasives are less aggressive than flap discs.
Belts are generally used to process larger material surface areas after welding. These are available in a range of widths and backing material types. Traditionally, zirconia-coated abrasives belts have been used for stainless steel finishing, but newer ceramic-grain belts are also utilized today. In addition, recent developments in abrasive belt technology have produced abrasive cloths with built-in cooling additives.
Power tools
Mechanical finishing of any welded material couldn’t be done without proper power tools. Likewise, your fabrication shop isn’t operational without an angle grinder, linear belt, tube polisher, or power files.
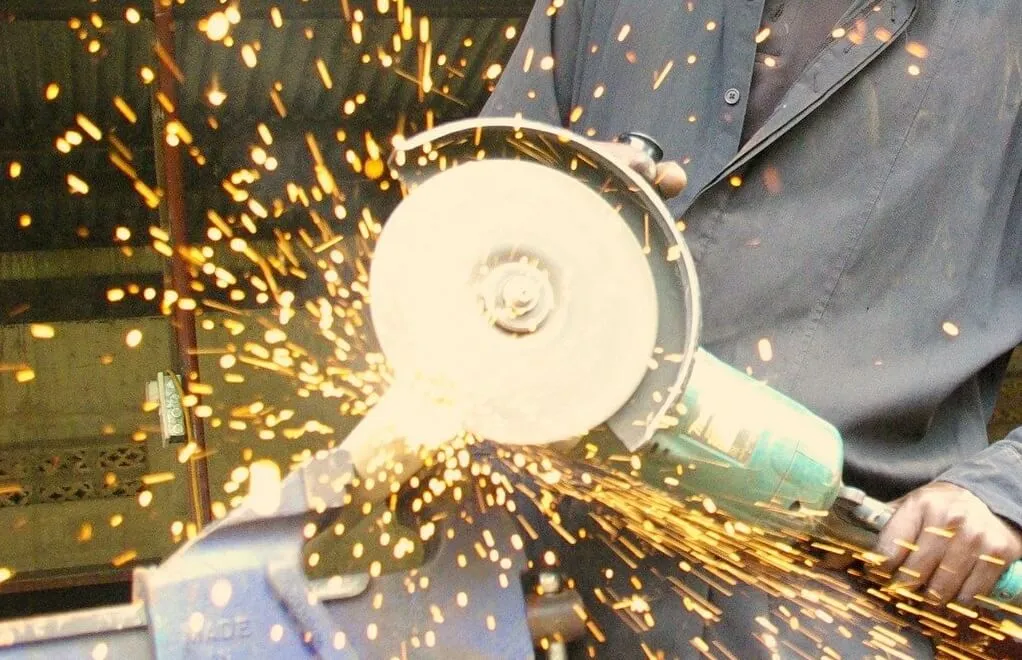
The angle grinder is the most common mechanical finishing tool. However, to achieve more pleasing results (for example, No 4. finish), you will need an angle grinder with variable speed controls.
As the surface finish becomes finer, you must reduce the tool’s speed to achieve a uniform appearance.
In addition, abrasive consumption is reduced by lowering finishing speeds.
Internal angle finishing tool is essential for finishing welded angle joints, where acute angles limit tool access. With the correct abrasive discs, you can achieve weld bead grinding, heat tint removal, and final finishing of the joint.
A tube polisher is a must-have if you are often working with tubular assemblies, such as handrails. This tool utilizes a flexible abrasive belt covering angles up to 270°. Tube polisher is useful when finishing closed assemblies.
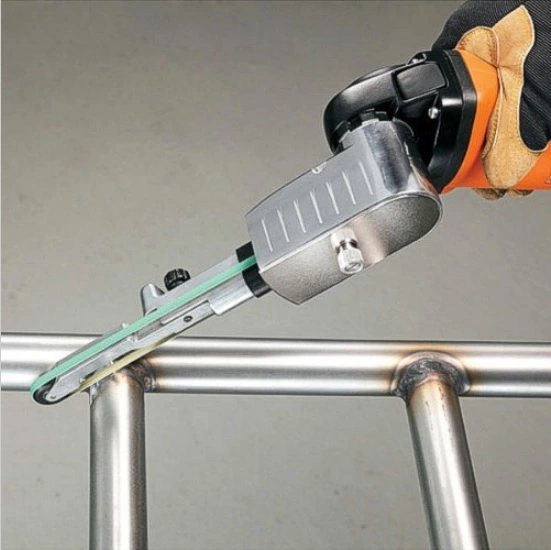
Power files often referred to as dynafiles, are highly portable narrow belt grinders. This tool can be used to grind-off welds seams, but you should be careful not to damage the surrounding metal surface.
The power source of tools can be either electrical or pneumatic.
Pneumatic tools are lightweight and compact. They provide higher rotational speed, and there is no risk of electrical shock. However, they produce higher noise levels and require higher investment costs.
On the other hand, electrical tools offer more power and variable speed control. Therefore, you can perform a wide range of finishing operations. As for the bad sides, higher skill is required to get the best out of a versatile power source.
Putting Words Into Action
After you have determined the result you want to achieve and have chosen the right tools to do it, it is time for actual work. Again, remember that planning is almost as important as carrying out the work. Appropriate planning will eventually become a helpful habit that sets you up for a long time of success.
So to save your precious time and hours of needless re-work, we will present some guidelines for success.
- Order pre-polished materials when possible: Today, stainless steel sheets, tubes, and bars for the fabrication of decorative products are now widely available. Remember this fact before you spend hours polishing your workpiece.
- Pre polish parts that have difficult access: This one is no secret, as it will take you a lot of effort and time to post-treat hard-to-reach parts of your assembly.
- Use plastic film coating to protect the stainless steel: Knowing how to store your materials properly is as important as working with them. Therefore, it is good practice to keep plastic coatings on the steel as long as possible during fabrication. In addition, renew them when the fabrication is finished and ready for despatch.
- Avoid stainless steel contamination: As raw stainless steel is 2-5 times more expensive than carbon steel, you want to avoid contamination. Stainless steel can easily be contaminated when stored with carbon steel, scratched by non-corrosive resistant metals, or processed with carbon steel abrasives.
- When possible, use TIG welding: TIG welding is the best choice for stainless steel where high-quality finishes are involved. Even though it is slower or more challenging to master than MIG welding, TIG welders offer essential balance for decorative fabrication work.
- Avoid the uneven, high weld bead diameter and spatter: Polishing and finishing can be challenging if dealing with bumpy and wide welding beads. The final goal is to achieve consistent results.
If you are a beginner that just started tackling the world of stainless steel, it will take you some time. Therefore, do not be afraid to ask for professional guidance from colleagues or superiors.
Final Thoughts
Learning how to prepare, weld, and finish working with stainless steel is a challenging task that takes a lot of time and effort to master. However, the outcomes can grant you a significant profit.
To learn how to deal with the mechanical finishing of stainless steel, you will have to follow several steps and guidelines. Keep in mind that planning is also necessary.
So for step one, you will have to define the finish. Again, aesthetics play a crucial role here. Next, you will have to select the right tools and abrasives. In the end, it is time to execute the plan.
Resources:
- https://www.worldstainless.org/Files/issf/non-image-files/PDF/Euro_Inox/MechanicalFinishing_EN.pdf
- https://bssa.org.uk/bssa_articles/post-weld-cleaning-and-finishing-of-stainless-steels/
- https://www.thefabricator.com/thewelder/article/finishing/a-weld-done-finish
- https://astropak.com/stainless-steel-surface-finishes/
- https://www.gasparini.com/en/blog/mechanical-finishes-of-stainless-steel/


