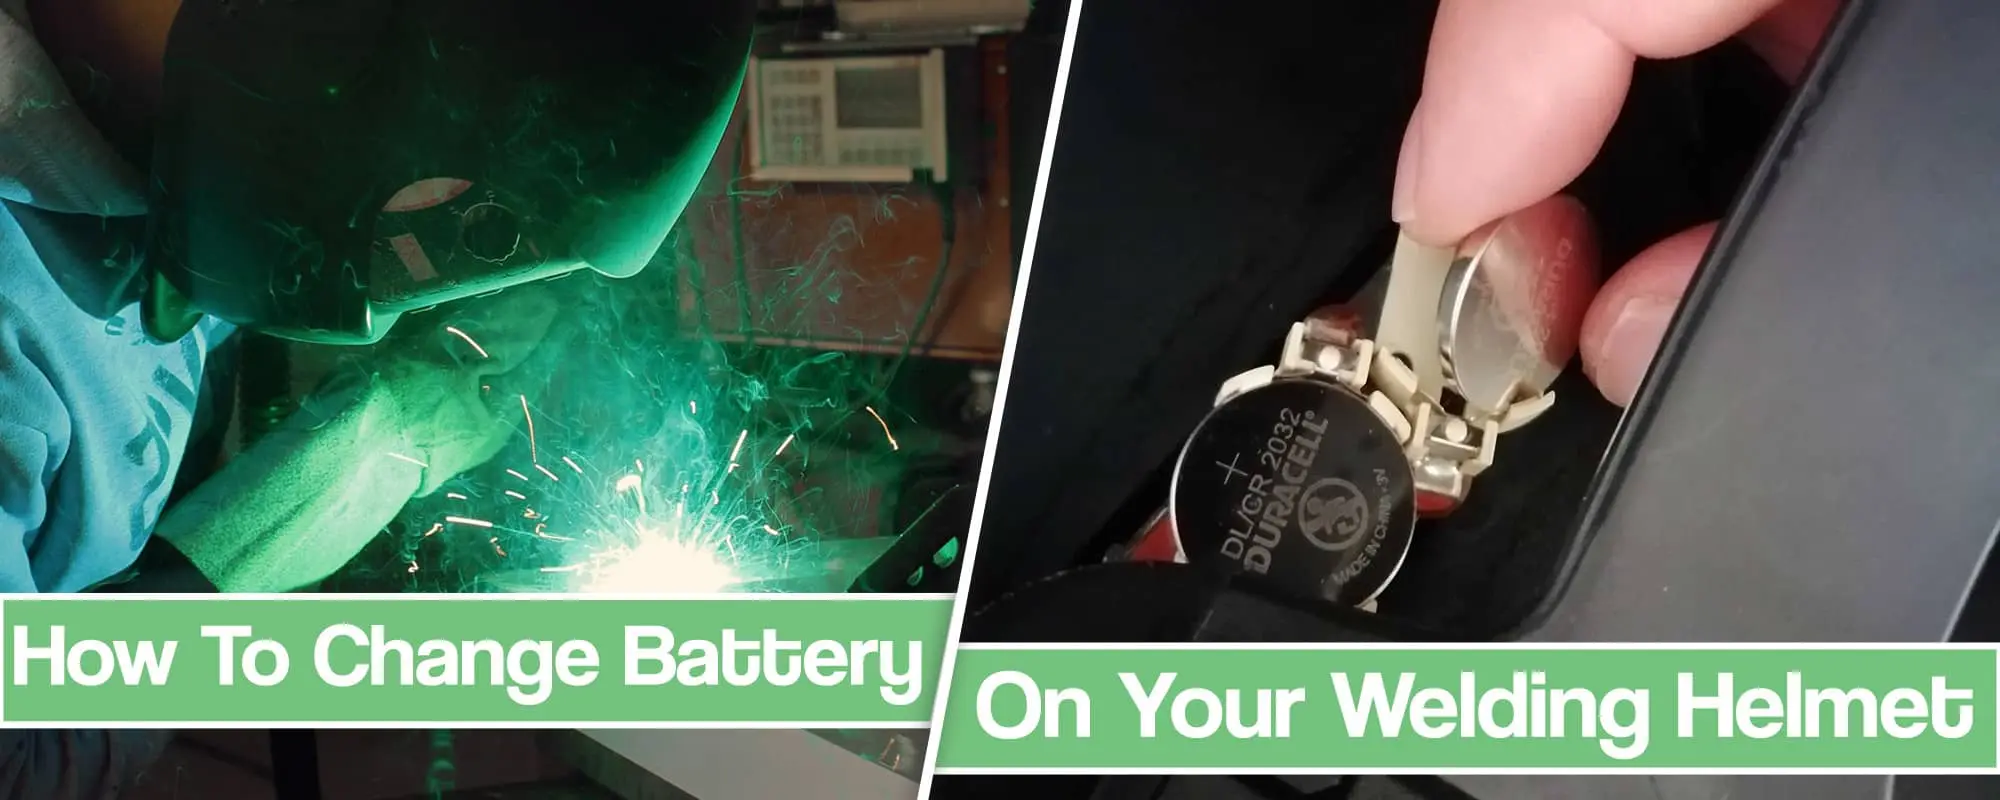
Changing your auto darkening welding helmet’s battery is very simple, as you will see below. However, it is only simple if the batteries are replaceable.
If your auto darkening welding helmet uses non-replaceable batteries, then the only way to replace them is to do a bit of a DIY.

This may compromise the safety aspect, so be very careful. I will explain both. How to replace the replaceable and non-replaceable batteries.
So let’s get started.
What you will need
If you are replacing a replaceable battery, you will need a new battery(s), user manual and possibly a screwdriver.
If you are replacing a non replaceable battery, you will need a cutting tool like a Dremel rotary tool, superglue, and possibly a soldering iron.
The type of battery will depend on your helmet model. Batteries used in auto darkening welding helmets are lithium 3V most of the time. These come in many forms like CR2450, CR2330 and CR2032.

I read a lot of guides on the internet that talk about AA batteries. Did these people ever see a welding helmet before? I can imagine, in theory, some helmets using AAA cells but even that is crazy. AA batteries weigh way too much and I don’t think that any serious welding helmet manufacturer would make a design that uses them.
Locating the battery within the helmet
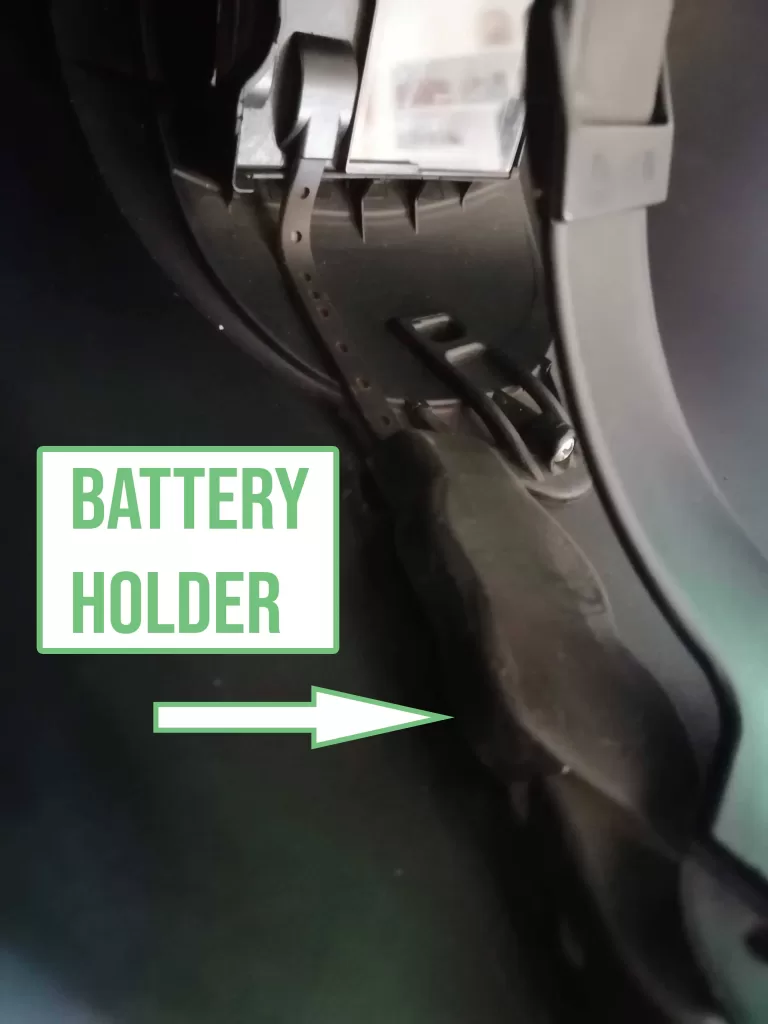
A battery holder in auto darkening welding helmets will sit somewhere around the main unit from the inside but this depends a lot on your welding helmet.
With most welding helmets, you will need to disassemble the central unit that houses the auto darkening filter and contains all of the knobs for settings, etc. The word disassemble is used lightly here. It’s usually a straightforward process.
But if you want to replace a non replaceable battery, you will need to put in a lot more work in this step. Manual will come in handy but if it doesn’t specify where the batteries are located, you will have to find their location yourself. Depending on the model they can be anywhere around the main unit but most of the time they will be closer to the sensors and the solar tray.
Use your best judgment. The main unit panel has to have enough room to house the button cell battery so don’t look for the battery somewhere if there isn’t enough room for them.

You can learn more about how auto darkening welding helmets work in our separate article. This might be of help when figuring out the location of the battery.
Replacing the battery on a welding helmet with replaceable batteries
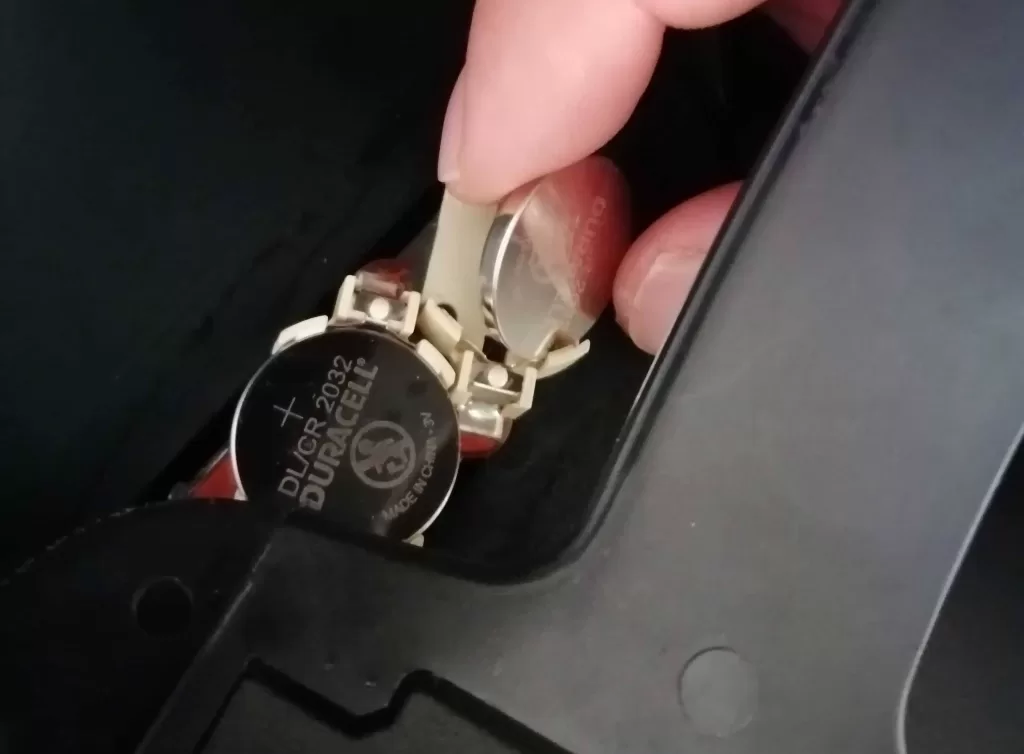
If you are replacing a replaceable battery, you will need to unclip and remove the main panel from the lens covers and locate the battery holder.
You might need to unscrew it or if you are lucky, just pull it out slowly with care not to break the holder or its tiny are that can be gripped with fingers. Usually, the holder is very sensitive so be careful. It’s even tougher if you have thick fingers.
Cheap imported helmets are even more sensitive so be careful not to break something on the lens casing if you want a longer service life.
With that said, once you replace the original battery, you are done. Clip or screw the panel back together to the welding helmet, test if your welding helmet auto darkens properly and get back to welding.
Replacing the non-replaceable batteries
Now things get more complicated. First of all, replacing a non replaceable battery is not recommended with the welding helmets. This is because you can compromise the safety of your welding helmet and the auto darkening feature. With that being said, if you still want to do it, here are some tips and steps.
Cutting out the plastic that holds the welding helmet battery
If you are still not sure where the battery is located, then this won’t be easy. You could go with a trial and error method, but then it will be like drilling for oil. Your welding helmet will look like a Frankenstein by the time you are done with it.
I recommend searching the internet for other similarly designed auto darkening helmets with more available data. Many of these non-replaceable battery welding helmets are based on similar designs made in China, India or other countries with cheap labor.
So if you find a helmet with a similar main panel design and find where it houses its lithium batteries, you can try cutting there.
However, most of the time it will be near the solar cell. Be very careful when you cut. Use a sharp rotary tool and cut slowly so that you don’t damage any internal wiring, solar system or PCB boards.
Alternatively, you can pry the panel open if it’s possible to do so. After you cut open the auto darkening welding helmet and find the battery, take a picture of the current setup. That way you can be sure that you put everything back together as it should be.
Putting a new battery and getting the old one out
Since these are non replaceable lithium batteries, they are most likely to be soldered to a wire or housed in a way that is not just plug and play. These are delicate connectors so take your time and remove the old batteries without damaging any wires or connectors.
After that, place the new batteries in your auto darkening helmet unit and solder the batteries to their leads if needed or replicate the connection the old batteries had. If you are soldering the battery holder leads, be careful because too much heat can damage the sensitive equipment and the darkening system. Keep in mind that in the factory, soldering is done automatically within a flash and no high heat goes on the sensitive electronics.
Ensure that the batteries have the same polarity as the original batteries because otherwise, you will have zero battery functionality.
Gluing the plastic bit back
The piece of plastic cutout you made with the Dremel tool needs to be back in its place. It is simple as using a superglue.
But here is the thing.
You should first test the helmet’s auto darkening mode to make sure that the battery in a welding helmet works properly. A simple sun test will be good enough but you could also glue the plastic cutout just slightly and test everything with the actual welds. After you are certain that changing the batteries was a success then dispose of drained batteries, glue the cutout completely and you are all set.
Things to consider if you go the DIY route of battery replacement
The welding process is dangerous and if you drill, cut, modify and glue your welding helmet, chances are that you will compromise its safety level.
You have to be aware of that and be okay with it. If you are a hobbyist welder that does low amp welds then this is okay if you do it properly. But if you are a professional, I would advise against going this route.
Imagine you are on-site and your helmet’s sensors are failing and now you can’t work. That doesn’t really look good for you. It doesn’t have to be battery functionality, it could be that something gotten loose with analog circuits or the PCB gotten damaged and now days later it is starting to show signs of decline.
If you are a professional welder then you should consider getting a higher quality welding helmet that has a simple process for battery replacement. Don’t waste your time with DIY mods unless you really want to play around with them.
Conclusion
It’s best if you have an auto darkening welding helmet that uses replaceable lithium batteries. That way you can change the battery without any safety issues. Solar powered helmets also require batteries but they work by energy assistance from the solar panel.
Changing batteries in your welding helmet is as simple as removing a drained battery and putting a new battery securely in battery trays. But if your helmet doesn’t allow this, you will have to find the battery location, cut it out, replace it and use hot glue to put it back together.


